• Skip to primary navigation
  • Skip to main content
  • Skip to primary sidebar
  • Skip to footer

Whipperberry

WhipperBerry • Your Home For Creative Inspiration

  • Home
  • Recipes
    • Starters
    • Easy Weeknight Dinners
    • Main Dish
    • Salads
    • Side Dish
    • Soups & Stews
    • Desserts
    • Breakfast
    • Miscellaneous
  • Tutorials
    • Creative Crafts
    • DIY Decor
    • Fabric Crafts
    • Food How-To
    • Jewlery
    • Paint Projects
    • Paper Art
    • Party Styling
    • Photography and Graphic Design
    • Silhouette
  • Holidays
    • Easter
    • Mother’s Day
    • Father’s Day
    • 4th of July
    • Halloween
    • Thanksgiving
    • Christmas
    • Valentine’s Day
  • Gift Ideas
    • Gifts For Everyone
    • Gifts for Dad
    • Mother’s day
    • For The Girls
    • For The Kids
    • Teacher Gift Ideas
    • Christmas
  • Printables
    • Holiday
    • Gift Idea
    • LDS Primary
  • Travel
  • About
    • Terms
  • Contact
  • Nav Social Menu

    • Facebook
    • Instagram
    • Pinterest
    • RSS
    • Twitter

Food

DIY Black and White Wall Art

0 · May 8, 2014 · 8 Comments

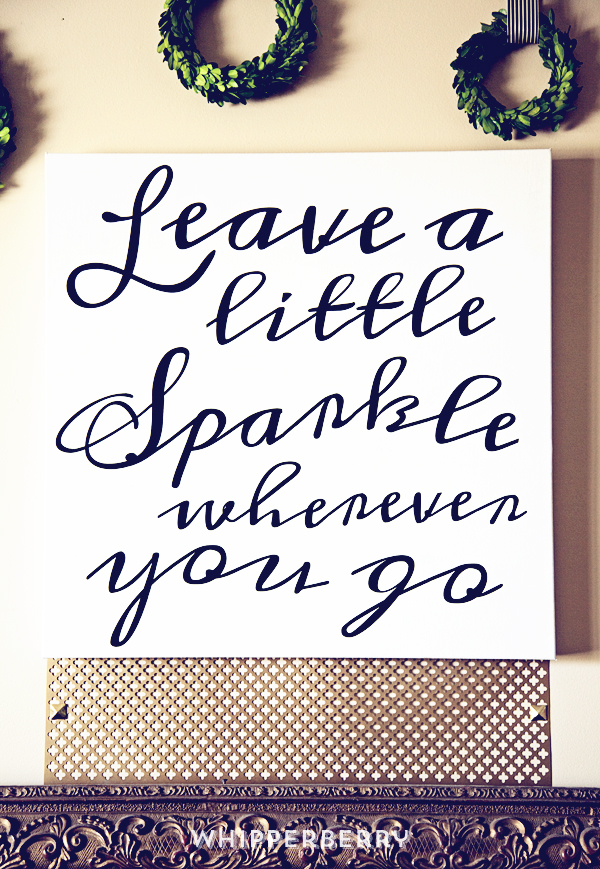
DIY Black and White Wall Art // I have always been a huge fan of black & white. I love the stunning contrast and knew that when I was ready to dress up our front room in our new house I wanted a strong black & white theme. I also LOVE typography wall art and adore the hand painted typography displays that I’ve seen all over the place.

I however, CAN NOT hand paint a stick figure, let alone a beautiful hand lettered canvas… So, I did the next best thing! I busted out my Silhouette CAMEO, some black paper and a lovely large 24 x 24 canvas and went to work…
WhipperBerry-Sprint-Room-Makeover-12

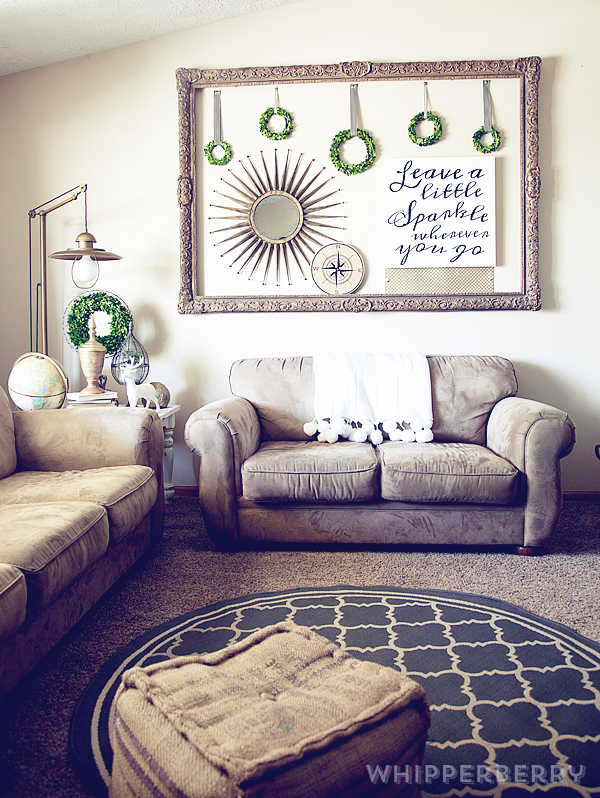
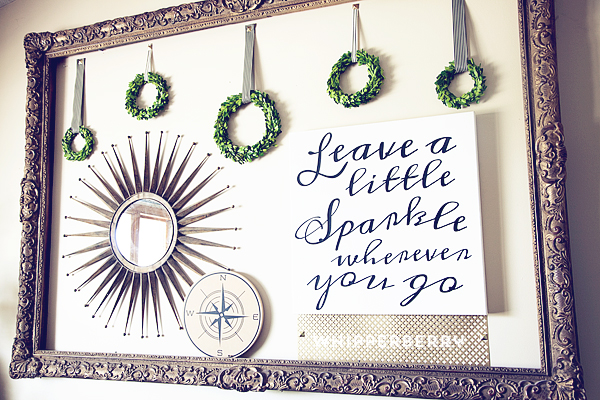
I LOVE how it turned out! It’s an element in my HUGE gold frame that is in my front room that I have redesigned for the spring/summer…
WhipperBerry-Sprint-Room-Makeover-16

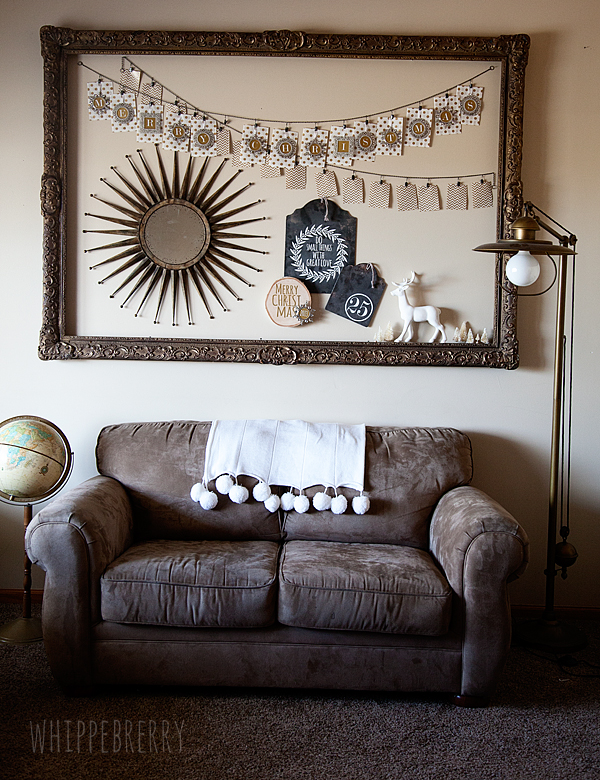
This is how it looked for Christmas this last year…
Michaels-Mini-Frames-justaddmichaels-5

The frame is HUGE and I love it, but it can be a challenge trying to find stuff to fill the space, a large canvas is perfect!

This project is really quite simple. I used the Meddon font which has an imperfect hand lettered look to design my typography art. Then I cut my saying, “Leave a little sparkle wherever you go” out of black textured card stock paper with my Silhouette CAMEO and then used Decoupage from DecoArt to affix the letters onto the canvas.

WhipperBerry-Sprint-Room-Makeover-1

Want to know a little secret to successful decoupaging? Wet your paper that you are wanting to affix to your surface FIRST before you place it onto your surface. I had a plate with a wet paper towel sitting next to me and placed the paper words on the towel for a few seconds to get them a little damp before I placed it on the canvas. This will help with any bubbling problem you may have once you add the Decoupage.

How to make typography wall art with Silhouette CAMEO and Decoupage

  1. Cut your words out on the Silhouette CAMEO. For this size of canvas I needed a machine that could cut large elements and the CAMEO is perfect for that. I used my 12×24 mat and it was perfect. I unfortunately didn’t have 12×24 black paper so I had to piece some of the words together, but that wasn’t a big deal.
  2. Figure out the placement of your words on the canvas.
  3. Starting in small areas, one word or part of a word at a time, remove the paper word and place on a wet paper towel. Then using a foam brush, place a thin layer of Decoupage onto your canvas. Replace the paper word onto your desired spot and gently press into the Decoupage. Then carefully with a light hand, brush another layer of Decoupage onto of the paper word. Be careful not to over work the paper. Especially when using black paper on a white canvas, the Decoupage will breakdown the paper and then you will have a muddy mess instead of a clean black and white canvas.  WhipperBerry-Sprint-Room-Makeover-2
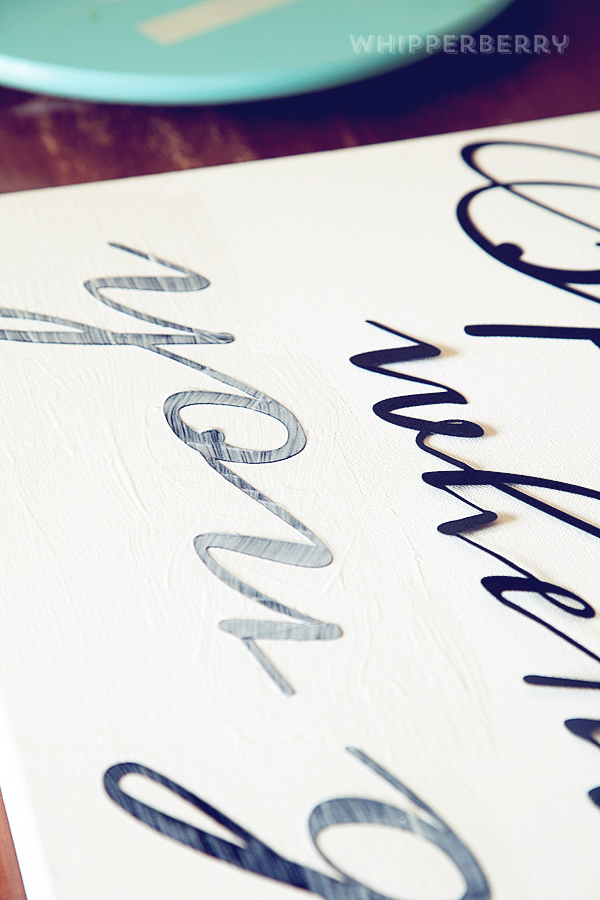
  4.  Move onto the next word until you have the entire saying affixed with the Decoupage.
  5. Make sure you cover the entire canvas with Decoupage so that the canvas will have a uniformed appearance.
  6. Let the canvas dry and then hang!

WhipperBerry-Sprint-Room-Makeover-6

 I added a sheet of decorative metal that I found at Home Depot for a little added pop under the canvas and I LOVE how it looks!

WhipperBerry-Sprint-Room-Makeover-16


So… Do you love typography art? What saying would you like to create with this simple project? Leave a comment with your saying!!

Disclaimer // This is NOT a paid post, I am however a member of the Silhouette Circle which is an affiliate program.
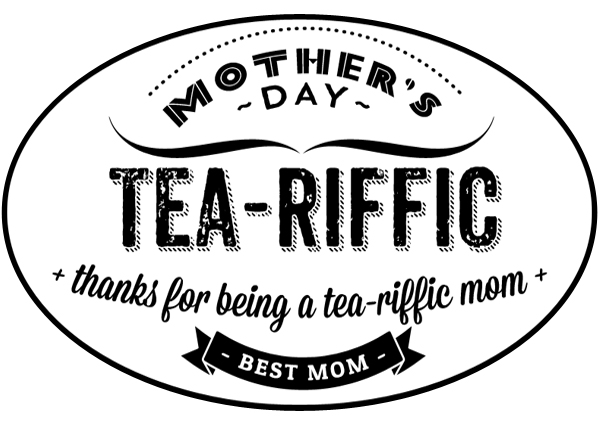
Tea-Riffic Mom Gift Idea // Mother’s Day GIVEAWAY

0 · May 5, 2014 · 9 Comments

I LOVE this time of year… It’s time to celebrate moms, teachers, grads & dads. Yesterday I posted a simple Teacher Appreciation idea that will also translate well for moms. My Mom loves her herbal tea so we thought a cute cup for her tea would be fun…

You're-Tea-Riffic-Teacher-printable-5

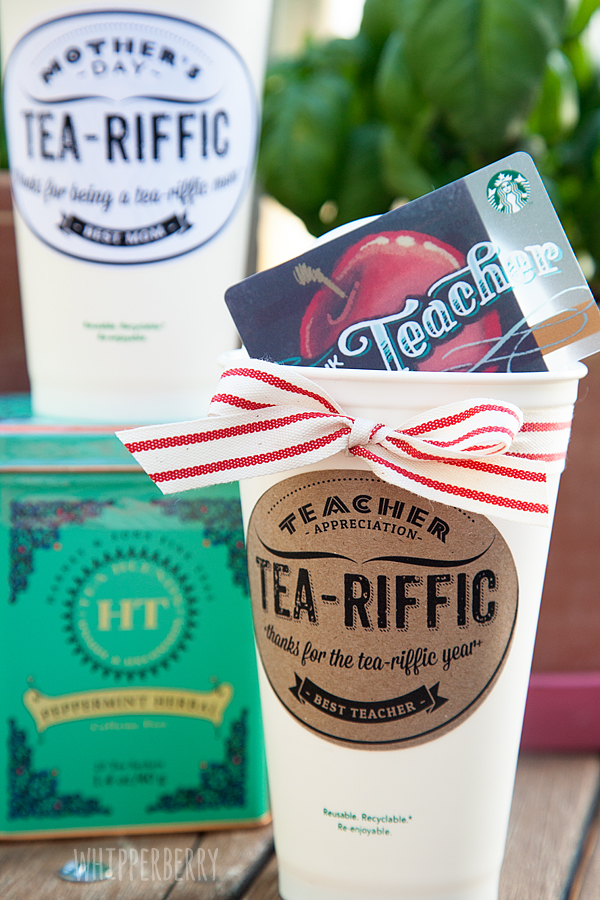
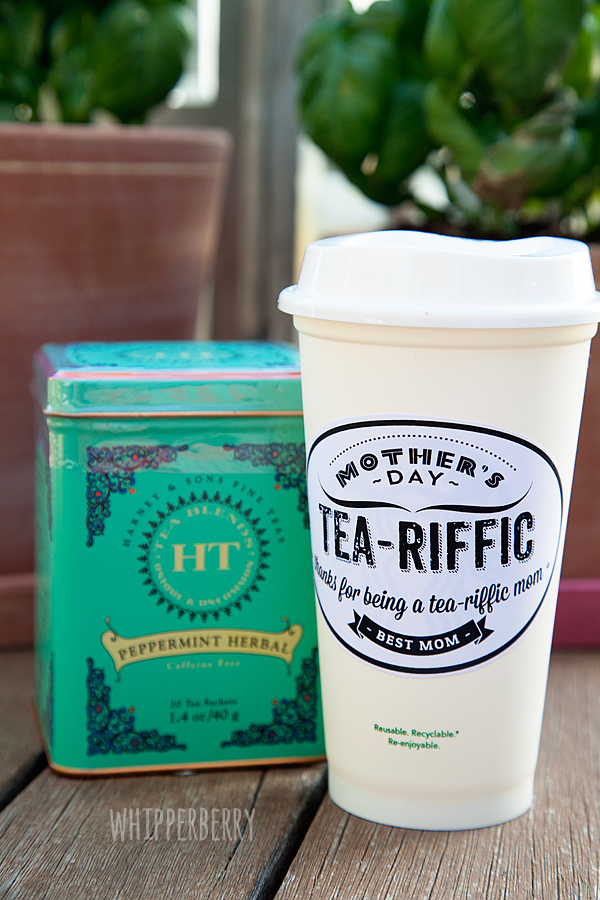
I created this stylish label to add to a $1.00 reusable cup from Starbucks…

tea-riffic-mom-printable

Just print the label on printable label paper or printable adhesive kraft paper from Silhouette. Once your label is printed, just cut it out and place on the cup, it’s as simple as that. Add a Starbucks gift card and a box of her favorite tea and you have a fun gift that she will just love!

Download the printable cup label HERE!

I made a label for Teacher Appreciation Week the other day too, you can download that label HERE.

You're-Tea-Riffic-Teacher-printable-2

We are happy to celebrate el Cinco de Mayo and Mother’s Day with an awesome

Shopping Spree Giveaway

Shopping-Free-Spree-Giveaway

The 3 lucky winners will get to choose their prize of $150 for them and $150 for a friend!

Shopping-Free-Spree-Giveaway-300

I love all the AMAZING Bloggers behind this celebration and I’m sure you will too!

They are sharing on their blogs today delicious recipes and adorable Mother’s Day ideas.

Click on the links bellow and be inspired!

The 36th Avenue / 30 days Blog / I Heart Naptime / The Idea Room / Lil Luna /U-Create Crafts / Tatertots & Jello / Chef In Training/ Whipperberry /

GIVEAWAY

THREE LUCKY WINNERs are going home with $150 BUCKS for them and another $150 for a friend!

And it could be YOU!!!

HOW TO ENTER:

Just enter using the Rafflecopter below…

a Rafflecopter giveaway

Good luck to all!

Tea-Riffic Teacher // Teacher Appreciation Week

14 · May 4, 2014 · 2 Comments

Time to celebrate our Teachers! It’s Teacher Appreciation Week and my daughter Emily and I have come up with a simple and fun idea for your tea loving teachers out there…

You're-Tea-Riffic-Teacher-printable-4


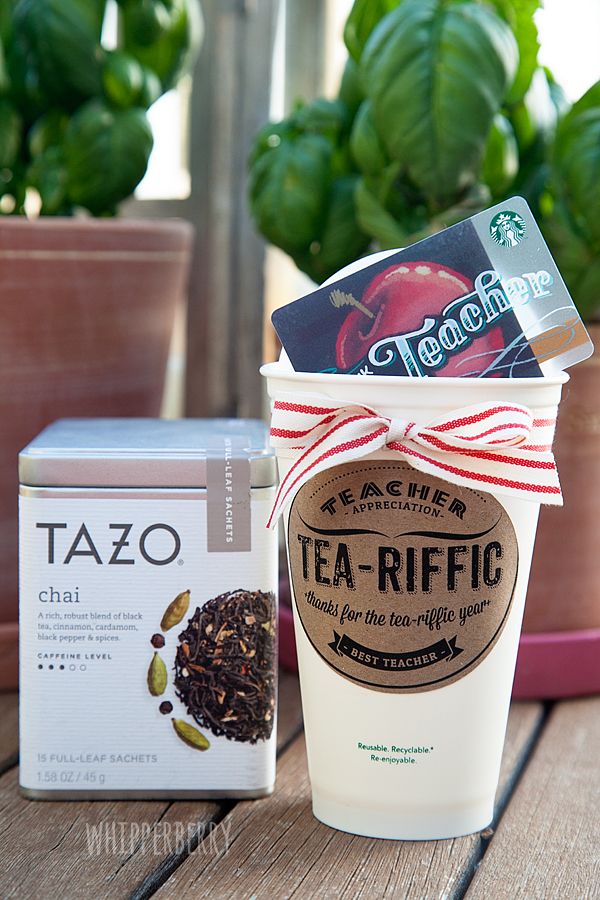
Emily’s teacher has been a wonderful support for her this year and we wanted to do something special for her this week.  Emily mentioned that she loved tea, so I thought it would be fun to create a tea themed gift. We headed over to Starbucks and bought one of those $1.00 reusable cups and then made a fun new label for the cup.

teacher-appreciation-gift-tag


You can print the cup label on adhesive label paper or Silhouette has a printable adhesive kraft paper that I just LOVE! Print out a sheet and cut out your labels and stick them to the cup. It’s as simple as that. We also added a Starbucks gift card and a box of her favorite tea. It’s a fun yet simple gift idea that any tea loving teacher will love.

Download the printable Tea-Riffic Teacher cup label HERE!

You're-Tea-Riffic-Teacher-printable-2


Tomorrow I’ll share a cup label that you can use for your tea loving mother. Yep, that will be two birds with one stone!  Plus, I’ll have a fabulous Mother’s Day giveaway that I KNOW you won’t want to miss.

The Family is of God // 4th Verse

6 · May 3, 2014 · 8 Comments

Happy Saturday Primary friends… For those of you new here to WhipperBerry, I am a member of The Church of Jesus Christ of Latter-Day Saints. On Saturdays, I post what I have been working on for my lessons at church for anyone who would like to use it as well. I lead the music in Primary which is our children’s program at church. This job is very heavy in the visual aid area and I figure, I’m making stuff for my church, I might as well share with those who are also needing help in their Primary. All of the printables I create are free for anyone to use!

We’ve finally hit the final verse for The Family is of God.  For those of you who need the other verses you can click here for the 1st verse, 2nd verse and 3rd verse. The chorus comes with the 1st verse so you don’t have to print it four times.  Next Saturday, I am going to be sharing a fun game that was created by a very talented lady, this new game is how I am going to help my kiddos run through the song a bunch so that they remember the verses. You won’t want to miss that!!

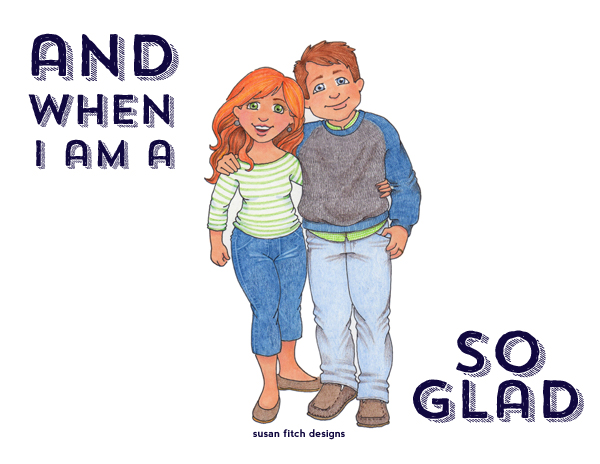
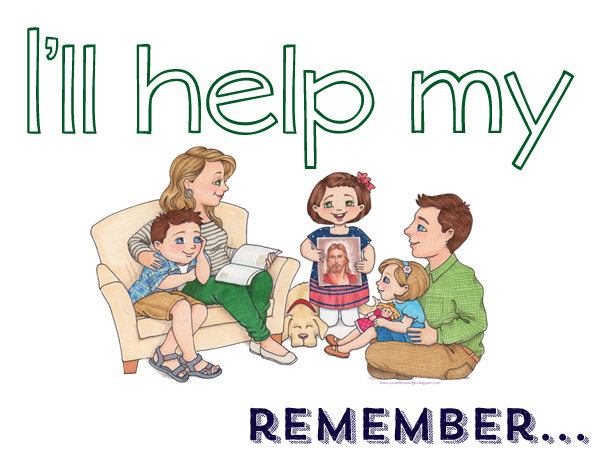
Again, I used the amazing illustrations from Susan Fitch from Susan Fitch Designs for this flip chart. Make sure you visit her site for other great illustrations that you can use for Primary, Family Home Evening and other great projects!

Click HERE to download the full size flip chart

The family is of God- Title - verse 4The Family is of God - verse 4 pg 2The Family is of God - verse 4 pg 3The Family is of God - verse 4 pg 4The Family is of God - verse 4 pg 5

Vanilla Almond Panna Cotta Recipe

12 · May 2, 2014 · 2 Comments

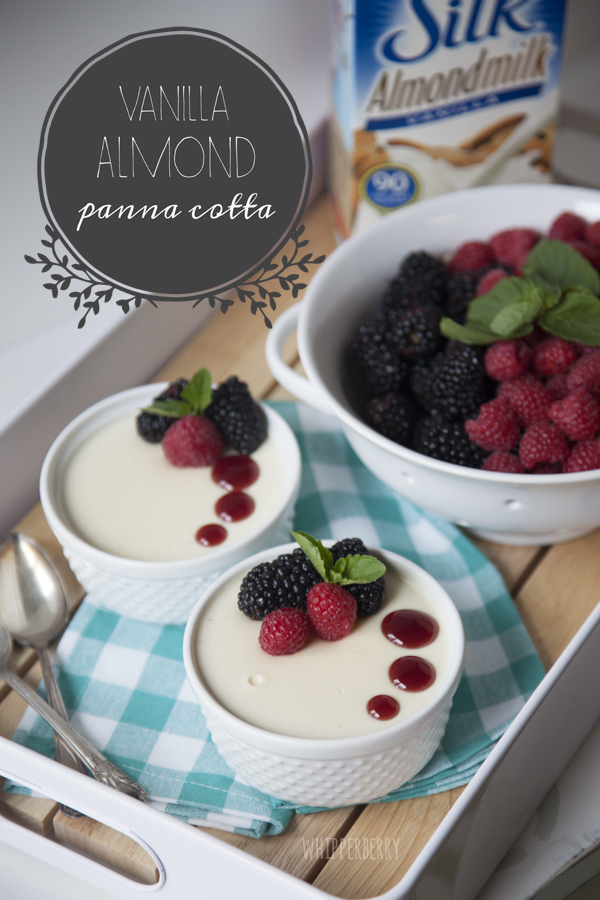
I LOVE Panna Cotta! Have you ever tried this simple yet scrumptious dessert? When it comes to dessert I LOVE smooth and creamy desserts that just melt on your tongue and panna cotta is one of those desserts that I just crave. It’s origins are from Italy and it translates to cooked cream.

Silk-Vanilla-Almond-Panna-Cotta-by-#whipperberry-5

That’s basically what it is, cream or milk simmered with sugar and vanilla, you then add gelatin and let it cool to create this decadent dessert. The nice thing about this dessert is that it’s kind of a blank slate, you can make it with what ever kind of milk you like and then top it with what ever you want. A few years ago I made a lovely Peaches and Cream Panna Cotta that was divine and today I have a fun new twist… I used Silk Almond Milk for part of the cream base!!

It turned out soooo good!! For this recipe, I used half Silk Almond Milk and half cream so it isn’t dairy-free but I’m sure you could play around with the recipe and create a dairy-free panna cotta with Silk.

Why did I add silk? Well… Adding the Silk Almond Milk added to the flavor of the panna cotta with a subtle almond flavor, plus It helps to cut the fat and calories of a normally high in saturated fat dessert. It also lowered the cholesterol in the dessert because Silk Almond Milk doesn’t have cholesterol! Now, keep in mind… I still use cream because I want that nice creamy texture, but by using Silk Almond Milk I cut some of the bad stuff in half!!

Did you know that Silk products are GMO free? What is a GMO? GMO stands for Genetically Modified Organisms and it’s a huge issue in the food industry today. Silk is leading the charge to eradicate GMO’s from our foods. You can learn more about there mission here. You can also visit the Silk Facebook page for even more facts about this fabulous product, plus you’ll be the first to hear about special deals on Silk products!!

That’s why I decided to use Silk Almond Milk in my favorite Panna Cotta! Here is how you make it…

Vanilla Almond Panna Cotta Recipe

3 cups Silk Almond Milk vanilla flavored

3 cups of heavy cream

1 cup sugar

1 teaspoon vanilla extract

2 cups crème fraîche

​3 packets of gelatin

In a large sauce pan, add the Silk Almond Milk, cream, and sugar. Stir occasionally and bring to a simmer. Once it has started to simmer, remove from the heat and add the vanilla extract and crème fraîche and combine well. Once the mixture is nice and smooth, slowly whisk in the powdered gelatin.

Pour mixture into serving dishes and place in the refrigerator for three hours or until set. You can serve with berries and a berry sauce of some kind. I used Smucker’s PlateScapers for the berry sauce adding small circles to the top of the panna cotta for a stylish presentation.

Do you have a recipe that you want to try with a Silk Product? Head on over to Silk for some special deals that you don’t want to pass up! Then come on back and tell me what you are going to make!!

This is a sponsored conversation written by me on behalf of Silk. The opinions and text are all mine.

  • « Go to Previous Page
  • Page 1
  • Interim pages omitted …
  • Page 331
  • Page 332
  • Page 333
  • Page 334
  • Page 335
  • Interim pages omitted …
  • Page 514
  • Go to Next Page »

Primary Sidebar

Heather from Whipperberry
Hello... my name is Heather and I'm the creator of WhipperBerry a creative lifestyle blog packed full of great recipes and creative ideas for your home and family. I find I am happiest when I'm living a creative life and I love to share what I've been up to along the way... Come explore, my hope is that you'll leave inspired!

Footer

  • Privacy Policy
  • Crafts
  • Food
  • Gifts
  • Holidays
  • Home
  • Mom Life
  • Recipes
  • Travel

Copyright © 2026 · Seasoned Pro