• Skip to primary navigation
  • Skip to main content
  • Skip to primary sidebar
  • Skip to footer

Whipperberry

WhipperBerry • Your Home For Creative Inspiration

  • Home
  • Recipes
    • Starters
    • Easy Weeknight Dinners
    • Main Dish
    • Salads
    • Side Dish
    • Soups & Stews
    • Desserts
    • Breakfast
    • Miscellaneous
  • Tutorials
    • Creative Crafts
    • DIY Decor
    • Fabric Crafts
    • Food How-To
    • Jewlery
    • Paint Projects
    • Paper Art
    • Party Styling
    • Photography and Graphic Design
    • Silhouette
  • Holidays
    • Easter
    • Mother’s Day
    • Father’s Day
    • 4th of July
    • Halloween
    • Thanksgiving
    • Christmas
    • Valentine’s Day
  • Gift Ideas
    • Gifts For Everyone
    • Gifts for Dad
    • Mother’s day
    • For The Girls
    • For The Kids
    • Teacher Gift Ideas
    • Christmas
  • Printables
    • Holiday
    • Gift Idea
    • LDS Primary
  • Travel
  • About
    • Terms
  • Contact
  • Nav Social Menu

    • Facebook
    • Instagram
    • Pinterest
    • RSS
    • Twitter

Michaels Maker

Tips for Carefree Family Fun

4 · Aug 9, 2017 · 1 Comment

With Summer in full swing, it’s prime time for family get togethers. Come learn how we create carefree family fun with our family and friends!

• I’ve partnered with Carnival Cruise Line to create this post! Enjoy! •

Come learn how to create carefree family fun with simple to make yard games via WhipperBerry.

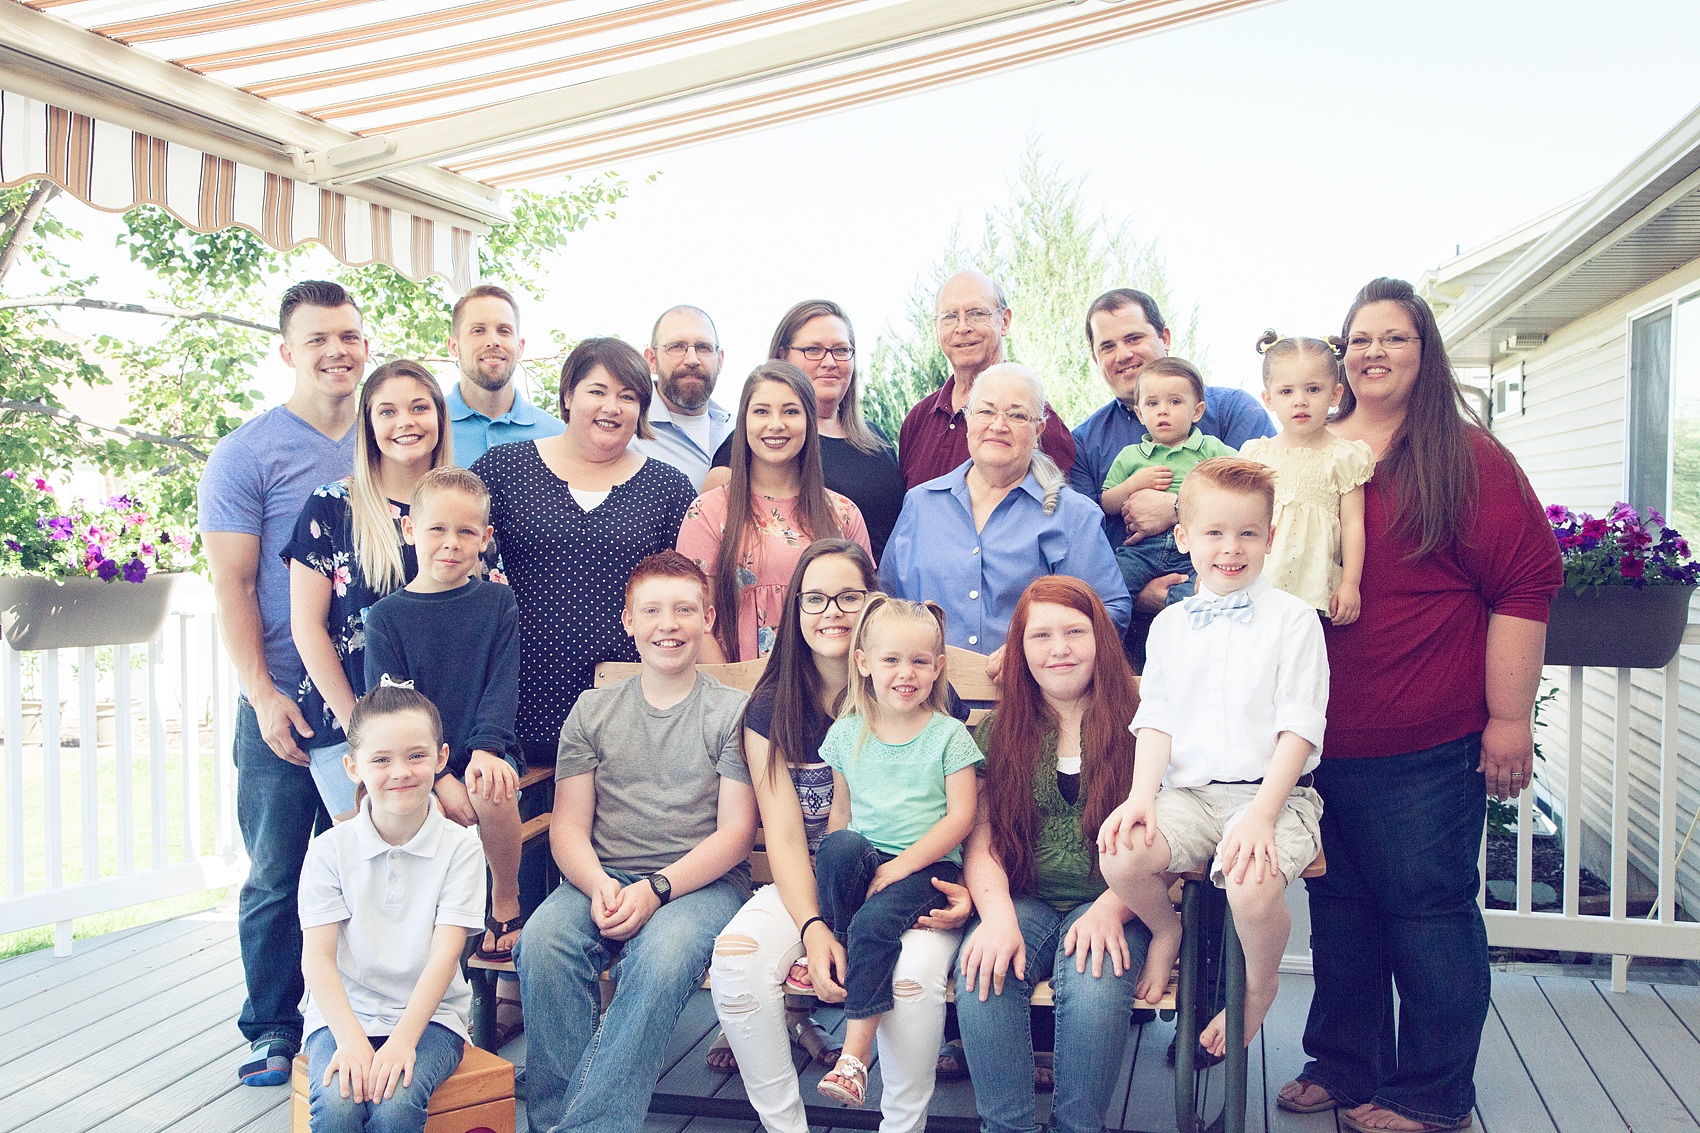
When Summer rolls in it’s time for family fun in the sun, playing at the pool and of course family reunions. Our family is actually at our annual family reunion right now in Idaho and we are having a ball! With our family, one of the challenges that we face is coming up with activities and get togethers that are fun for all ages.

Come learn how to create carefree family fun with simple to make yard games via WhipperBerry.

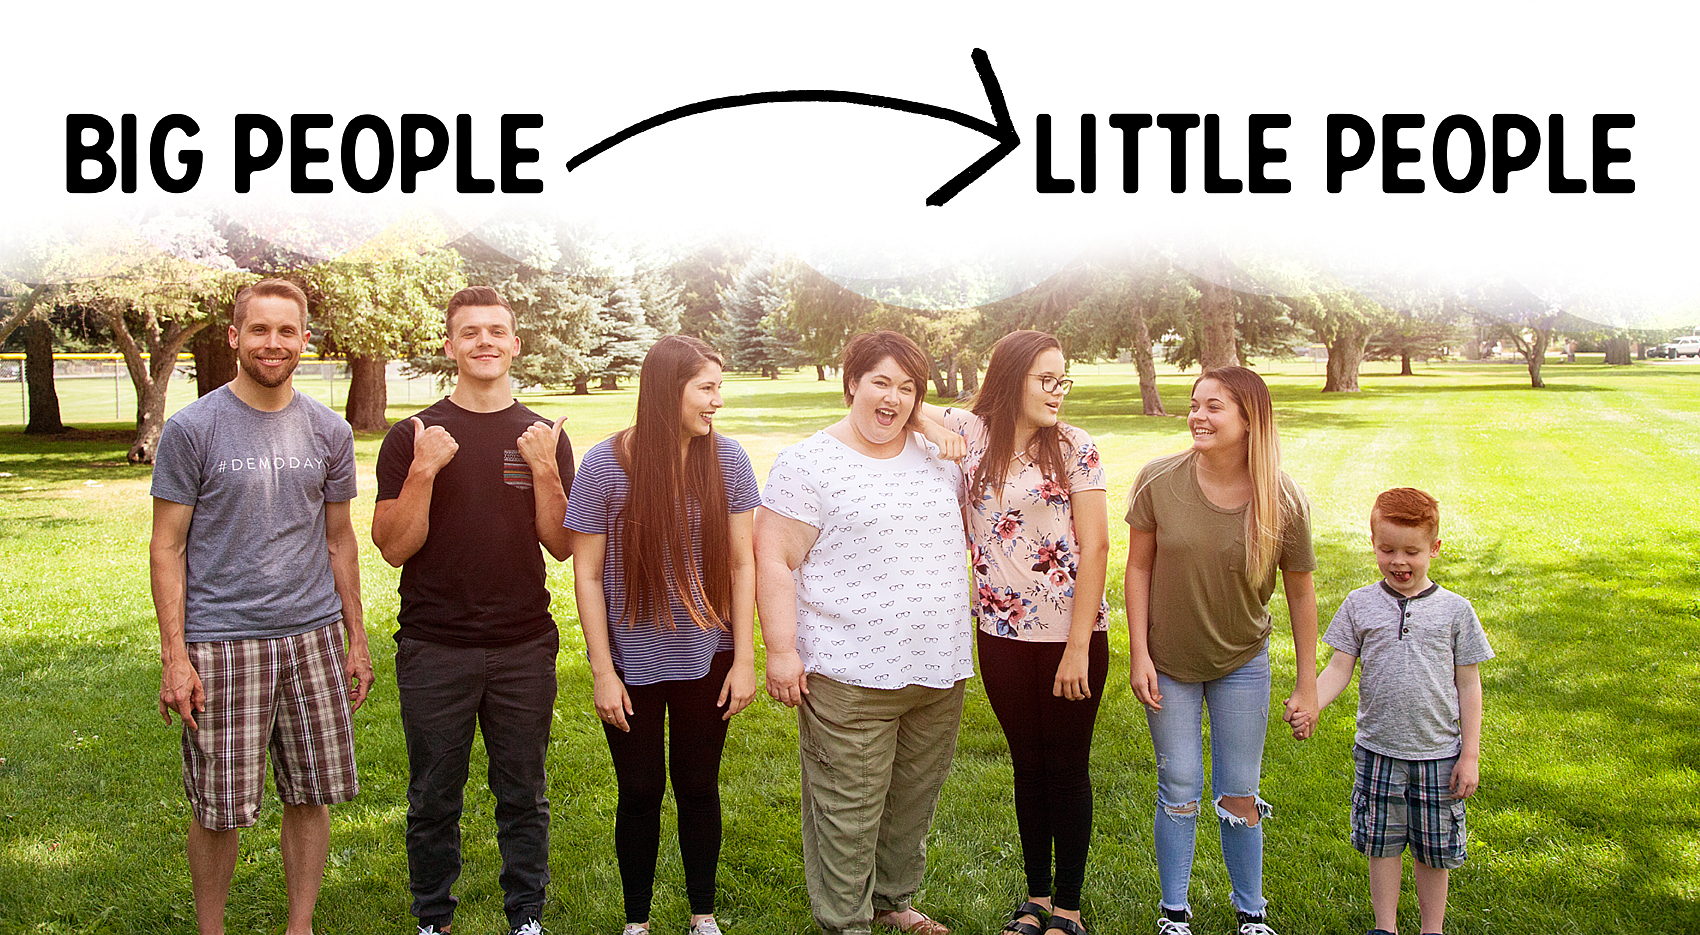
We have struggled in the past with the various ages that need to be entertained in our family. Our family has all ages… Elementary age, Middle School, High School & College age kiddos. Yeah, we know how to spread them out! Then, if you include the extended family, we have a whole other crew of infants through pre-school as well. Looking at the other end of the spectrum, we have young adults, middle aged and seniors as  well. We pretty much have the whole rainbow of ages in our family. How on earth do you entertain a crew like this?

Come learn how to create carefree family fun with simple to make yard games via WhipperBerry.

Well, let me tell ya… It can be a challenge. Here are some of our tips for carefree family fun!

Tips for Carefree Family Fun

  • Keep things simple
  • Plan healthy, energy promoting yet simple meals
  • Create activities that can be entertaining for all ages
  • Schedule down time
  • Keep things relaxed and fun, don’t let your expectations get out of control

Keep Things Simple

When dealing with all ages, the more simple the activity the better. Plan activities that the whole family will enjoy. You really don’t need to over schedule yourself to say that you’ve had fun. Right now we are having a ball hanging out in my parents back yard and playing games with the kids. One of these years we are going to make things even more simple and plan a family cruise with Carnival Cruise Line. Carnival is all about fun for all. They have become the masters at finding ways to help the whole family enjoy simple and carefree family fun!

Carnival believes everyone deserves a place to play, where they can jump in on the fun without a second thought. The possibilities for play abound on a Carnival cruise — at any one moment, you may be laughing until your sides ache, singing and dancing your heart out, taking in amazing sights, or savoring mouthwatering bites – all with the help of your crew – the ultimate fun facilitators.  You can’t get more simple than that! They handle all the hard stuff and your only job is to have FUN together!

Plan Heathy Meals

Nothing weighs a group down more than poor meal planning. One cannot live on burgers and hot dogs alone. Plan meals that are easy to prepare ahead of time and help to give everyone healthy energy. Here are some of my favorite go-to recipes that would be perfect for a carefree family get together.

Overnight French Toast a great breakfast OR dessert for large gatherings.

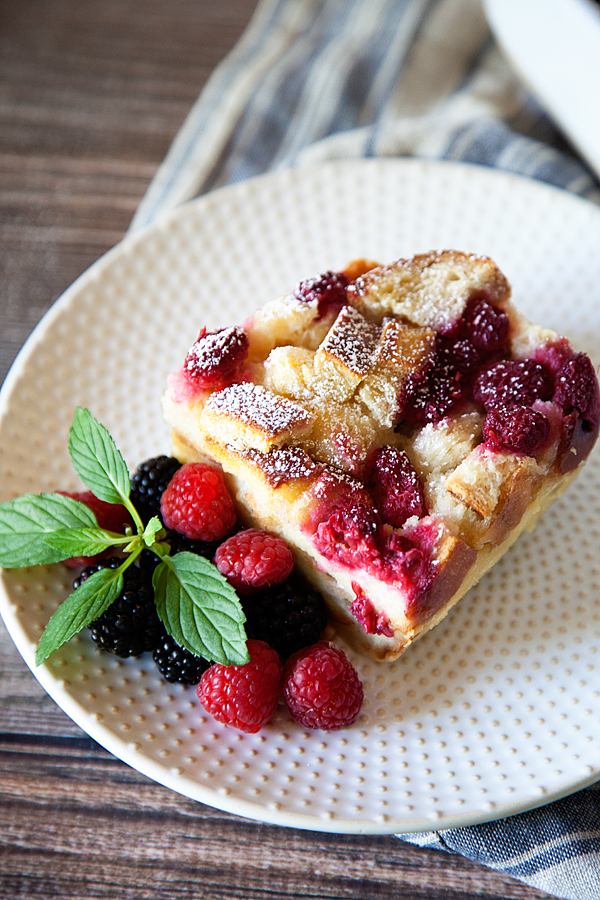
• Overnight French Toast + a PERFECT prep-ahead breakfast that everyone will love •

Breakfast Power Bowl + Perfect for family get togethers

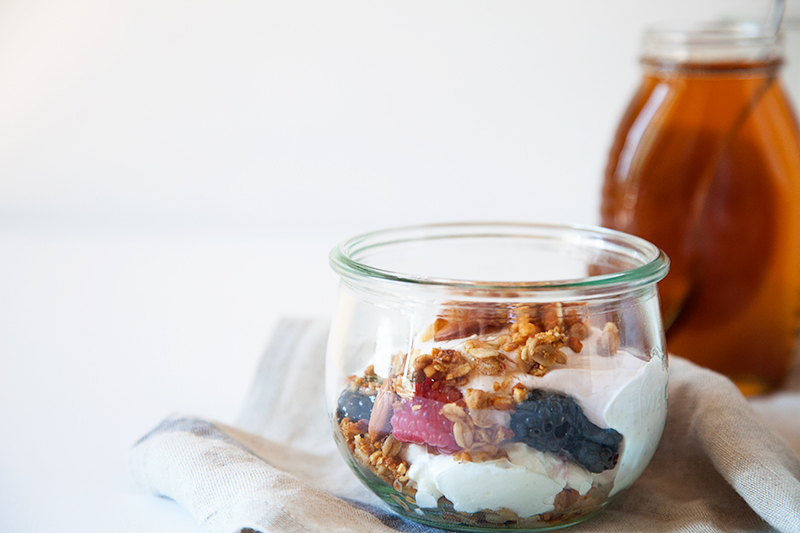
• Breakfast Power Bowls + This is a simple breakfast that is easy to customize to everyone’s taste •

The BEST Chicken Salad recipe. Perfect for large family gatherings from WhipperBerry.

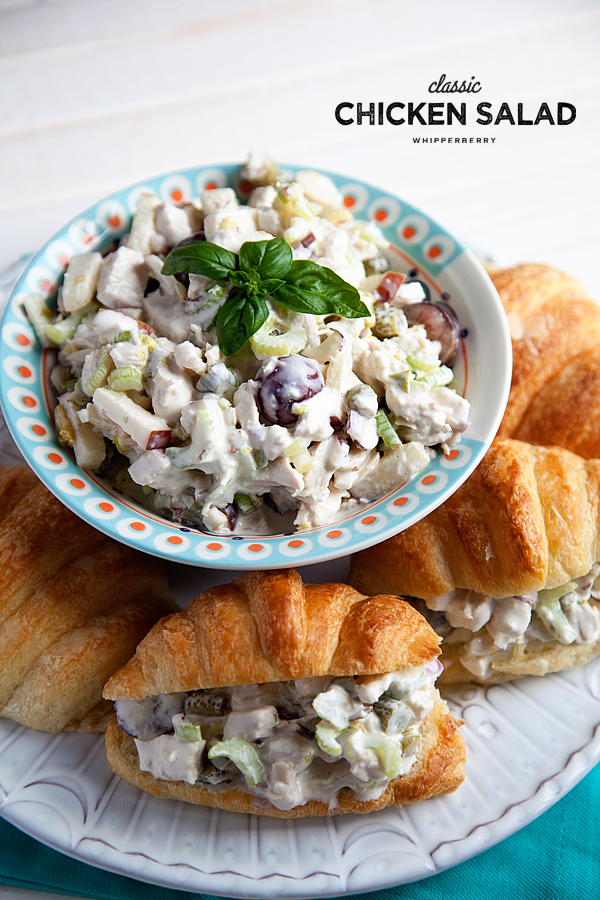
• The BEST Chicken Salad Recipe + Perfect to make ahead of time! •

Onion and Poppy Seed Salad from WhipperBerry + Another crowd pleaser

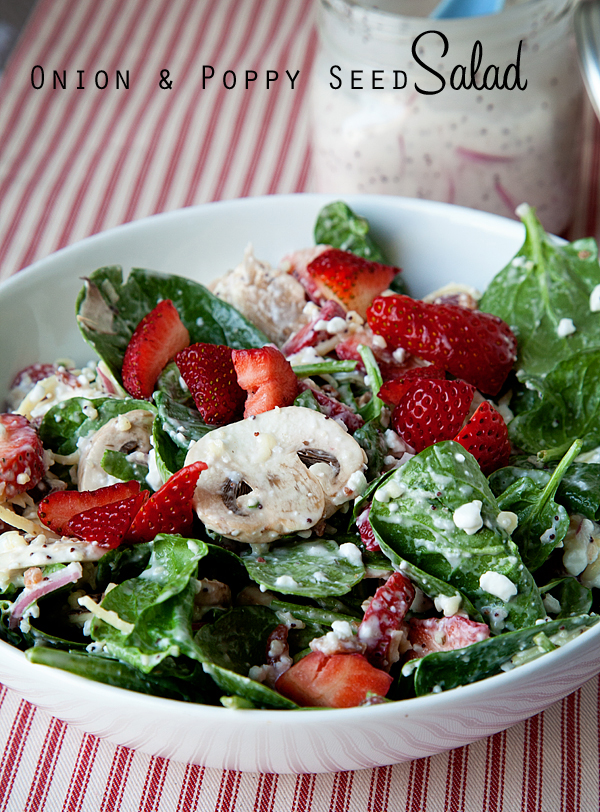
• Onion and Poppy Seed Salad + Another crowd pleaser •

And that’s just a few of our favorites! Checkout my Pinterest board for other great WhipperBerry recipes.

Now, if you aren’t into cooking and want someone else to take the helm in that area, … man oh man, Carnival is the way to go. The Carnival Chef’s know how to tickle the taste buds and please every palette in your family!

Create Activities that can be Entertaining for all Ages

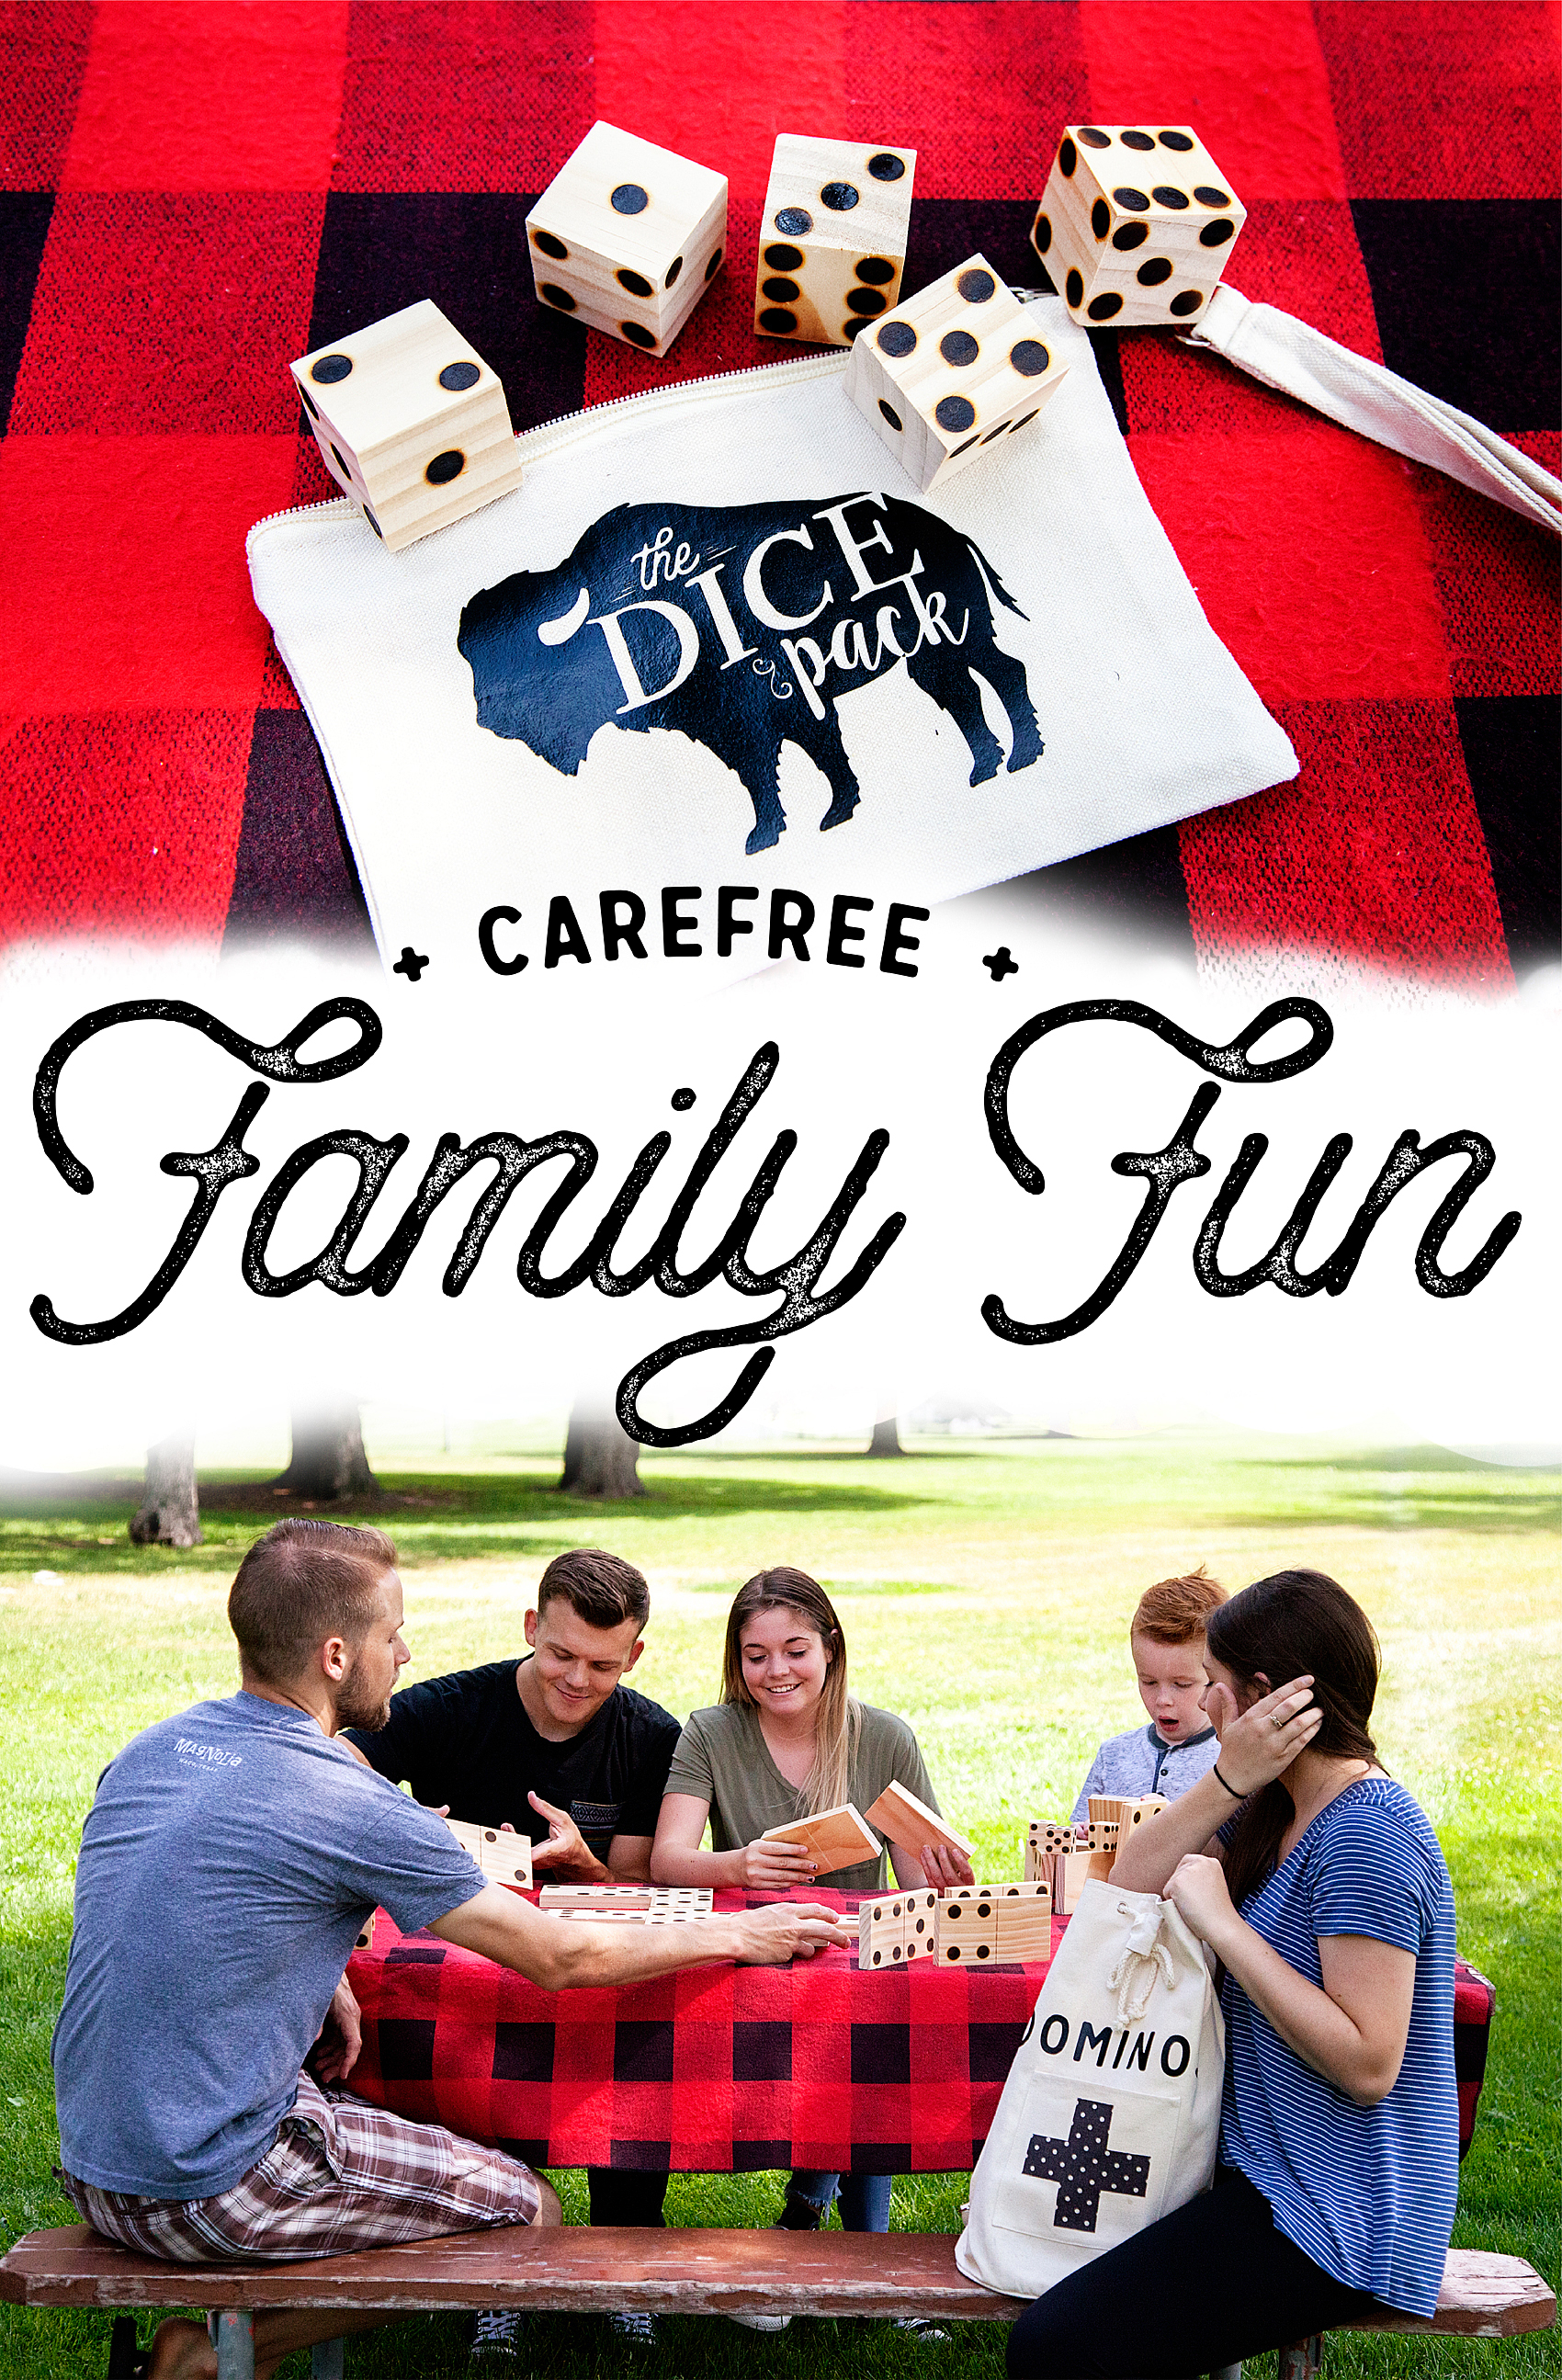
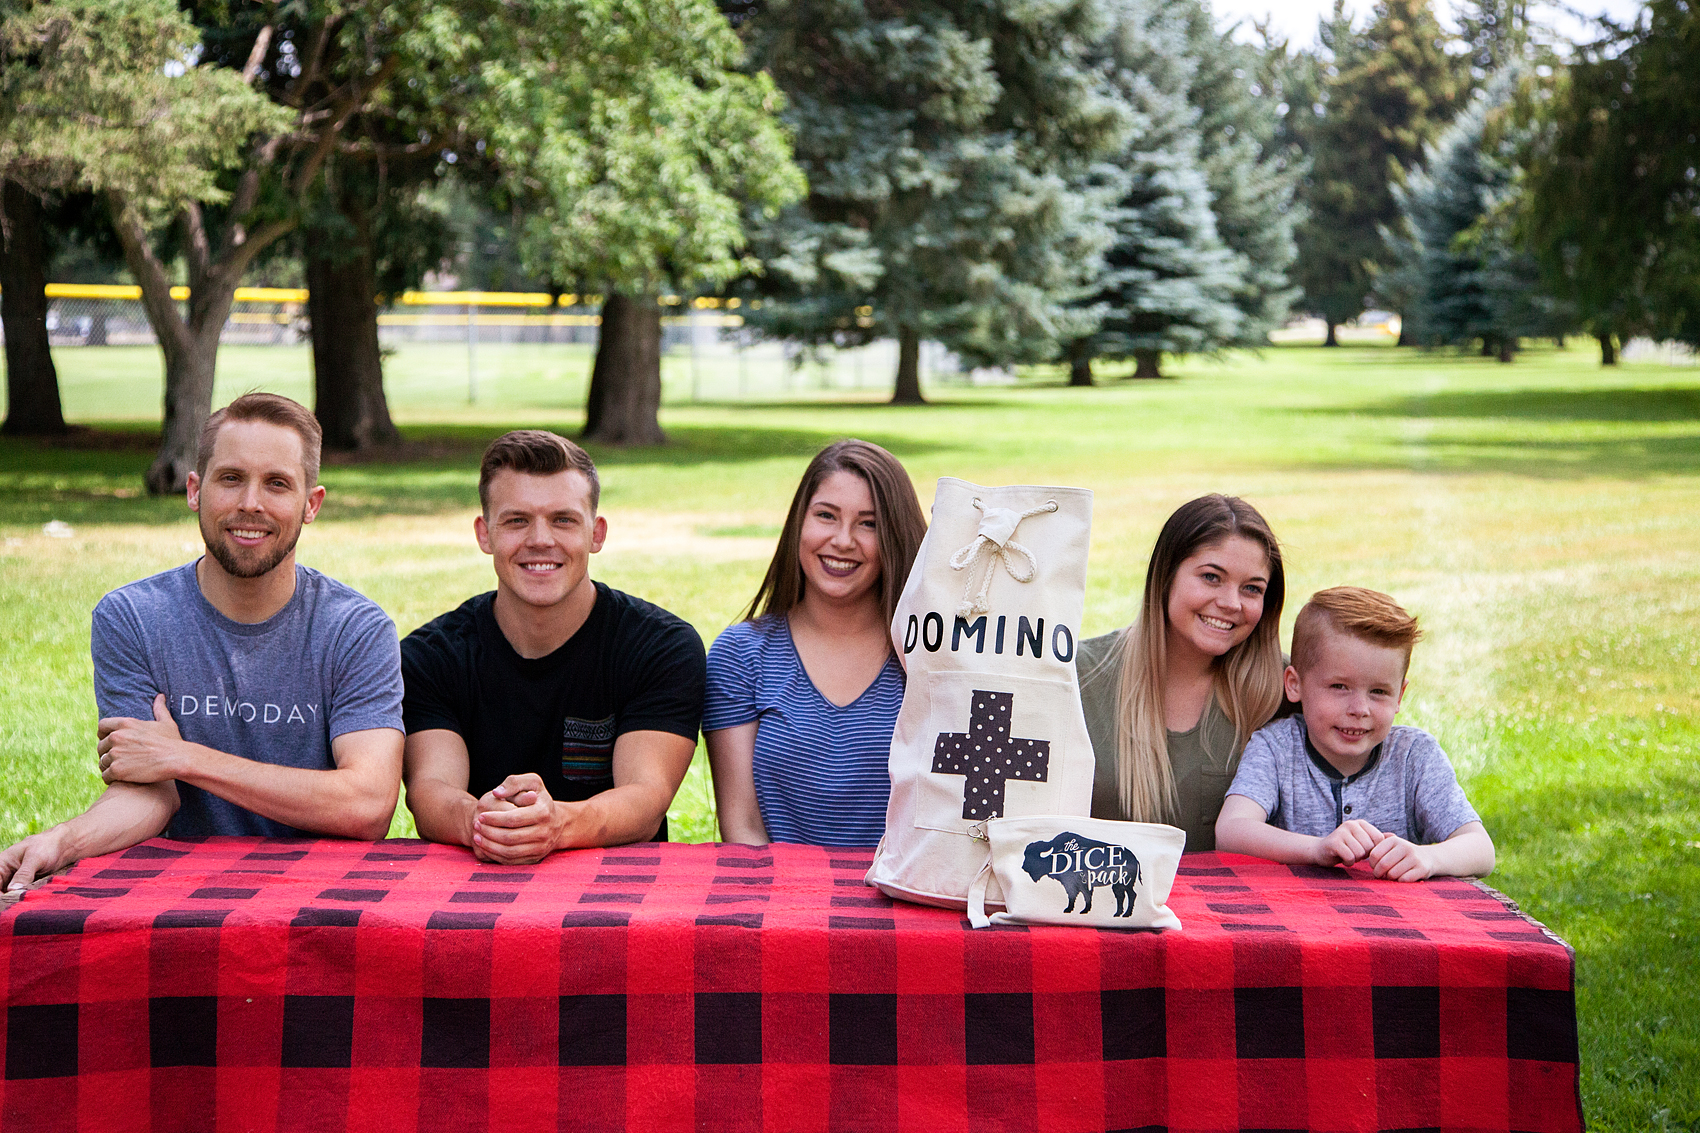
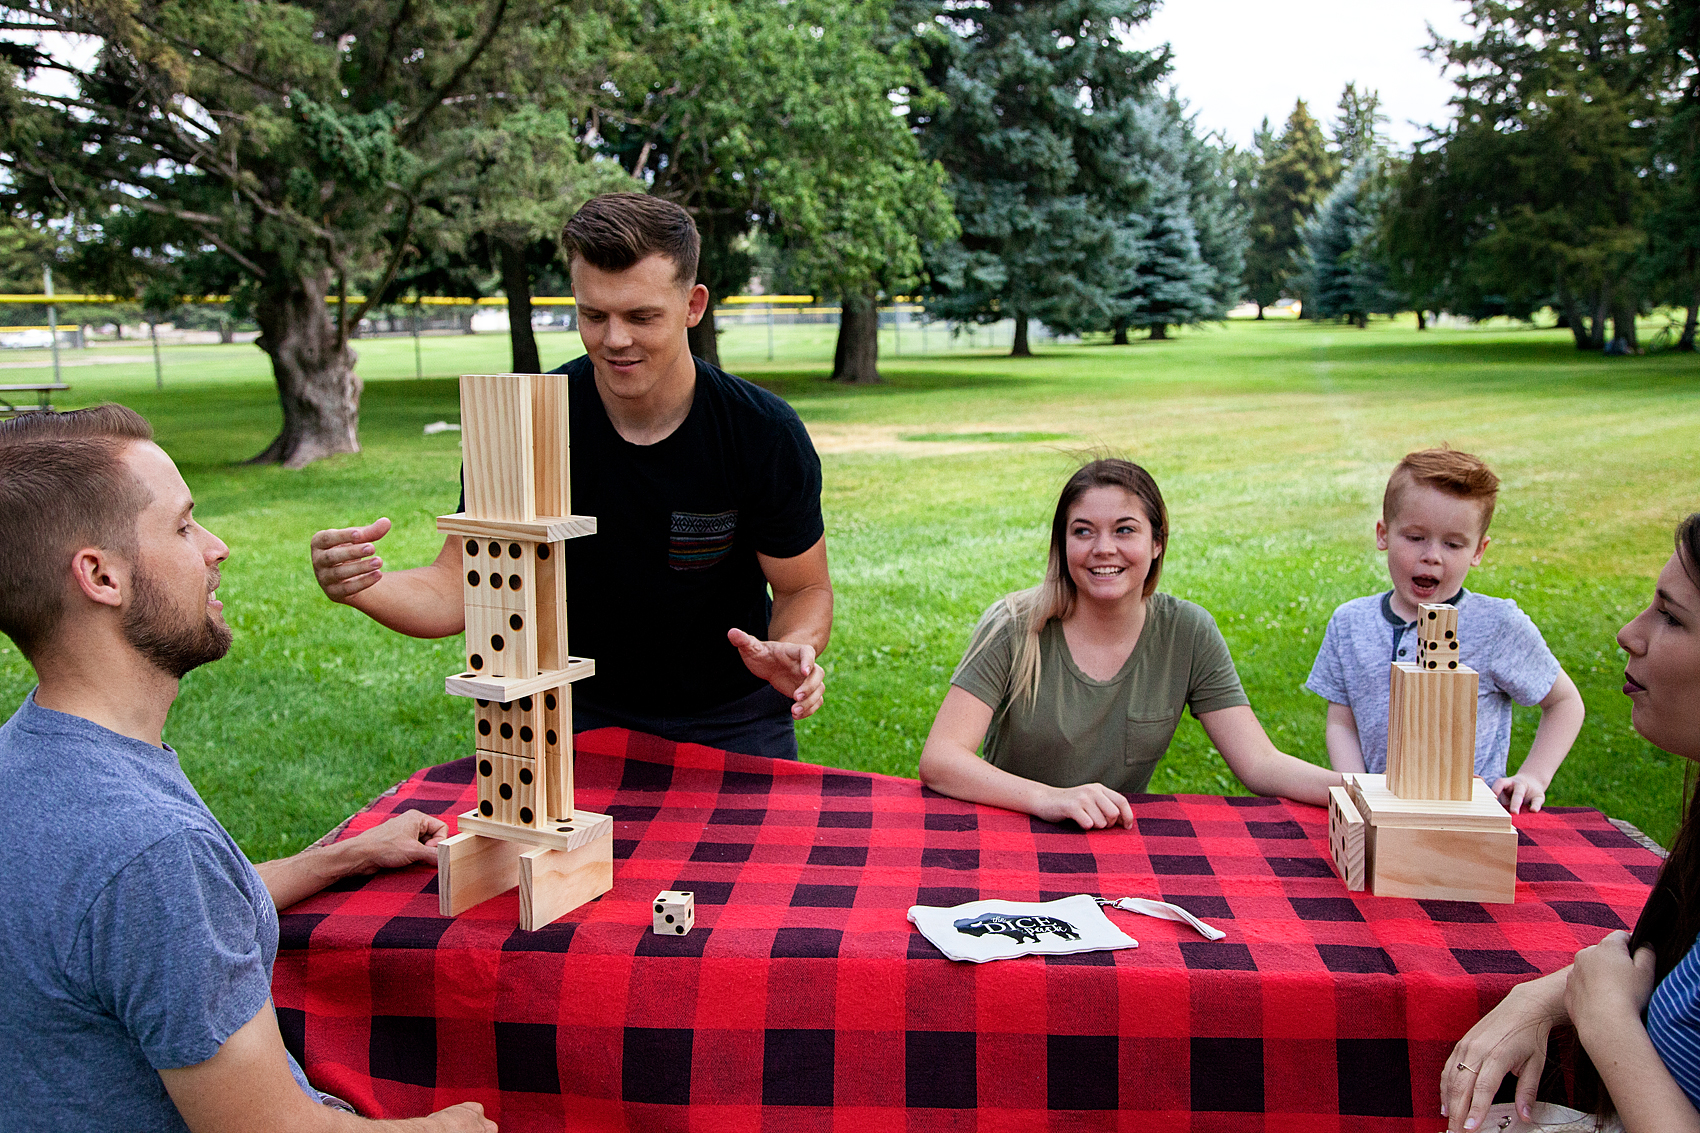
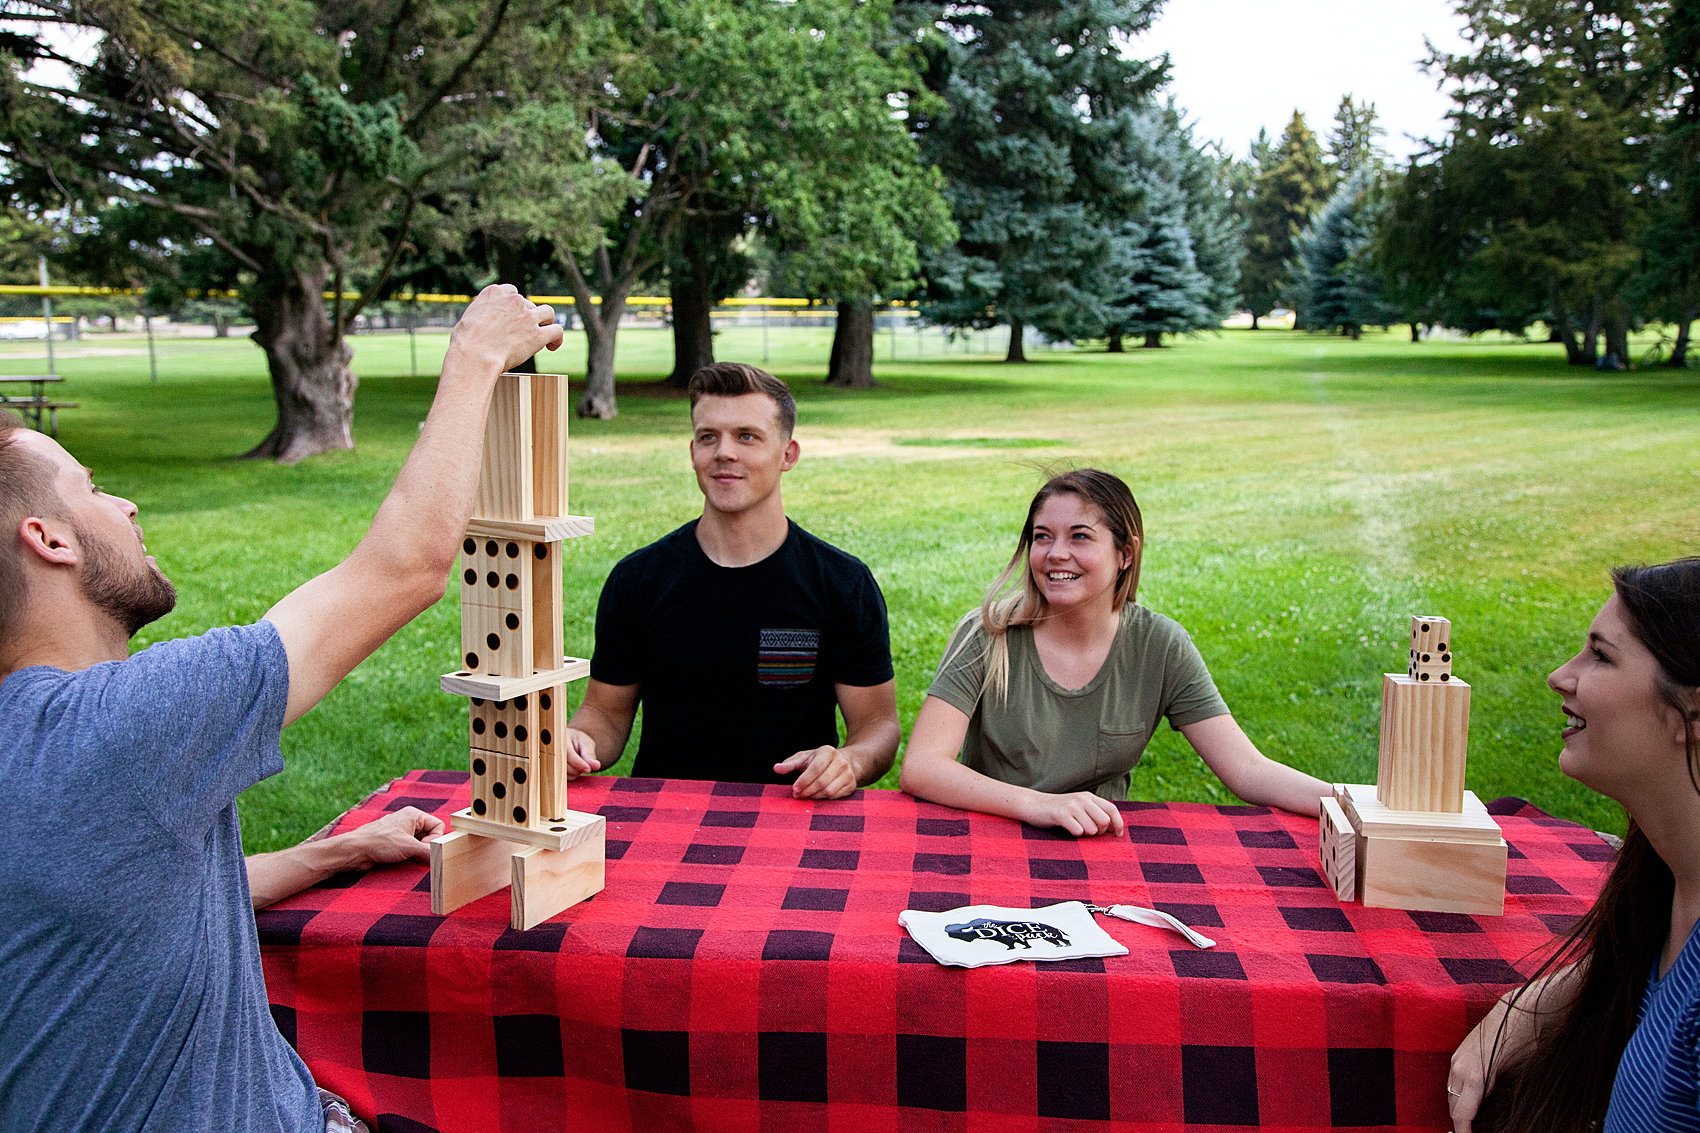
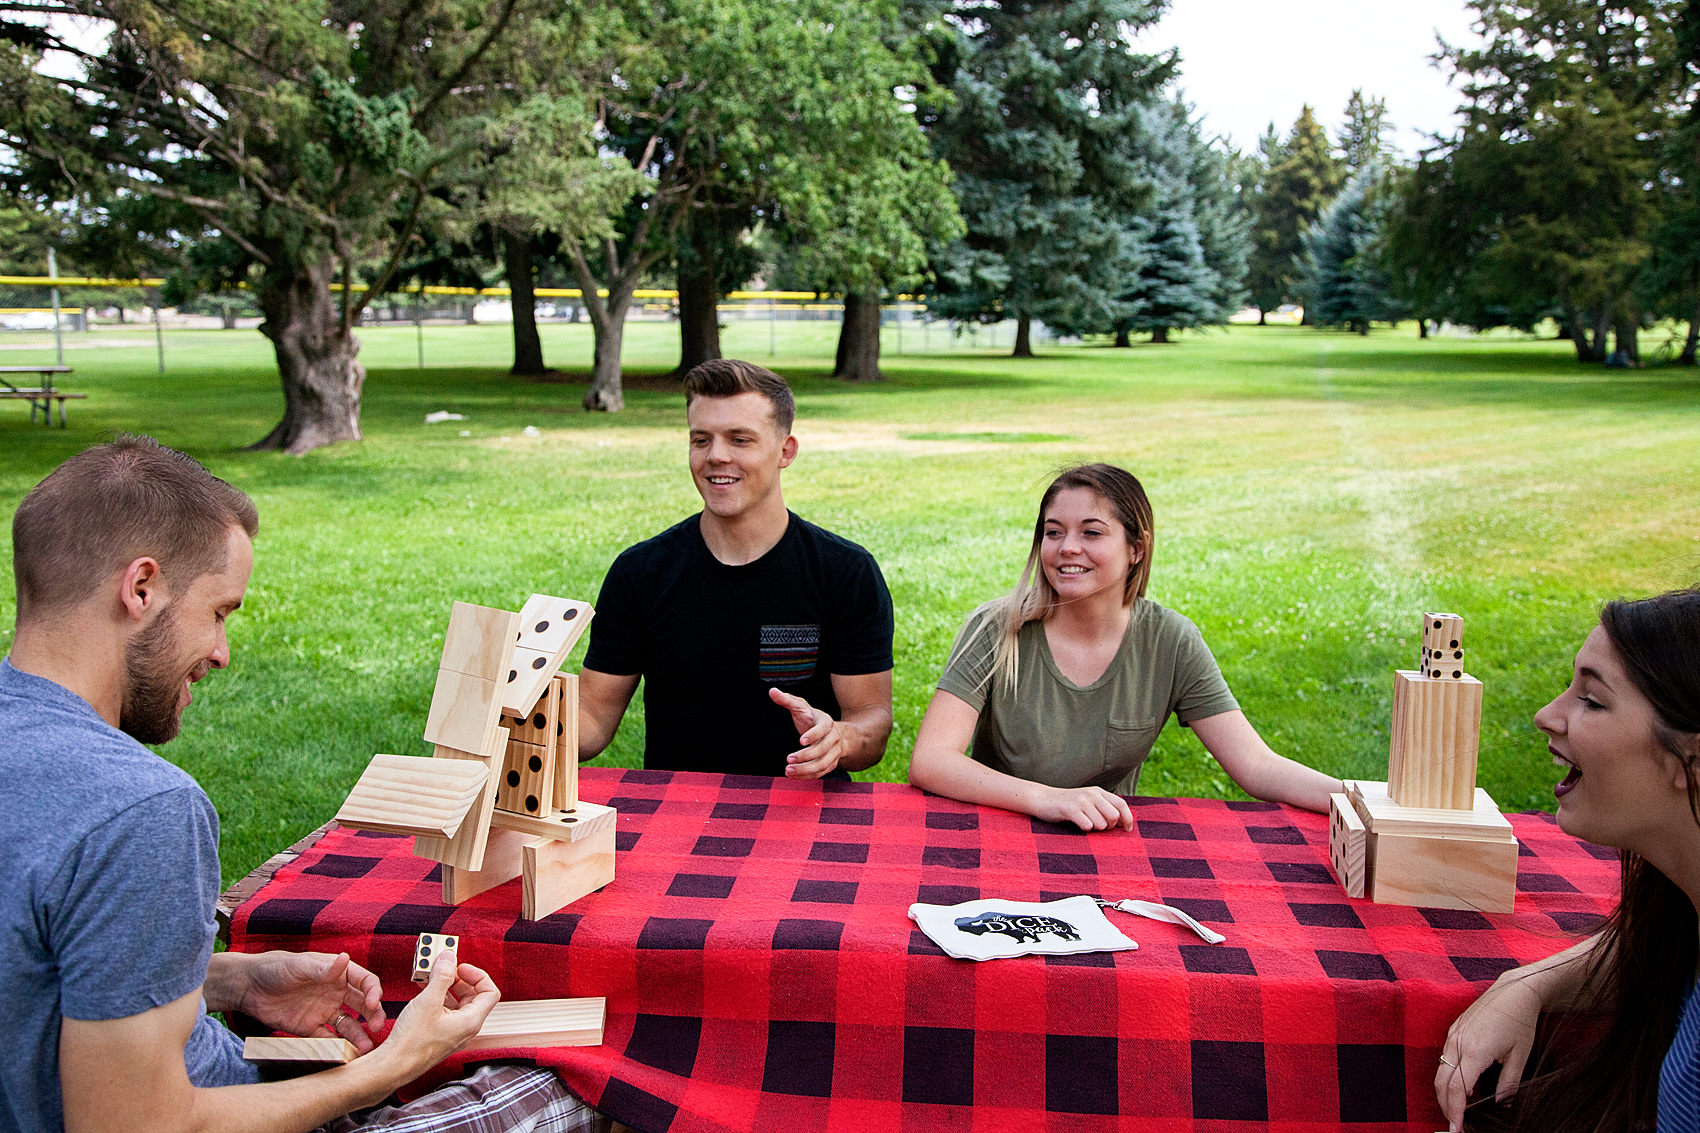
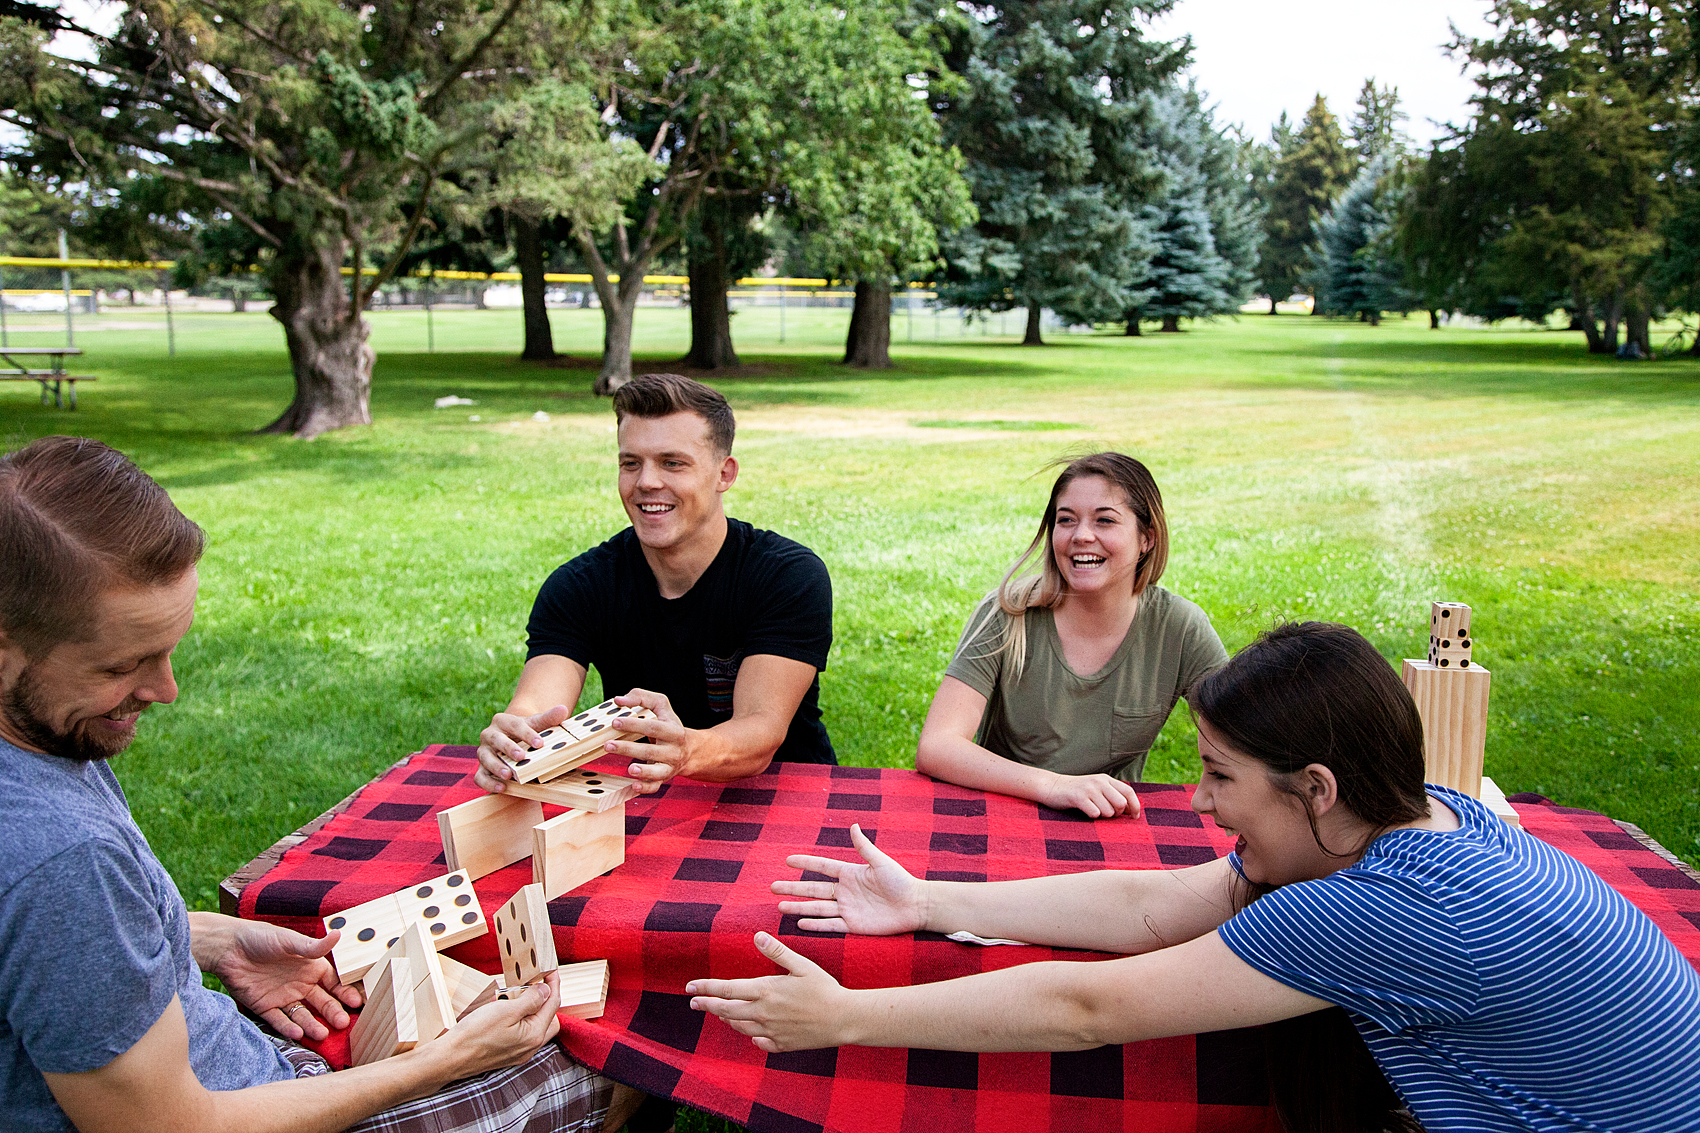
Here’s where the fun never ends… It can be hard to find activities that everyone will love. We’ve found that yard games tend to be a huge hit with the littles all the way up to the oldies. There is just something about the novelty of the games. What’s fun is that they are easy to DIY so that you don’t have to spend and arm and a leg for them.

We’ve created a set of medium sized yard dominos and some small dice that everyone LOVES to play with.

Come learn how to create carefree family fun with simple to make yard games via WhipperBerry.

Come learn how to create carefree family fun with simple to make yard games via WhipperBerry.

Come learn how to create carefree family fun with simple to make yard games via WhipperBerry.

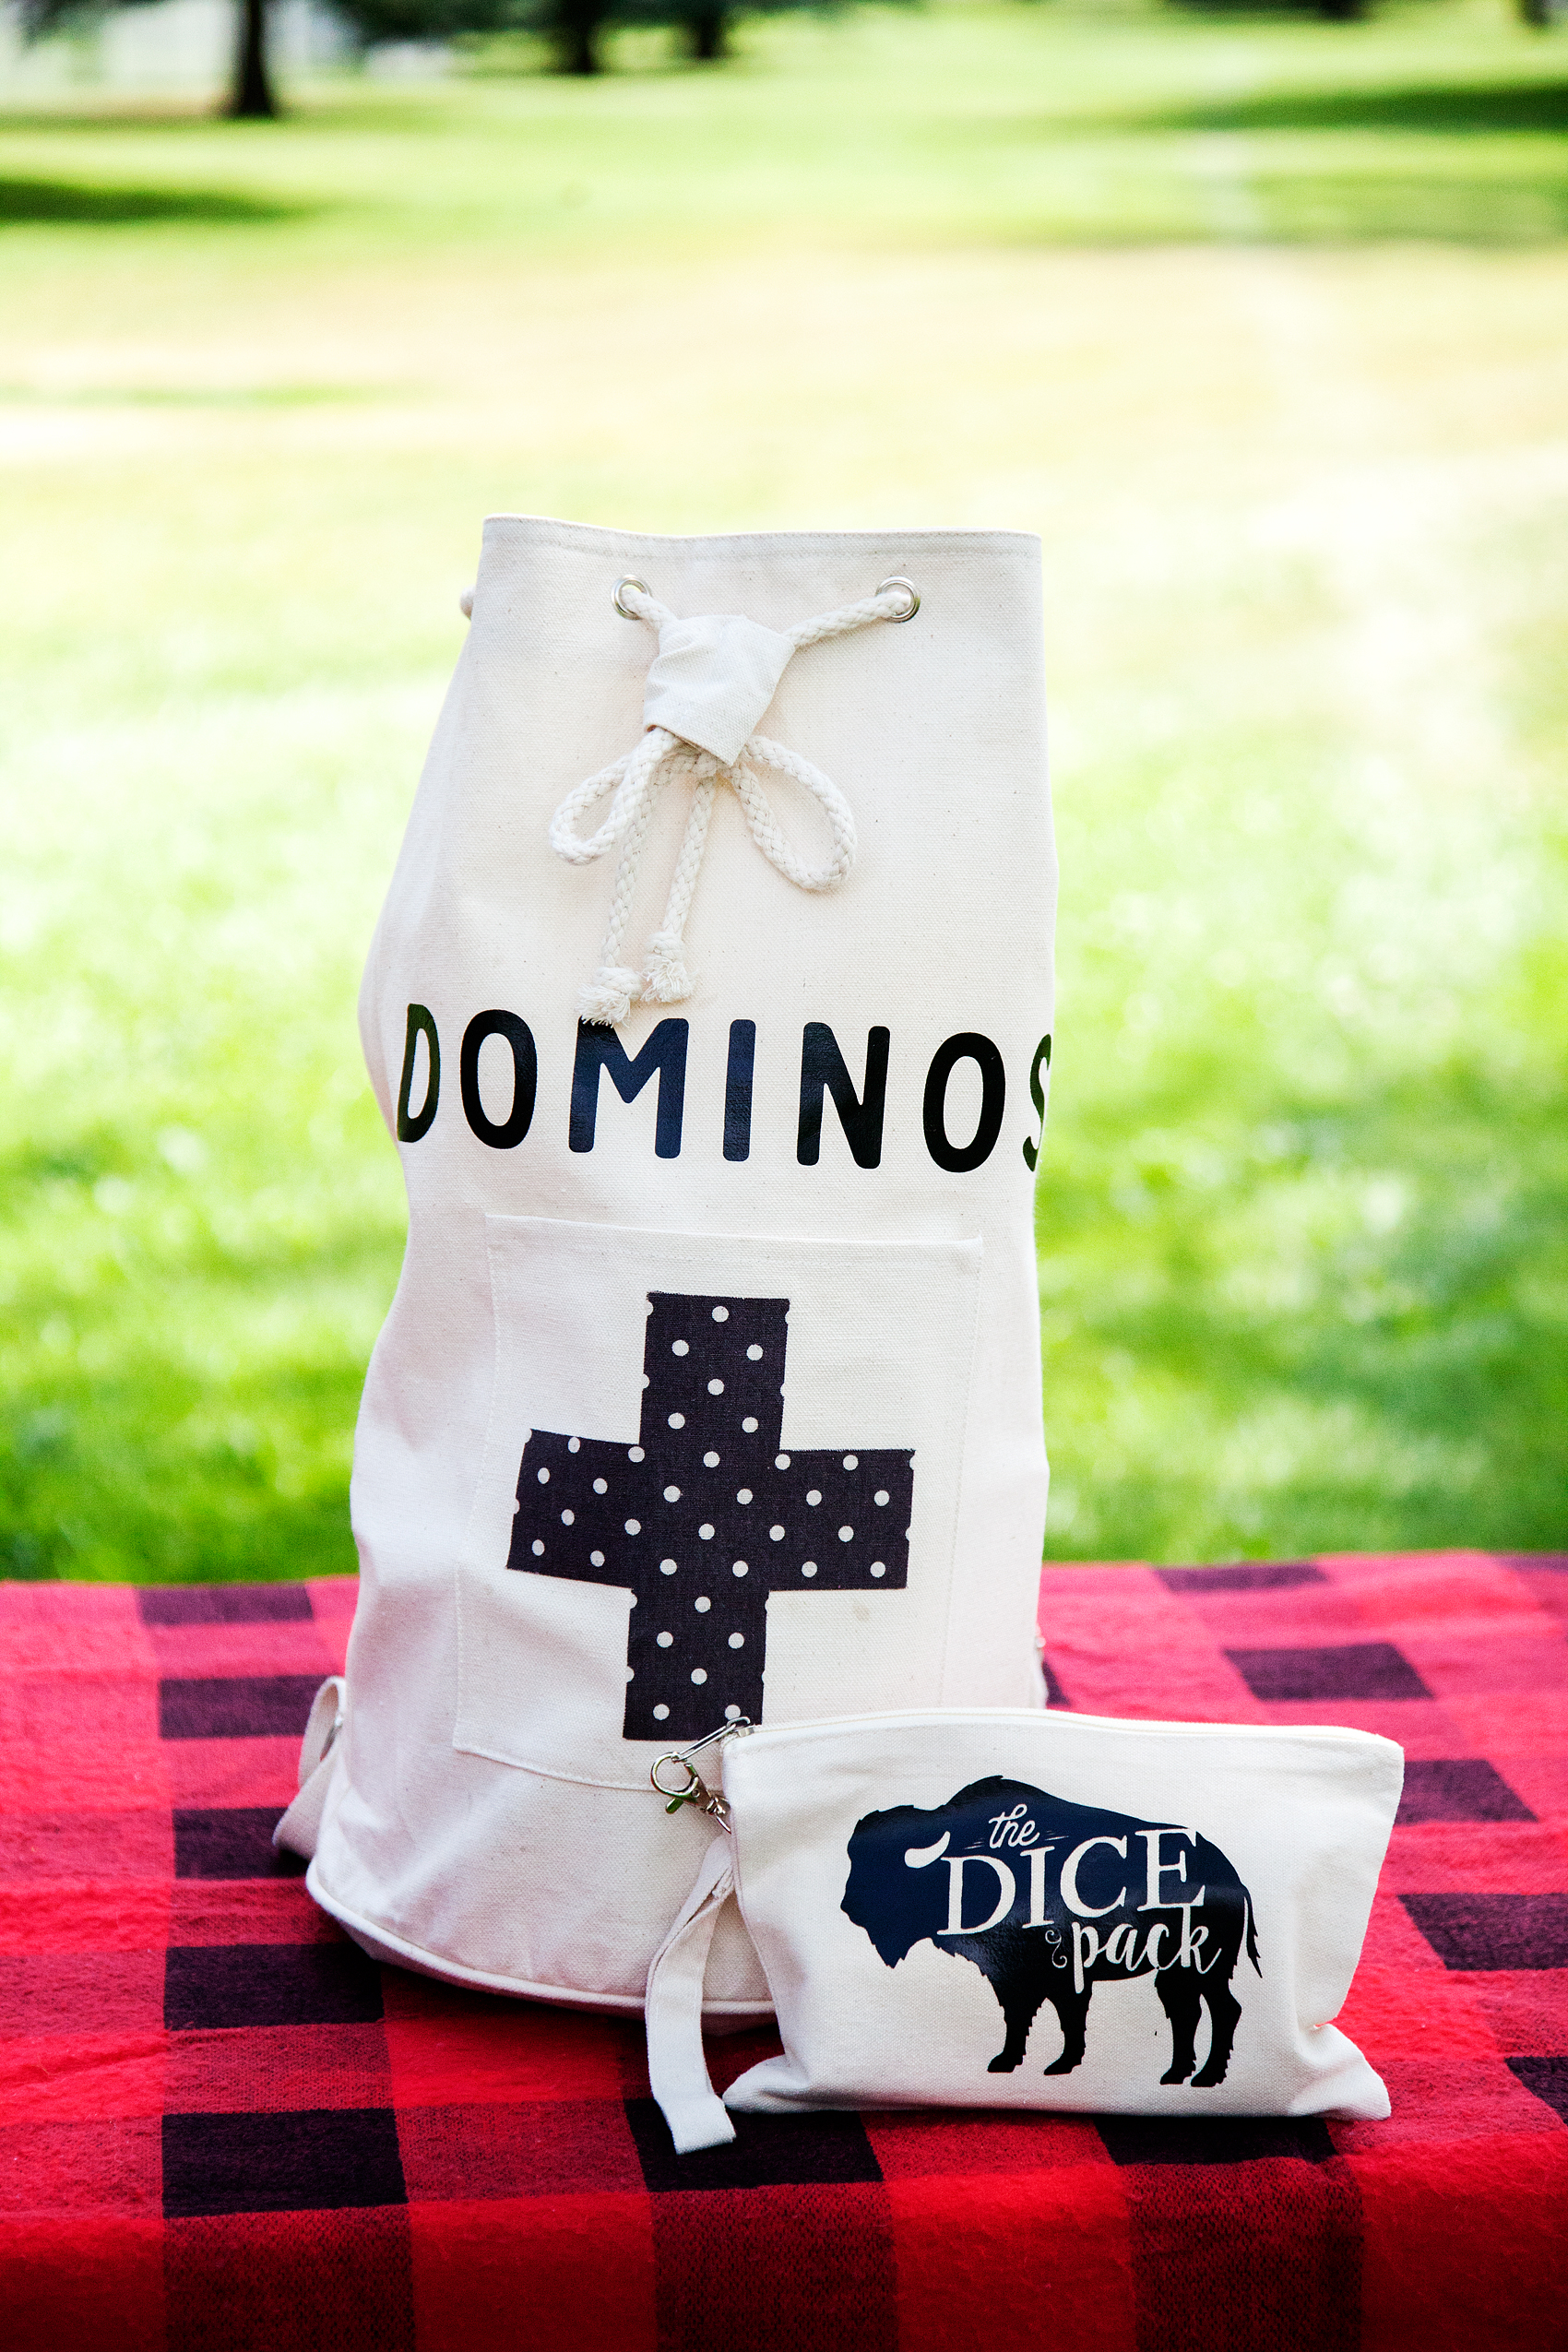
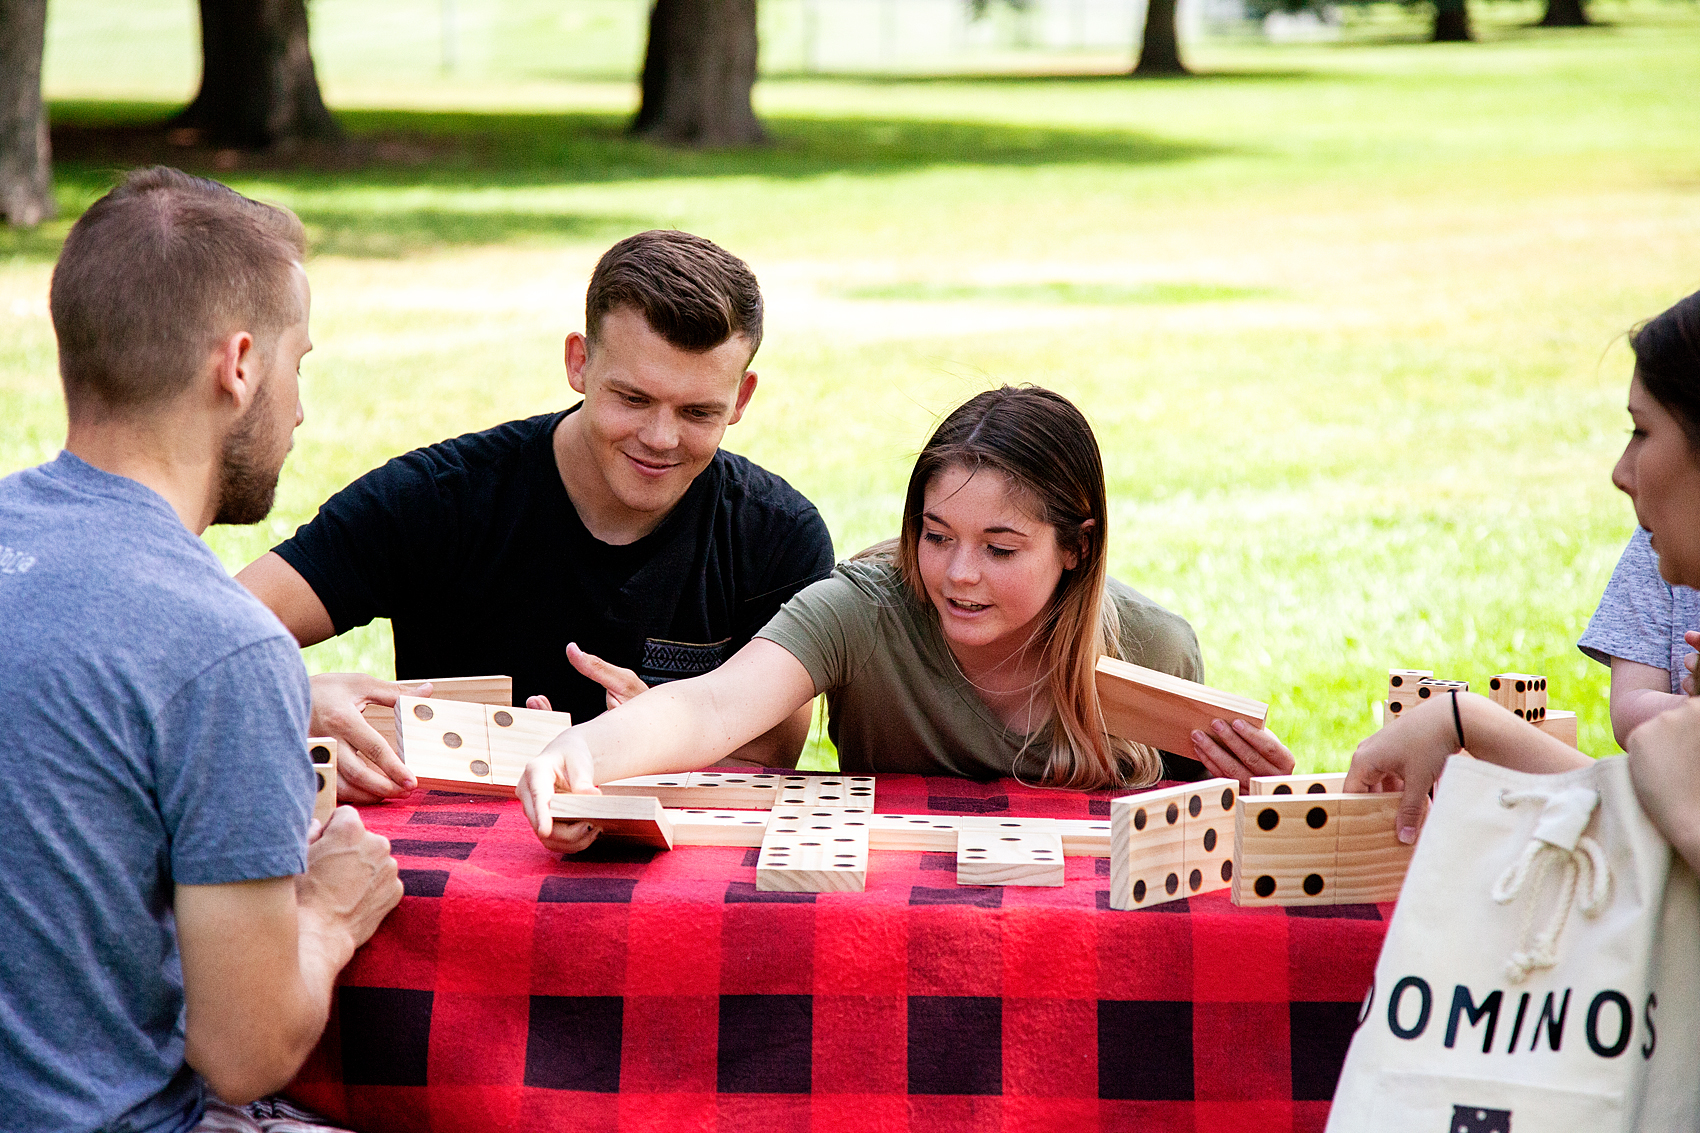
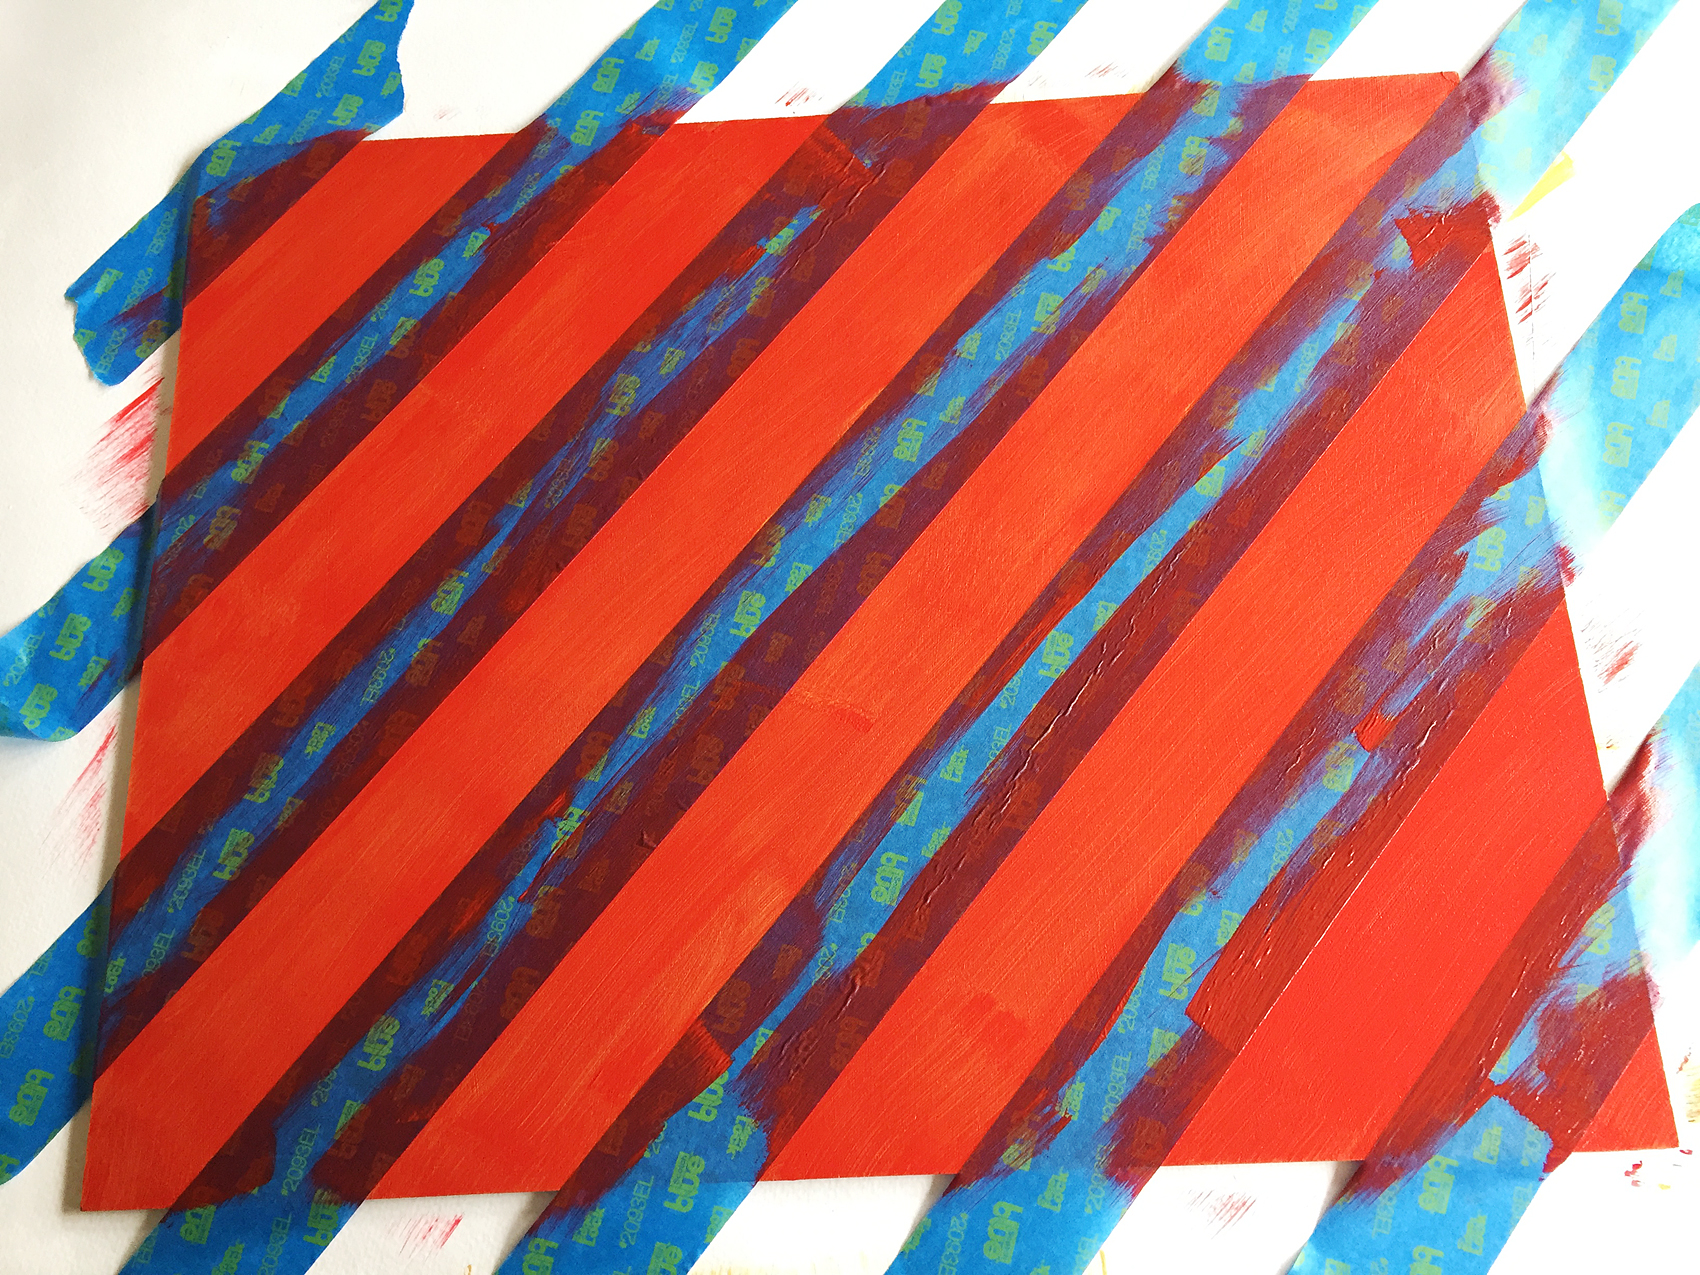
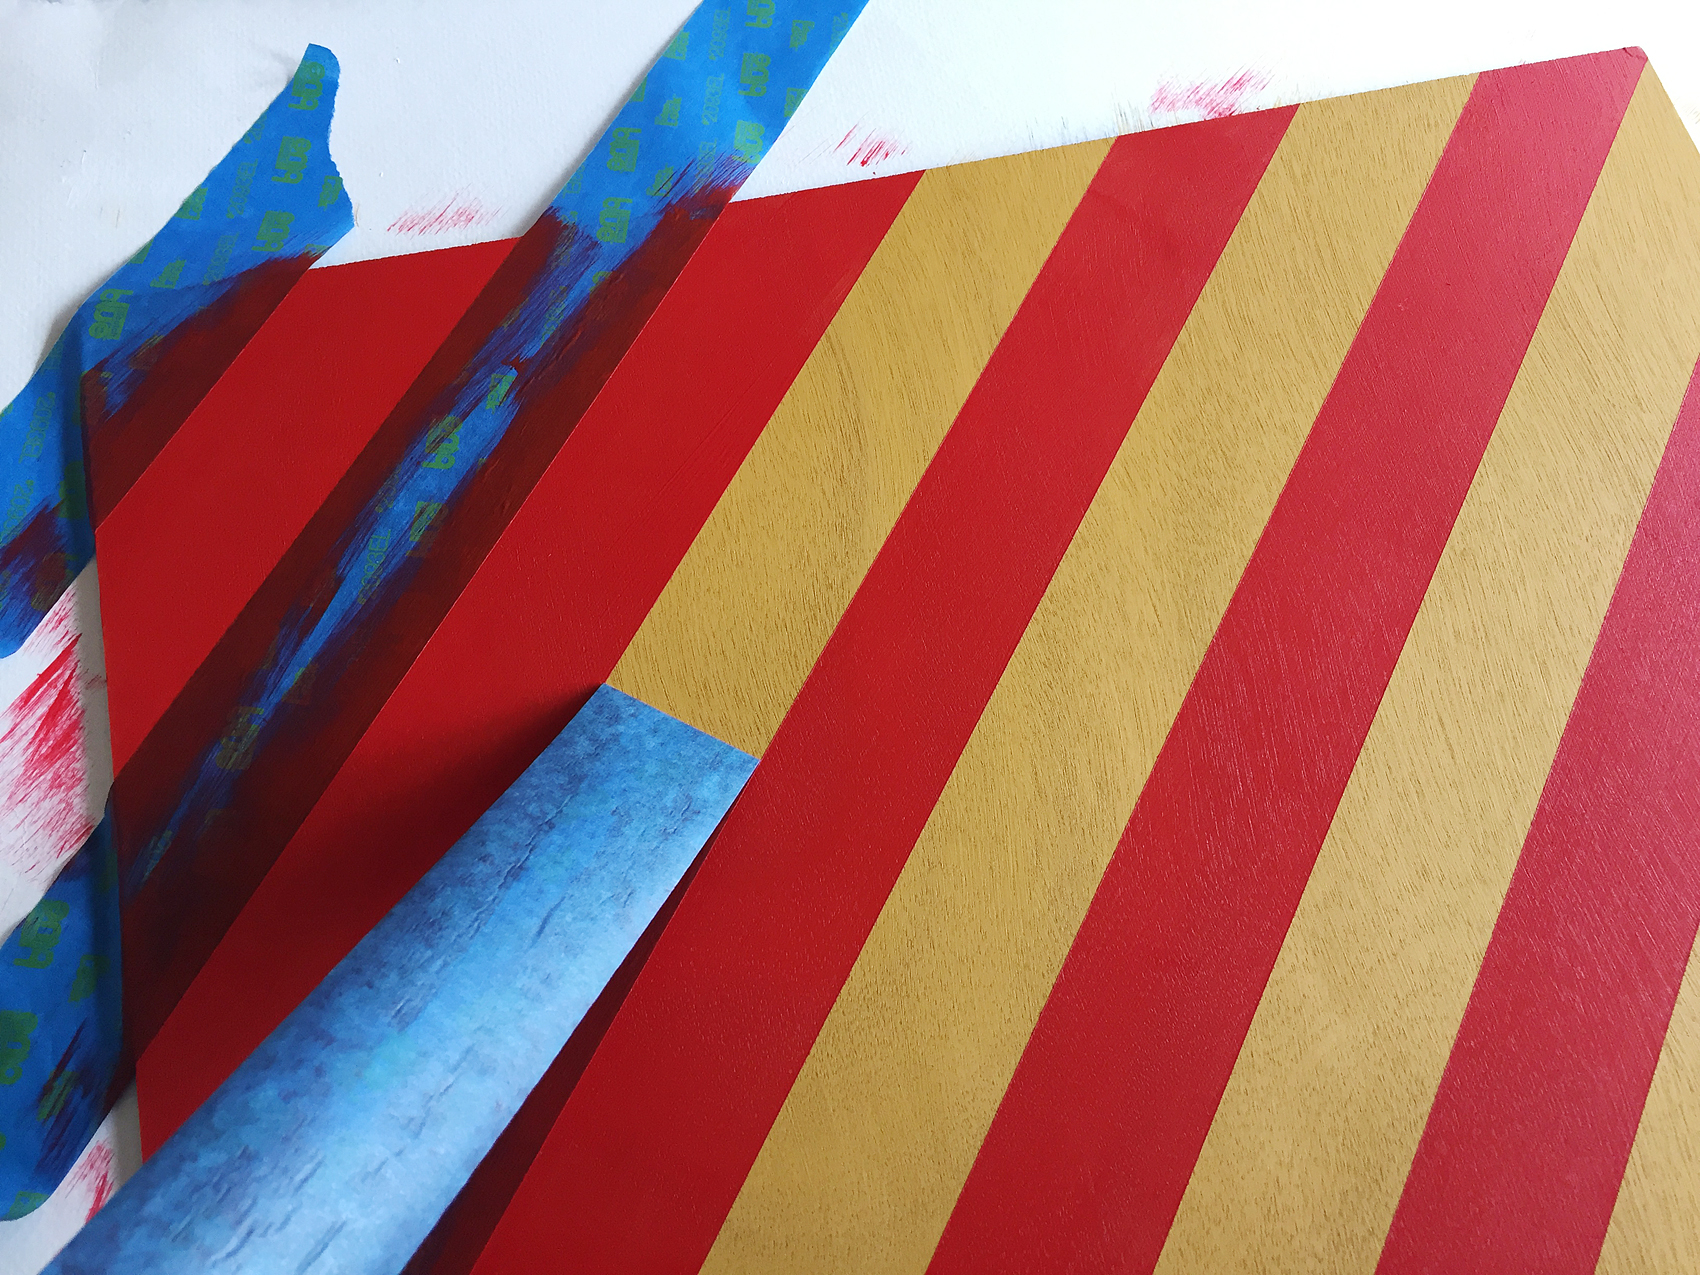
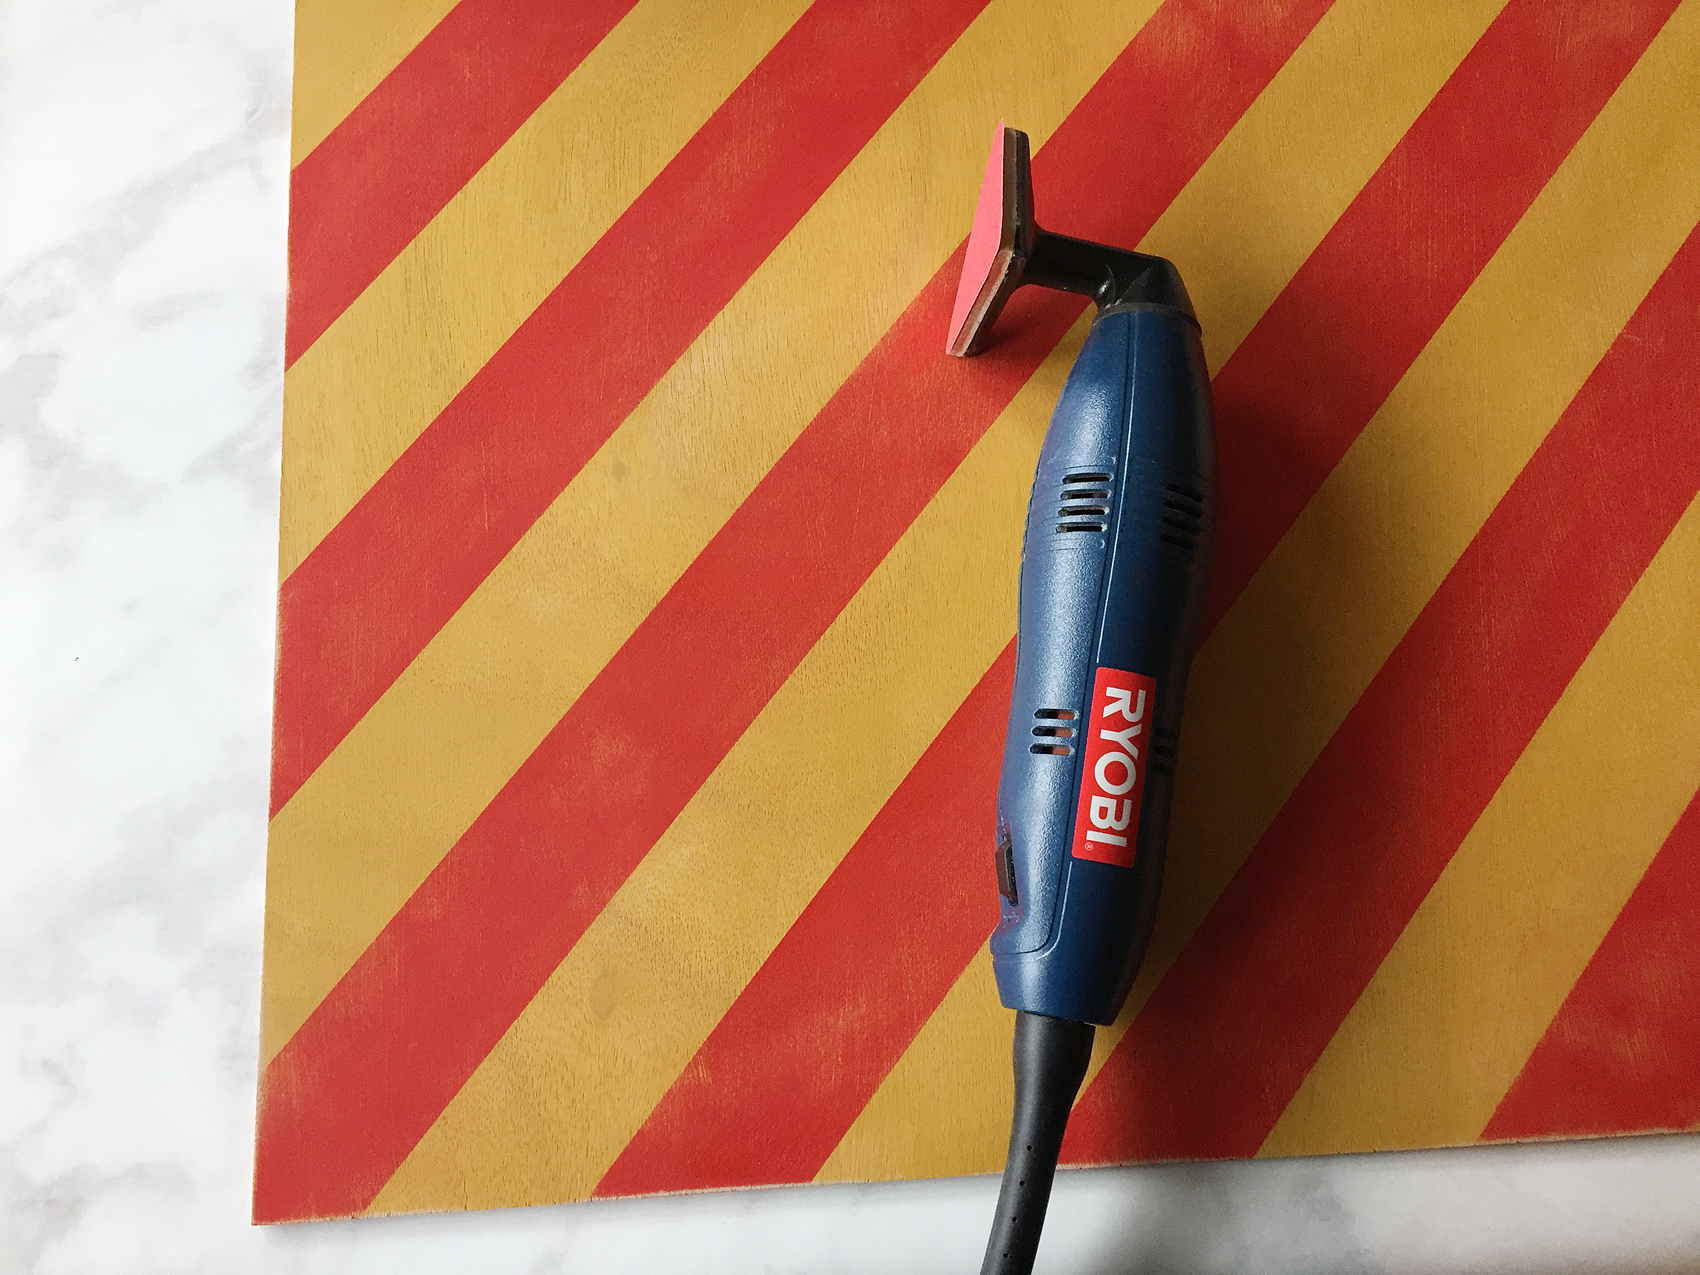
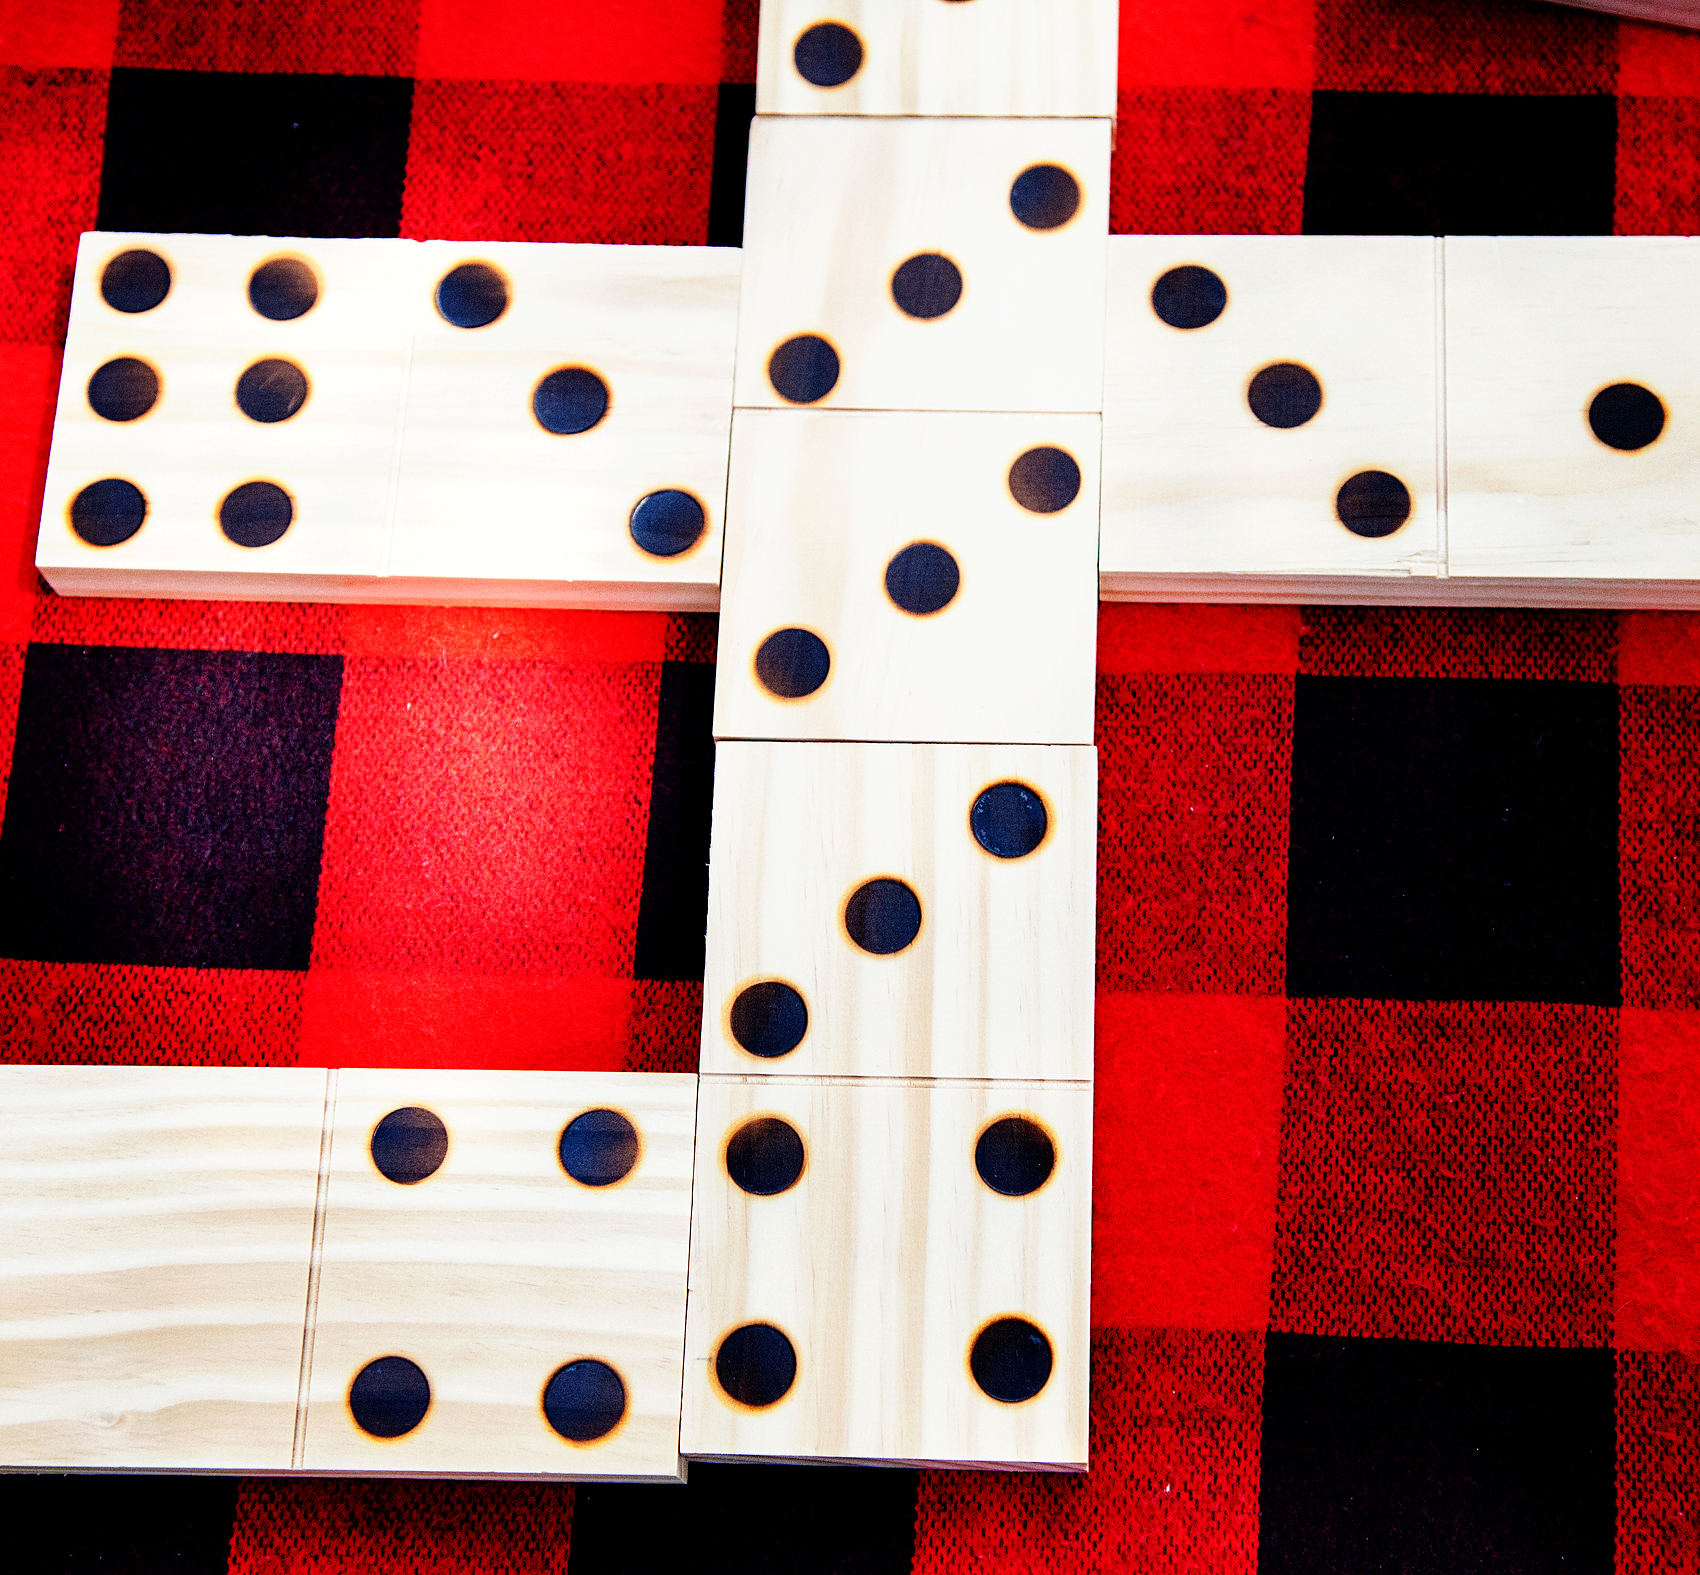
Now I’ve seen dominos that are super big that you play all over your yard and they are super fun. I wanted a smaller set that is easy to store and transport. I cut some 1 x 4 planks into 6 1/2 inch blocks and used a wood burning tool to create the dots. Everyone loves them!

Come learn how to create carefree family fun with simple to make yard games via WhipperBerry.

They even love building towers with them.

Come learn how to create carefree family fun with simple to make yard games via WhipperBerry.

Come learn how to create carefree family fun with simple to make yard games via WhipperBerry.

Come learn how to create carefree family fun with simple to make yard games via WhipperBerry.

DIY-Yard-Games-from-WhipperBerry-27

Who says only little kiddos love to play with toys!

As inspiration from Carnival Cruise Line’s live game show, where you can team up with your friends and family to play some of the most classic games, we also created some dice for Yard Yahtzee! We had a blast and you can easily re-use your homemade pieces for your own favorite dice game.

Come learn how to create carefree family fun with simple to make yard games via WhipperBerry.

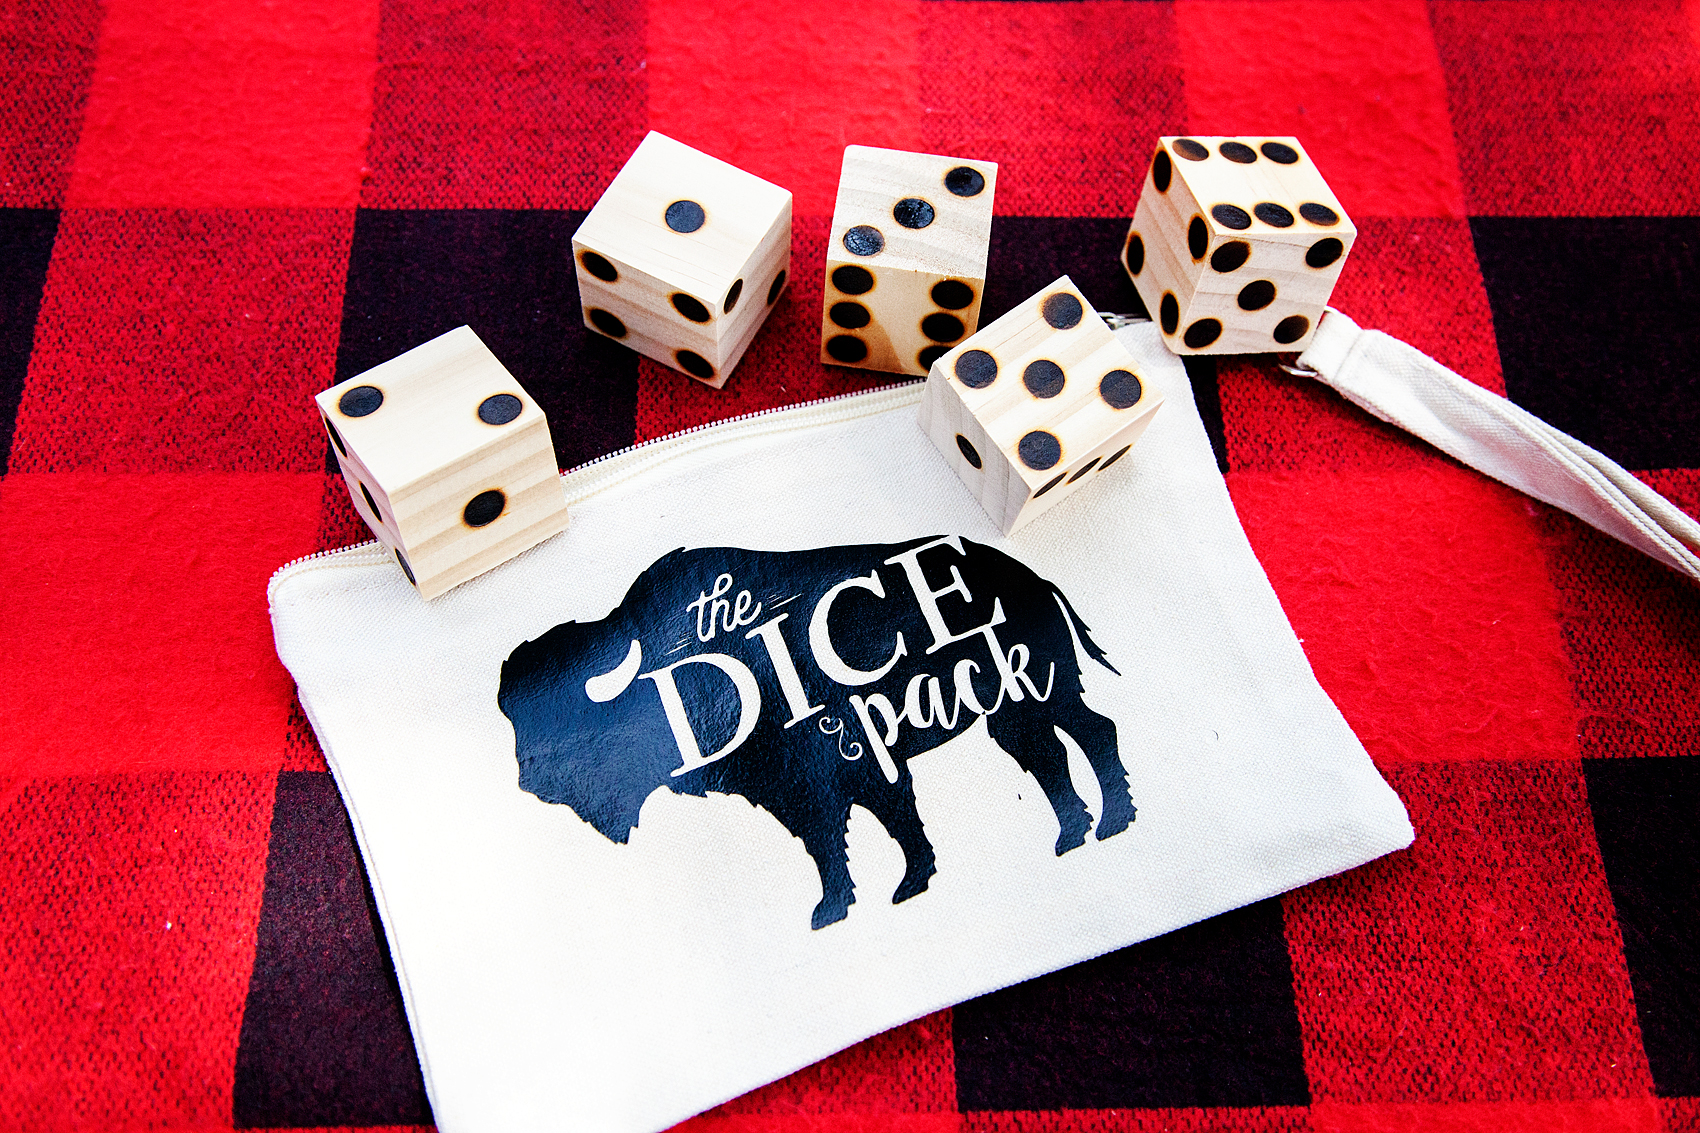
Again, I used my wood burning tool and cut some 2 x 2 blocks to create the dice. If you are a Yahtzee fan, here is a printable score card that you can download.

Printable Yahtzee Score Card from WhipperBerry

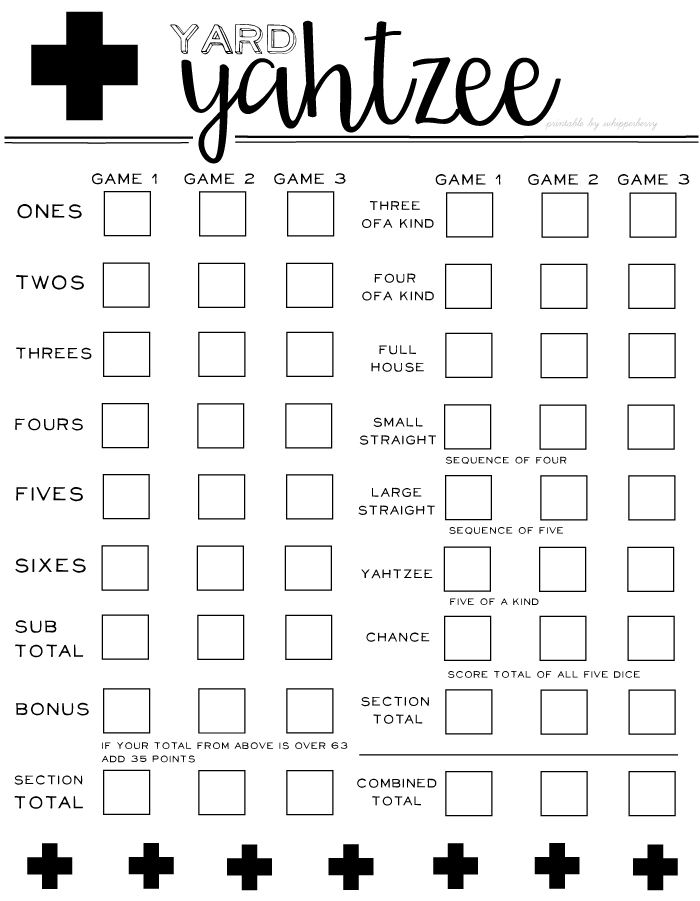
• Download Yahtzee Score Card HERE •

If you would rather have someone else be the cruise director, sail with Carnival the fun ship! They have a ship full of all kinds of fun activities for all ages.

Create a Chance for Relaxation

With all of this fun, you need to keep in mind that all of your age groups will need some rest. Create some opportunities for down time. Don’t forget to create a safe space for the teenagers to be teenagers. They like to stay up late and sleep-in.

The more rest you have, the more fun you can have together without a whole bunch of grumps. You know that Carnival also excels in this area. And for adults, don’t forget to check out all of their SPA options!

Also, don’t forget to keep your expectations in check. We all want a magical time together but, the bottom line is… The little ones will get cranky and won’t want to go along with the schedule or, someone will get sick. Personality types are put to the test and that’s alright. Everyone needs to just step back, relax and go with the flow. Remember, this is the time to make memories that will last a lifetime!

pastedGraphic_17.png

Painted Nautical Signal Flags for Boys Room Decor

7 · Jul 13, 2017 · Leave a Comment

Looking for a fun way to dress-up your boys room? Vintage Nautical is one of my favorite ways to decorate for my little guy. Come learn how I created these painted nautical signal flags for our little guy’s room…

Looking for a fun way to dress-up your boys room? Vintage Nautical is one of my favorite ways to decorate for my little guy. Come learn how I created these painted nautical signal flags for Gage's room... WhipperBerry

• This post brought to you by Michaels •

I’ve always been inspired by vintage nautical pieces. All of the fun gadgets and gizmos, the style of the ships, the anchors and I especially love vintage nautical signal flags.

Vintage nautical signal flags

One of my picker friends here in Nebraska does a fabulous job collecting vintage nautical items. Here are a few of Cody’s from The West Place, vintage nautical flags among other items.

Cody from the West Place

Aren’t they cool?! I purchased a flag from him about a year ago with the intention of using it for my little boy’s room in our new house. The one that I have is (if you look at the chart above) the letter “Z”. It’s colors are amazing! The perfect red, blue, mustard yellow and black. I’m using that as my inspiration for Gage’s room.

If you’re following along, Gage and I introduced you to Davy Jones, Gage’s new octopus wall art for his room…

Create this fun DIY Octopus Wall art for your favorite nautical themed room. This one is going into my son’s vintage nautical room and it’s going to look fabulous! Created by WhipperBerry via @decoArt

24137_SO_July_MarthaPaint_B

I thought it would be fun to create a few more nautical signal flags to go along with Davy Jones. I was thrilled to find out that the Michaels Maker challenge for July is craft paint! Of course this is a perfect opportunity to create these fun flags using a wood canvas that I found at Michaels and the NEW DecoArt Americana Premium Acrylic Paints.

DIY-Octopus-Wall-Art-3

If you don’t already know, Michaels has all kinds of new craft paints in-store now. You need to check it out! They have acrylics, milk paint, chalk paint… All kinds of specialty paints. Not to mention stencils, canvases, brushes and more. Painting with stencils makes things really easy so definitely pick those up. I actually just painted my front door with paint that I purchased at Michaels, the new DecoArt Curb Appeal paint. Who knew you could find that kind of paint at Michaels!

I’m also totally in love with these Art Wood Panels that you can find at Michaels. I wanted my flags to look vintage and a normal canvas wouldn’t be able to create the kind of look I was going for. Nor could I find wood that would look somewhat like a flag. Other wood options would add a lot more bulk and I didn’t want that. This wood canvas is perfect.

Gage and I talked it over and decided that we would create flags for the letters W-X-Y to go with our actual Z flag.

Looking for a fun way to dress-up your boys room? Vintage Nautical is one of my favorite ways to decorate for my little guy. Come learn how I created these painted nautical signal flags for Gage's room...

Supplies for the Painted Nautical Signal Flags

DecoArt Premium Acrylic Paint

  • Prussian Blue Hue
  • Yellow Oxide
  • Titanium White
  • Cadmium Red Hue

DecoArt Premium Medium • Matte

Artist Loft Art Wood Panel Value Pack

Painter tape

Sponge Brushes

Painted Nautical Signal Signs Instructions

Each flag is going to have a different process due to the designs of the signal flags. You will have to figure out how to best create the design for the letters you create. I’ll show you how I created the letter “Y” flag.

First, I painted the base layer in Yellow Oxide and let it dry. I only did one coat of paint because I was planning on distressing the sign so why make my job harder with an extra layer of paint.

Next, rather than busting out my mad math skills (of which I have none) I layed 2 inch painters tape diagonally across the entire board with the tape bumping right up to the base of the other tape.

Looking for a fun way to dress-up your boys room? Vintage Nautical is one of my favorite ways to decorate for my little guy. Come learn how I created these painted nautical signal flags for Gage's room...

Then, I removed every other strip of tape to then create perfect diagonal stripes. I then painted the red stripes on the board. For this stripe, I did paint two light layers of paint. I wanted a truly bold color even though I was still going to be distressing the board.

Looking for a fun way to dress-up your boys room? Vintage Nautical is one of my favorite ways to decorate for my little guy. Come learn how I created these painted nautical signal flags for Gage's room...

After the paint was dry, I pulled the tape to reveal the PERFECT stripes!

Looking for a fun way to dress-up your boys room? Vintage Nautical is one of my favorite ways to decorate for my little guy. Come learn how I created these painted nautical signal flags for Gage's room...

I love how you can still see the wood grain on these art boards. Not to mention, look at those beautiful bold colors. I love this paint! Next, I used my detail sander to distress the board a bit to give this faux flags the vintage look.

Looking for a fun way to dress-up your boys room? Vintage Nautical is one of my favorite ways to decorate for my little guy. Come learn how I created these painted nautical signal flags for Gage's room...

I LOVE how they turned out. I can’t wait to see how they look in Gage’s room when it’s finished.

Looking for more painting inspiration? Michaels has you covered. You can follow along on The Glue String (the Michaels blog) OR, checkout these other projects from the other Michaels Makers…

An InLinkz Link-up

Quick Red White and Blue Home Decor

10 · May 10, 2017 · Leave a Comment

With the Summer months rolling in, it’s time to give a little nod to our favorite ole’ Red White and Blue! Michaels has a whole new line of FUN Americana decor that you’re going to love! Here’s what I found to dress-up my living room for the Summer holidays. • Red White and Blue Decor • With the Summer months rolling in, it's time to give a little nod to our favorite ole' Red White and Blue! Michaels has a whole new line of FUN Americana decor that you're going to love! Here's what I found to dress-up my mantel for the Summer holidays via WhipperBerry

Quick Red White and Blue Home Decor • This post brought to you by Michaels

It’s been a couple of months or so, but… We finally bought a house and have moved in and are finally feeling a little settled. BOY, that’s a process that I don’t want to do again for quite some time. Three moves in roughly 5 years is enough for this family. It’s finally time to start making a house our home.

When I started packing-up our rental, the first thing I packed-up were the decor pieces that I wanted to use right away in the new house. I made sure to set those boxes aside and label them appropriately so that they wouldn’t get lost in the sea of boxes. That’s when, as soon as all of the basic needs were met in the new house, I could easily dress-up our space and make it feel like home. Now that we’ve been here for a couple of months, it’s time to start thinking a little more about seasonal decor. With Summer right around the corner the first thing that comes to mind is my favorite red white and blue home decor!

How to Quickly Incorporate Red White and Blue Home Decor

My father served in the Army during Vietnam, my Grandfather served on the beaches of Normandy in World War II, my Father-in-Law served in the Navy during the Korean War. To say that we are a proudly patriotic family would be putting it mildly. We love the stars and stripes and every summer, I love to dress up our home with some red white and blue decor. Thank goodness this month’s Michaels Makers summer challenge had a little bit of a patriotic spin to it.

Have you been to Michaels lately? Have you scene this great new Americana line that they just introduced. It’s so fun!

• Red White and Blue Decor • With the Summer months rolling in, it's time to give a little nod to our favorite ole' Red White and Blue! Michaels has a whole new line of FUN Americana decor that you're going to love! Here's what I found to dress-up my mantel for the Summer holidays via WhipperBerry

It’s perfect to quickly and easily dress your home up for the patriotic holidays this summer with minimal time and effort. What I love is that it seems to have something for everyone. If you are more into a vintage farmhouse style they have you covered. Are you more into classic cars and hanging out at the lake, you’re covered there too, It’s great.

I layered a few items on my mantel that really spoke to me. I love the large distressed wood flag and I thought it would layer well with this aaaamazing clock that they have at Michaels right now too. It seriously looks just like a clock that I almost paid quadruple for at Magnolia Market a few weeks ago!

• Red White and Blue Decor • With the Summer months rolling in, it's time to give a little nod to our favorite ole' Red White and Blue! Michaels has a whole new line of FUN Americana decor that you're going to love! Here's what I found to dress-up my mantel for the Summer holidays via WhipperBerry

The wooden red white and blue stars were also a must have. They add a nice little touch patriotic touch. I actually may go back to Michaels and grab some more.

Do you have a more classic style like I do? This beautiful 1776 pillow fit right into my room and added to the classic vibe.

• Red White and Blue Decor • With the Summer months rolling in, it's time to give a little nod to our favorite ole' Red White and Blue! Michaels has a whole new line of FUN Americana decor that you're going to love! Here's what I found to dress-up my mantel for the Summer holidays via WhipperBerry

I layered it with a red and white pillow that I already owned and it looks perfect.

The last, not so little bits, are the cute wooden fireworks that stoically preside over the hearth of our fireplace. Aren’t they cute with the rope coming out the top to make them look like fireworks.

• Red White and Blue Decor • With the Summer months rolling in, it's time to give a little nod to our favorite ole' Red White and Blue! Michaels has a whole new line of FUN Americana decor that you're going to love! Here's what I found to dress-up my mantel for the Summer holidays via WhipperBerry

What I love most about all of these pieces is that they incorporate so easily into the decor that I already had in the space. It doesn’t look awkward or out of place. It’s seamlessly blended right into the room.

• Red White and Blue Decor • With the Summer months rolling in, it's time to give a little nod to our favorite ole' Red White and Blue! Michaels has a whole new line of FUN Americana decor that you're going to love! Here's what I found to dress-up my mantel for the Summer holidays via WhipperBerry

Looking for more patriotic DIY inspiration? Visit Michaels.com for more creative ideas that will help you transform your home this summer. You should also visit Michaels’ blog, The Glue String, to see the rest of the Michaels Makers’ red, white and blue project ideas.

An InLinkz Link-up

Wash and Dry Sign • Iron-On Vinyl on Black Canvas

11 · Apr 28, 2017 · 3 Comments

Every laundry room or bathroom for that matter, needs a Wash and Dry sign, right? Let me show you how to make a simple Fixer-Upper inspired sign with Cricut Iron-On Vinyl and a black canvas. Fixer-Upper inspired Wash and Dry Sign created by WhipperBerry • Create this easy to make sign using your @cricut® machine and their Iron-On Vinyl •  Download the digital design file at WhipperBerry.com

• This post is brought to you by Cricut •

A few weeks ago, I had the wonderful experience of traveling to Austin, Texas for the Indulge Conference (which was fabulous by the way!) On the last day of the conference, we hopped onto a bus and made our way to Mecca, I mean Magnolia Market a.k.a The Silos in Waco, Texas. To say that my heart was full that day would be an understatement. I came home with all kinds of goodies AND inspiration as well. They have a laundry room Wash and Dry sign at the Magnolia Market that I’ve been eyeing for awhile and I wanted to create something similar for my laundry room.

Prdctmgnl_1_of_8_1024x1024

Magnolia Market  •  Wash and Dry Sign

The WhipperBerry Wash and Dry Sign Design

I set to work to create a Wash and Dry sign that fit my style and this is what I came up with…

Fixer-Upper inspired Wash and Dry Sign created by WhipperBerry • Create this easy to make sign using your @cricut® machine and their Iron-On Vinyl •  Download the digital design file at WhipperBerry.com

It has a little of JoJo’s vibe with more of a modern flair I would say. I kind of love it! For those of you who would like to download this sign design, click HERE for the PNG file. Shortly, I will have a full tutorial on how to use a PNG file in the NEW Cricut Design Space. It’s sooooo cool, so stay tuned!

How to create the Wash and Dry Sign

Once I had the design created, I needed to find the easiest way to create a nice looking sign. I decided that a black canvas with Cricut’s Iron-On Vinyl would be the best and easiest way to accomplish my mission. I grabbed a black canvas at Michaels and set to work… Here’s what you’ll need.

Wash and Dry Sign Supplies

  • Black Canvas 18×24
  • Cricut Machine { I use the Cricut Explore Air 2 }
  • Cricut Design Space { I don’t want to knock your socks off BUT… The new Cricut Design Space has launched in BETA. That is a link to the new, awesome software!! No more Flash, which means… No more lag time! }
  • Computer / Tablet / Phone { You guys… They all work WIRELESSLY with the Cricut Explore Air 2 }
  • White Cricut Iron-On Lite
  • Cricut 12×24 Light Grip Cutting Mat
  • Light cotton tea towel { flower sack material is great } OR Parchment paper

Fixer-Upper inspired Wash and Dry Sign created by WhipperBerry • Create this easy to make sign using your @cricut® machine and their Iron-On Vinyl •  Download the digital design file at WhipperBerry.com

Ok, before we get started on the project, here’s a quick time lapse that shows how I made the sign…

Wash & Dry Sign by WhipperBerry from Heather Thoming on Vimeo.

Seriously, to quote Ina Garten… “How easy was that?” Let’s go into it in a little more detail starting with my tips and tricks for a successful project.

Fixer-Upper inspired Wash and Dry Sign created by WhipperBerry • Create this easy to make sign using your @cricut® machine and their Iron-On Vinyl •  Download the digital design file at WhipperBerry.com

First tip, take your time. Many people try and rush through their projects and get frustrated when they don’t turn out right. SLOW DOWN! Especially if this is your first time working with the heat transfer vinyl. You want to love your project, take the time to do it right.

Cutting out the Iron-On Lite Material

First thing you need to do is, cut your file on the Iron-On Lite material via your Cricut machine. When working with Iron-On lite, you’ll want to place the material with the shiny protective film down and the matte side facing up. Yep, I’ve messed that up a few times so, don’t beat yourself up if you do as well!

Another key item, make sure that you select the iron-on button when setting up your design in Design Space. This will mirror your image so that it will work with the iron-on vinyl.

Fixer-Upper inspired Wash and Dry Sign created by WhipperBerry • Create this easy to make sign using your @cricut® machine and their Iron-On Vinyl •  Download the digital design file at WhipperBerry.com

Next step, weeding your Iron-On Lite vinyl. This is my favorite part and if you don’t believe me, watch my Instagram story from yesterday. You’ll see why I love it and, you’ll get to see more of the project!

Wash and Dry Instagram Story @whipperberry from Heather Thoming on Vimeo.

Adhering your Iron-On Lite Vinyl to Your Canvas

Now, working with traditional stretched canvas rather than your fabric does provide for a few little obstacles. Namely, the canvas is stretched on a wood frame which makes it hard to “iron-on” something to it. To get a good transfer of the vinyl you need to apply pressure on a hard surface and the raised nature of the canvas makes that a challenge. To solve this problem, I put some books under the canvas to provide that firm surface that I needed.

Fixer-Upper inspired Wash and Dry Sign created by WhipperBerry • Create this easy to make sign using your @cricut® machine and their Iron-On Vinyl •  Download the digital design file at WhipperBerry.com

I also placed a heat mat on top of the books to protect them from the heat of the iron. I found this portable heat mat at Target in the laundry section.

Fixer-Upper inspired Wash and Dry Sign created by WhipperBerry • Create this easy to make sign using your @cricut® machine and their Iron-On Vinyl •  Download the digital design file at WhipperBerry.com

You’ll lay down your design onto the surface of your canvas with the protective film on top. That protective film is your friend at this point. It’s a bit sticky so it holds your design in place for you.

Fixer-Upper inspired Wash and Dry Sign created by WhipperBerry • Create this easy to make sign using your @cricut® machine and their Iron-On Vinyl •  Download the digital design file at WhipperBerry.com

Fixer-Upper inspired Wash and Dry Sign created by WhipperBerry • Create this easy to make sign using your @cricut® machine and their Iron-On Vinyl •  Download the digital design file at WhipperBerry.com

Cover your design with a light cotton cloth or some parchment paper. Set your iron to it’s hottest setting and then start to iron-on your design.

Now… This is not like ironing a shirt. You don’t want to use steam and it’s going to take a little time. You are basically wanting the vinyl to melt into the canvas and that takes a little time. DO NOT iron directly on the protective film OR place your iron on a section and just leave it there. Keep the iron moving and firmly press down on the canvas. This will help adhere the heat transfer vinyl to the canvas.

After a few minutes, check to see how things are sticking. Look at the protective film and you’ll kind of be able to see that the vinyl is pulling away from it and sticking to the canvas. You may find a few spots that need a little more time. Replace the cloth and continue to iron. Once you feel good about the adhesion, pull the protective film away and admire your sign.

At this point, I actually replace the cloth and do another light pass with the iron to make sure the vinyl is good and set. You could even flip your canvas over and iron on the back side with the protective film still in place to again make sure the vinyl is set.

Now, all you have to do is step back and admire your work! It’s so EASY and it looks AAAAMAZING!

Fixer-Upper inspired Wash and Dry Sign created by WhipperBerry • Create this easy to make sign using your @cricut® machine and their Iron-On Vinyl •  Download the digital design file at WhipperBerry.com

Disclaimer // I am a Cricut Ambassador and receive  product and payment to help with my projects. As always, I will NEVER promote a product that I don’t truly believe in!

  • « Go to Previous Page
  • Page 1
  • Page 2
  • Page 3
  • Page 4
  • Page 5
  • Page 6
  • Page 7
  • Go to Next Page »

Primary Sidebar

Heather from Whipperberry
Hello... my name is Heather and I'm the creator of WhipperBerry a creative lifestyle blog packed full of great recipes and creative ideas for your home and family. I find I am happiest when I'm living a creative life and I love to share what I've been up to along the way... Come explore, my hope is that you'll leave inspired!

Footer

  • Privacy Policy
  • Crafts
  • Food
  • Gifts
  • Holidays
  • Home
  • Mom Life
  • Recipes
  • Travel

Copyright © 2026 · Seasoned Pro