This post is brought to you by Biscoff Spread // Have you “Spread the Love” yet? You know, the spread that has taken the nation by storm… Biscoff Spread. I have dipped my toe in the Biscoff pool a couple of times and today I’m sharing my Chocolate Biscoff Cupcakes along with sharing about the Biscoff Spread the Love Challenge. All you have to do is share your photos of how you use Biscoff. You could win a trip to Belgium to the Biscoff factory, cash prizes or a years worth of Biscoff!!
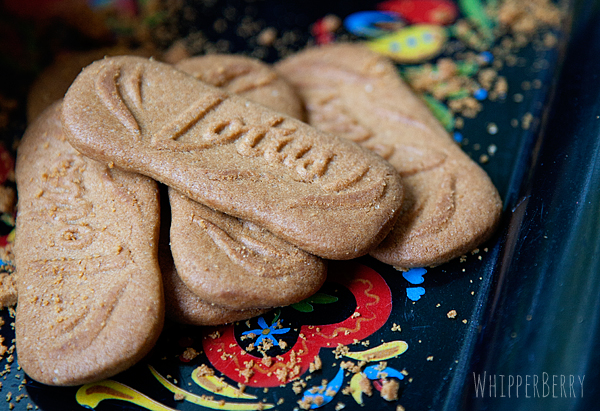
What is Biscoff? Well, if you’ve ever flown on a commercial airline within the last 20 years you may have had a Lotus Biscoff cookie as a in-flight treat. They are a tasty cookie created in Belgium, and in Europe they are called Lotus Speculoos cookies.
Back in 2007 a culinary enthusiast brought their Speculoos creation to a Belgium reality television show, not unlike our Shark Tank here in the U.S. and pitched an idea for turning the Speculoos cookies into a spread. The folks at Lotus LOVED the idea and that is how Biscoff Spread was born. Within 3 hours of it’s first release, the Biscoff spread sold out and it has become an overnight sensation all over the world!! Click here to find out where you can buy Biscoff.
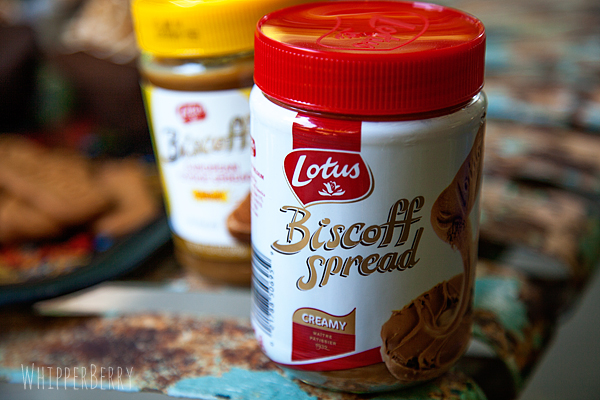
All Biscoff products are made with all-natural ingredients and are preservative-free. They are free of trans fat and cholesterol and made without genetically modified ingredients or artificial colors. They are Vegan and also do not contain nuts.
You can enjoy Biscoff in many ways, on toast, with apple slices, in a sandwich or in all kinds of sweet goodies. About a year ago, I created a Biscoff Crepe Raspberry Cake that was truly a show stopper.
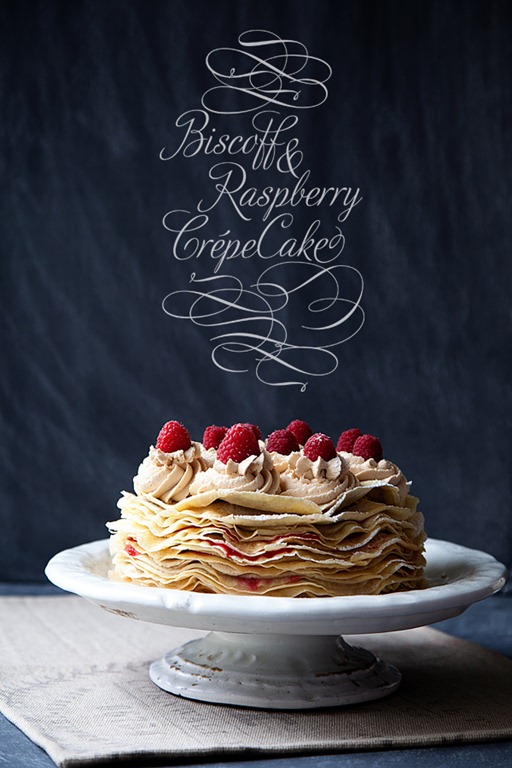
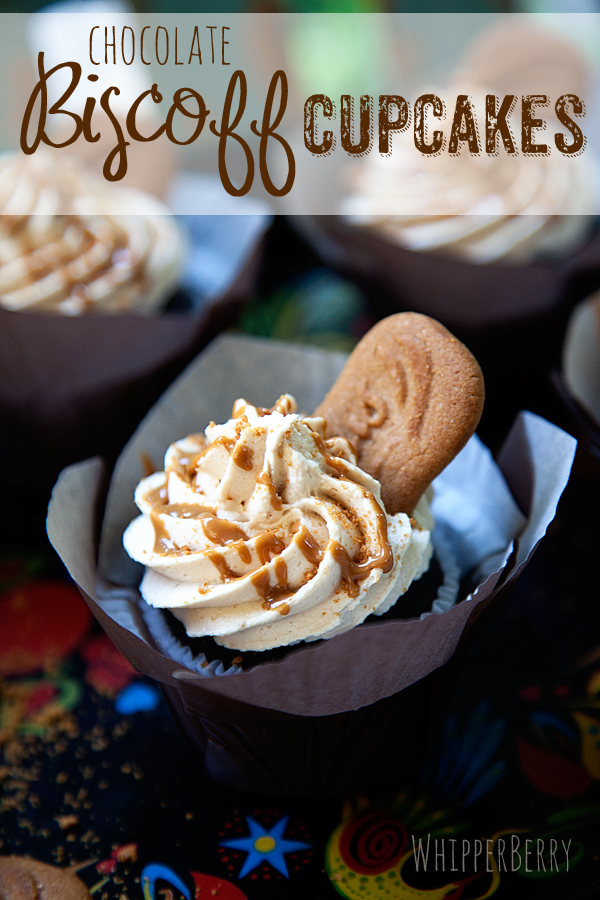
When I was developing that recipe I created my Biscoff buttercream recipe that is perfect for all types of desserts. This week I topped my favorite chocolate cupcakes with that amazing Biscoff buttercream and it was heaven in cupcake form.
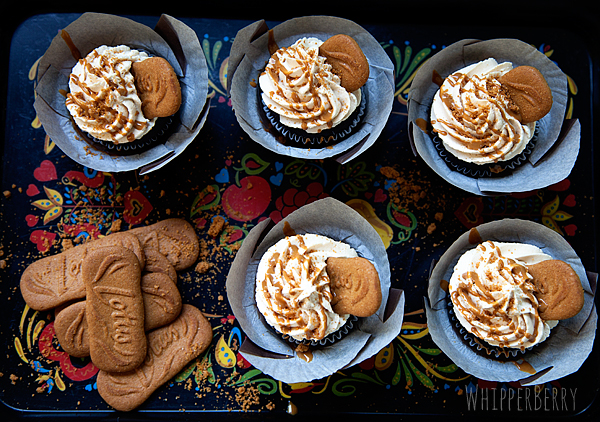
Chocolate Biscoff Buttercream Cupcakes
Chocolate Cake:
1 Chocolate Cake Mix (any kind, I've used chocolate fudge, Swiss chocolate, or milk chocolate)
1 C Mini Chocolate Chips
1 cup Sour Cream
1 Pkg. of Chocolate Pudding (small 3.5 oz. box)
Biscoff Buttercream:
2 sticks of unsalted butter at room temperature
1 cup Biscoff
1 tsp. vanilla extract
pinch of salt
3-4 cups of powder sugar
1-2 tbsp. whole milk
Directions
For the most amazing chocolate cake ever, prepare cake batter as directed on box, and add sour cream, pudding and chocolate chips. Pour into cupcake liners. Bake as directed on box (you might need to add a minute or two to the baking time because of the added ingredients). Place on a wire rack to cool.
For the buttercream I just modified my Simple Vanilla Buttercream recipe a bit by adding the Biscoff and lowering the amount of vanilla extract. It’s a good classic and easy buttercream recipe.
In a bowl of an electric mixer with the paddle attachment, place softened butter and Biscoff. Cream the two together and add vanilla extract. Turn mixer off and add half of the powder sugar, carefully turn the mixer on low and mix the sugar in completely. Add the remaining sugar slowly until it creates a dough like consistency. Add 1 tbsp. of milk and mix on high. Check the consistency of the buttercream. If it’s too tight add more milk. Mix on high for 5-7 minutes until light and fluffy.
If needed store in a air tight container in the refrigerator for up to a week. Take out of the fridge for an hour or two before you want to use it to make sure that it is at room temperature when you need it.
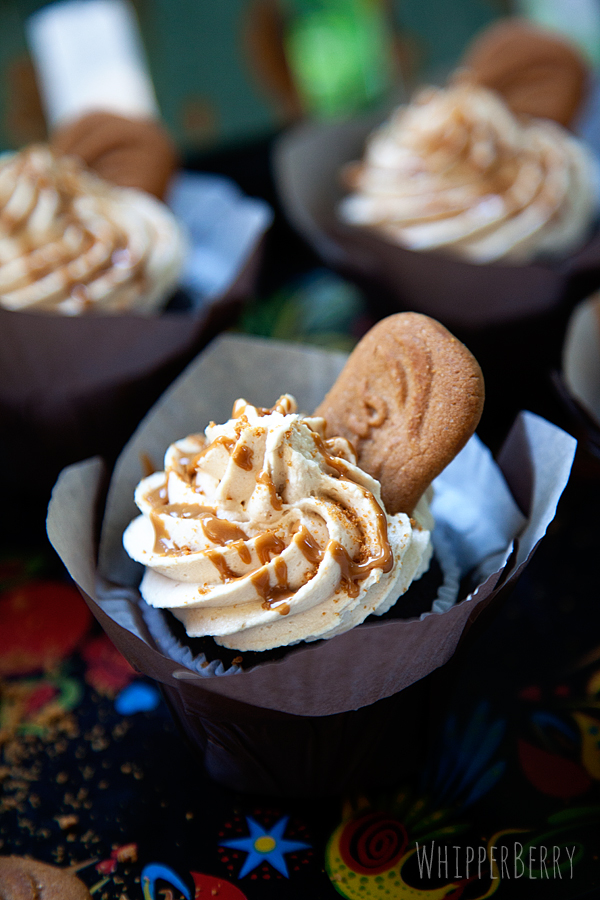
Using a jumbo closed star decorating tip with a pastry bag from Sweet Baking Supply, I iced the cupcakes with a simple swirl and then drizzled a little melted Biscoff on top. For some added flair you can break-off a piece of a Lotus Biscoff cookie and place it on top of the frosting. These cupcakes will hold up quite well as long as the temperatures aren't too hot. Refrigerate if don't plan on eating them for a bit, but make sure to bring them back up to room temperature before serving.
Don't forget to visit the Biscoff challenge for a chance to win a fun trip or a years worth of Biscoff. You can also find fun ideas on their Pinterest Boards along with their Facebook page.