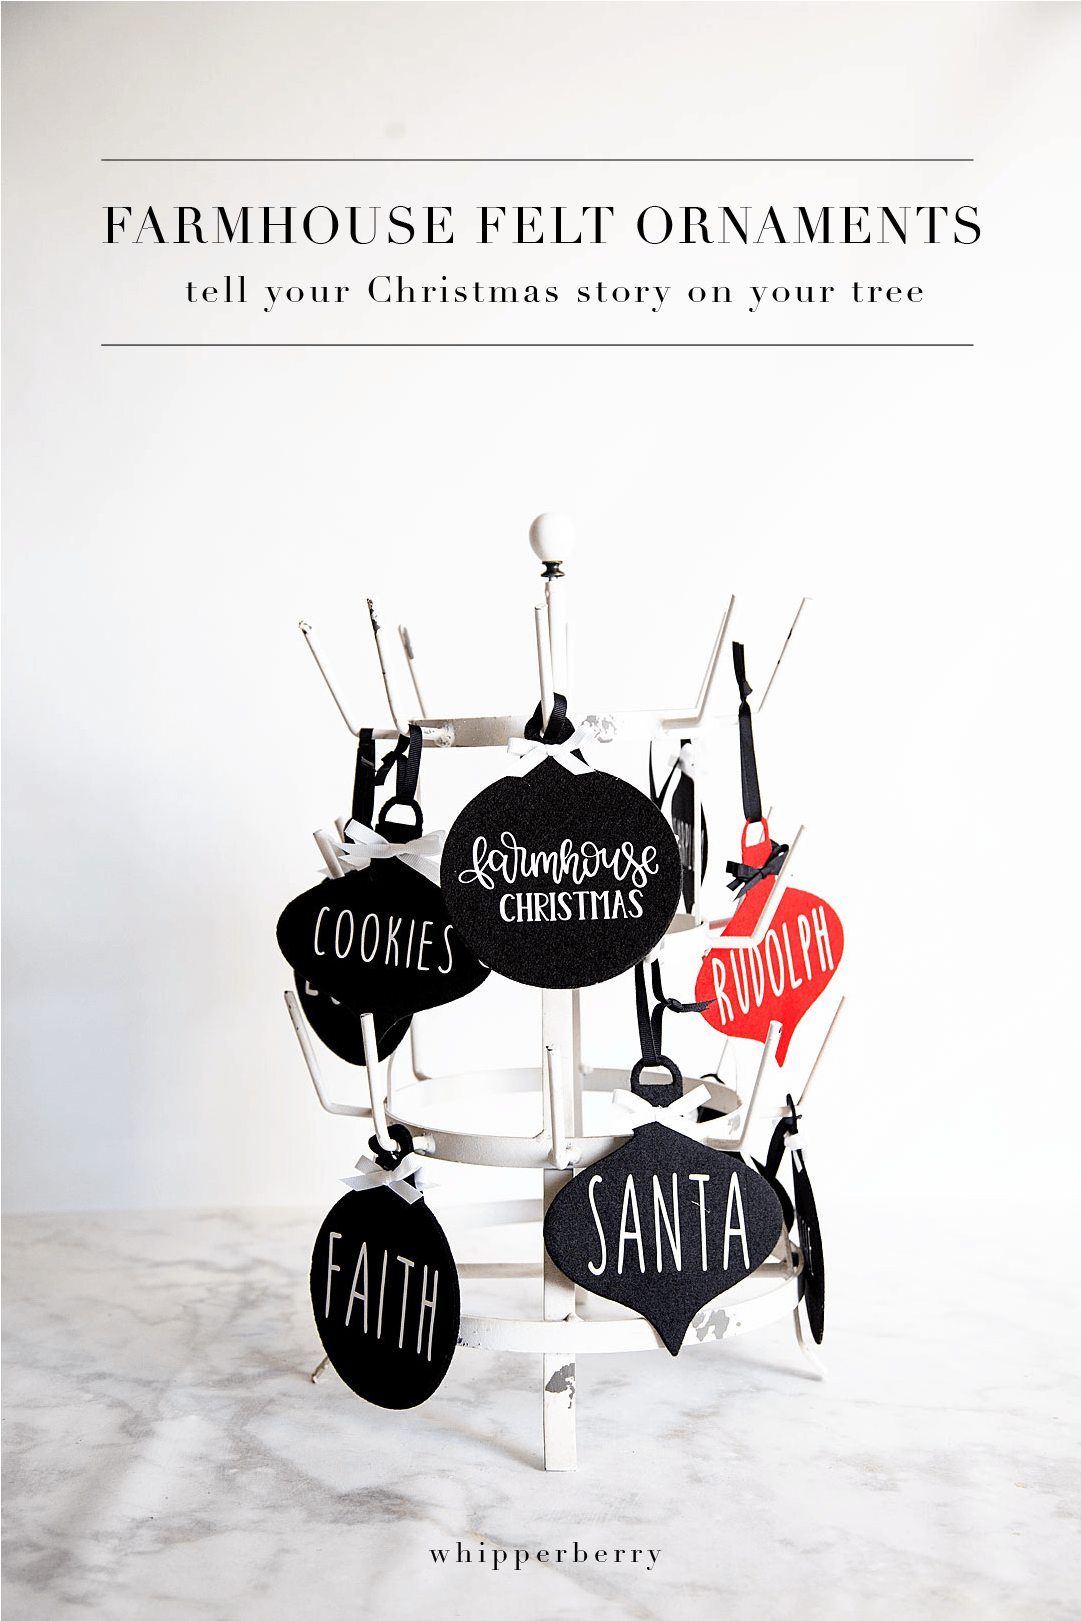
I am going to label this season at WhipperBerry the felt season. I LOVE all things felt and I love being able to cut and customize my felt designs using my Cricut Maker & my cute little Cricut EasyPress 2. I have been wanting to create a farmhouse style tree that is all black & white so I thought some simple and elegant felt ornaments are a perfect addition to the tree. Farmhouse felt Christmas ornaments are sure to be a classic staple for years to come as you decorate for the holidays, plus they are super easy to store and won’t break! I love it!! Here’s how you can make a set of your own.
+ This post is sponsored by my favorite folks at Cricut +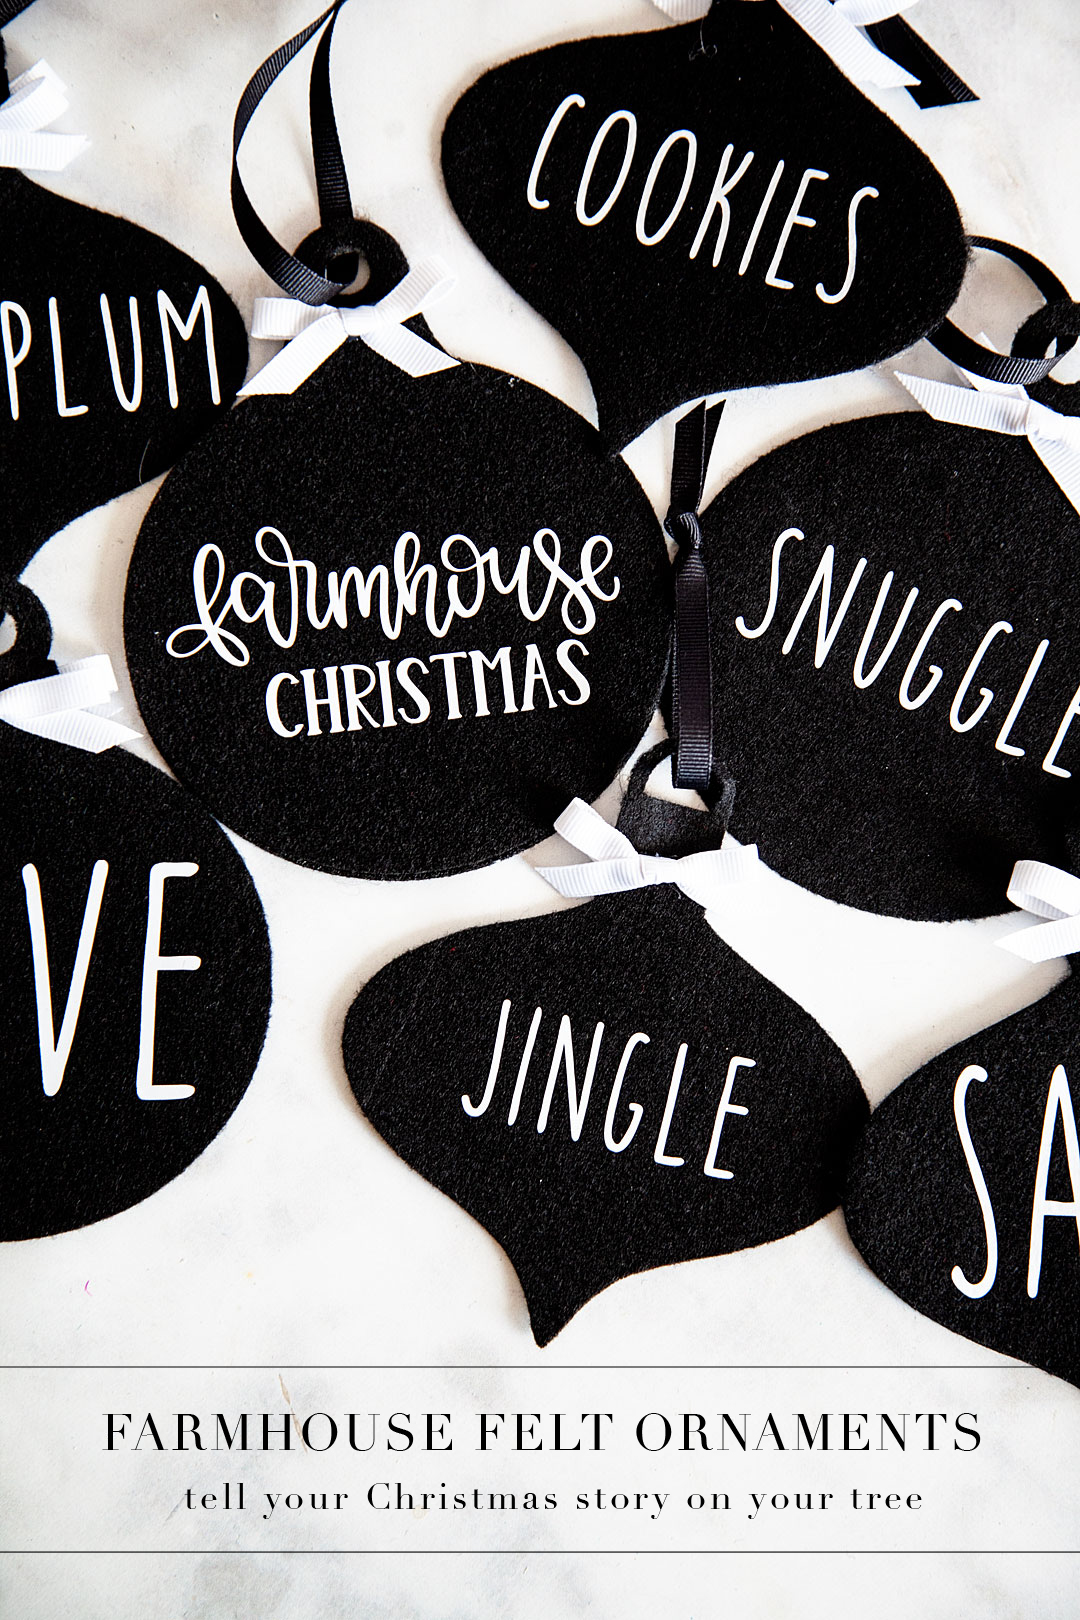
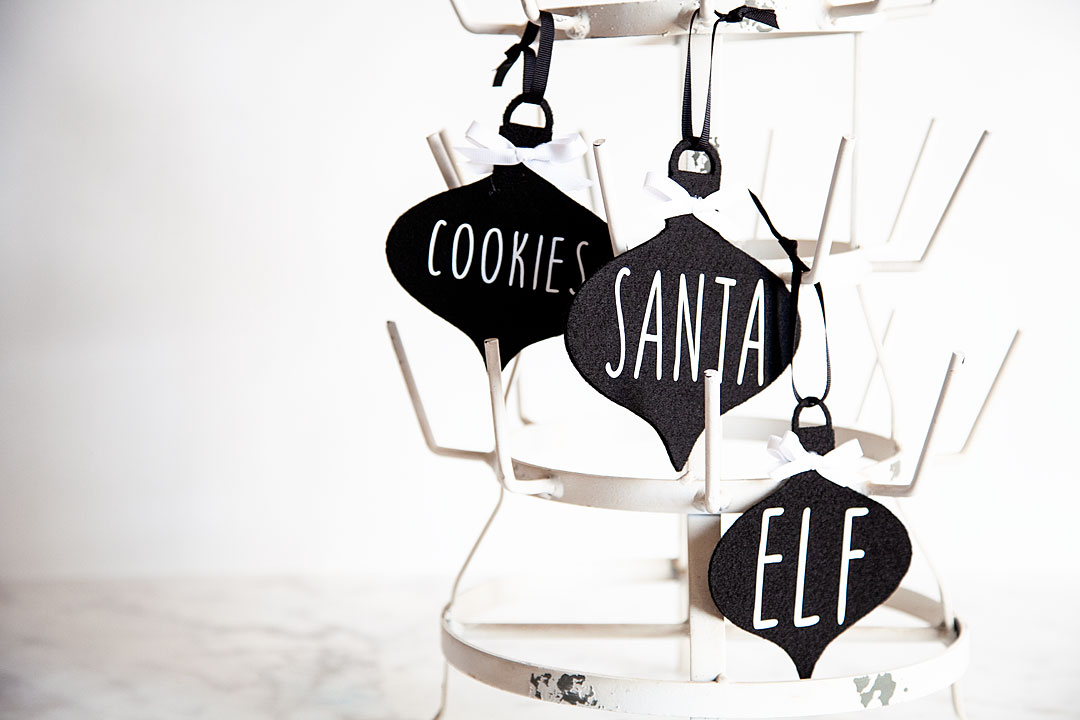
What I love about these ornaments is that you can tell your Christmas story right on your tree with these simple word ornaments. If you love Santa and would like to have a tree dedicated to words that evoke fond memories of all things Santa, you can create that!
If you would like to tell the story about the birth of our Savior, Jesus Christ you can do that as well. I know that each family is different but that’s what’s beautiful about these simple ornaments. You create your own story.
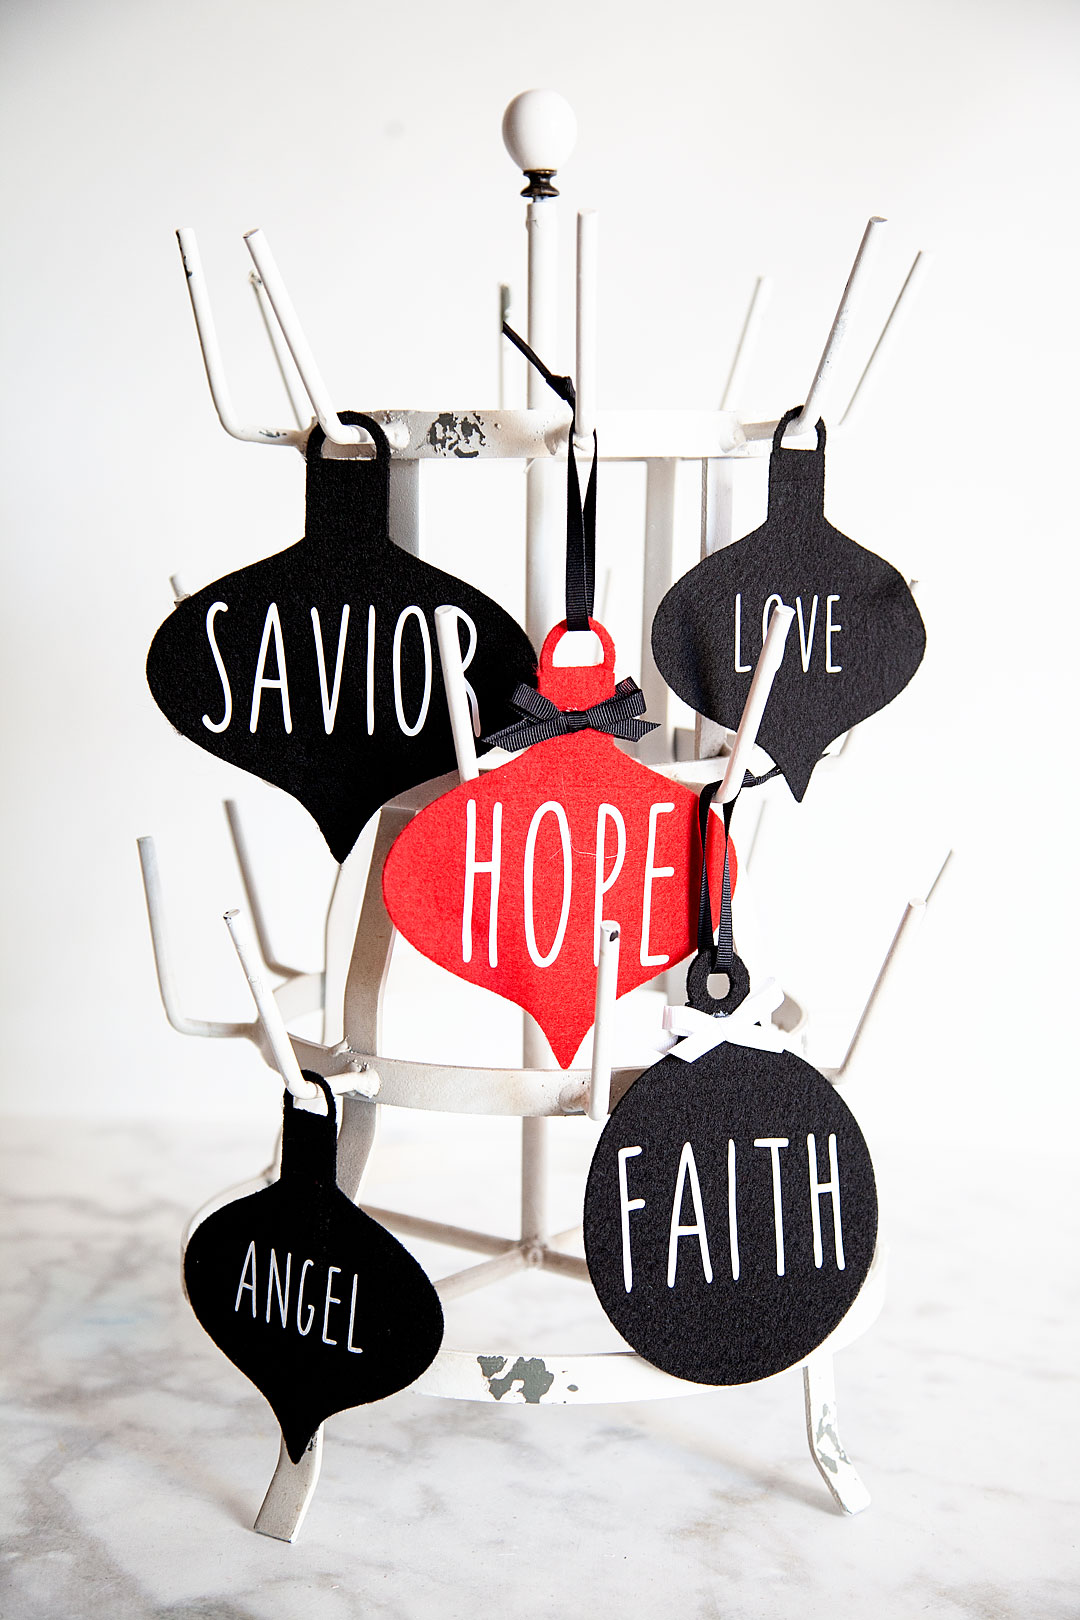
Not to mention the fact that YOU can select the colors. If you are like me and would like to stick with black & white, great. If you want to have a rainbow tree, awesome! It’s all up to you and I LOVE that. Here, let me show you what you need and how to make these simple but elegant ornaments for your tree.
Farmhouse Felt Christmas Ornaments Supplies
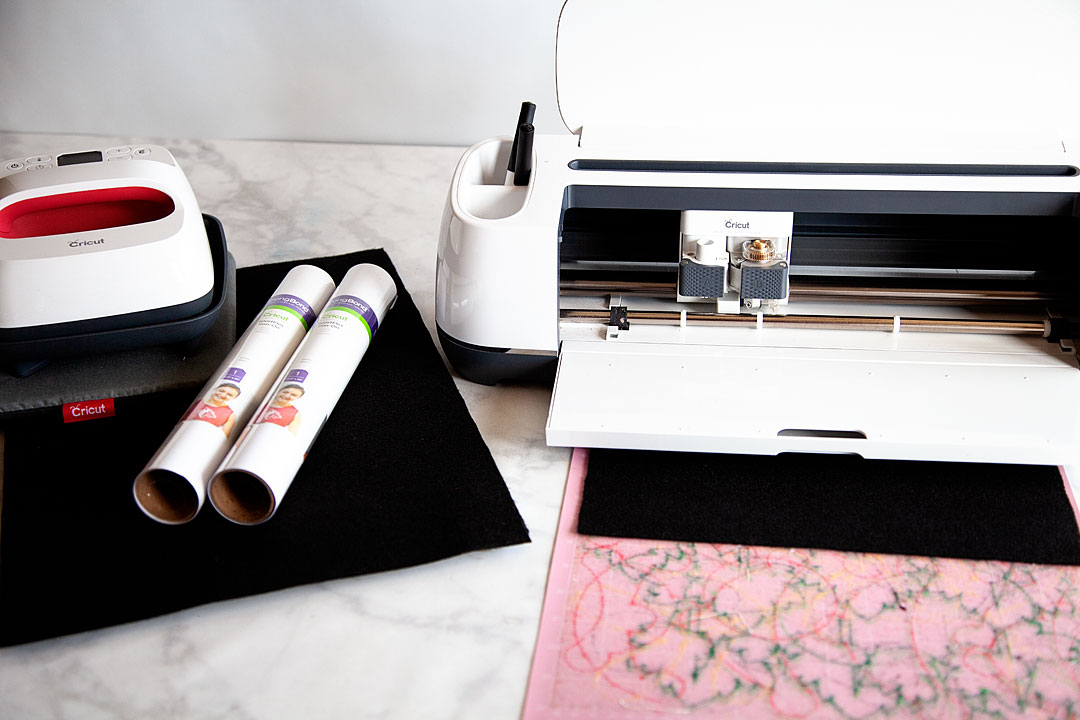
- Cricut Maker with Rotary Blade
- Cricut EasyPress 2 – 6×7
- Cricut EasyPress Mat – small
- Cricut Protective Mat
- Cricut Fabric Cutting Mat
- Cricut Everyday Iron-on – white
- Felt
- ribbon
- scissors
- hot glue gun
- hot glue
Instructions
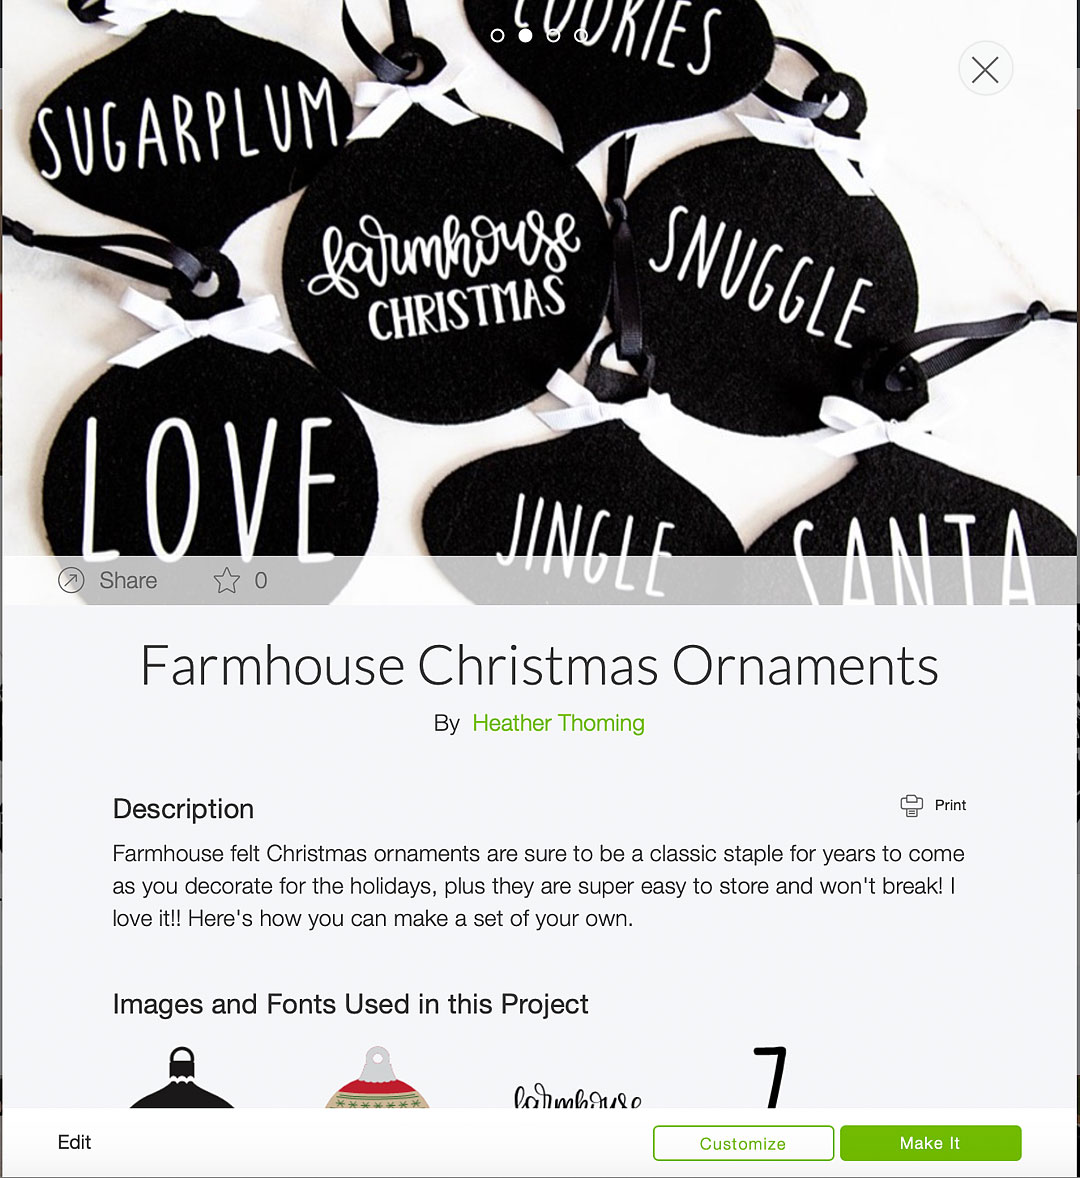
First, what you’ll need to do is to click on this LINK to my project in Cricut Design Space. My design will let you add your own words and customize it how you would like OR, open Design Space and create some ornament designs of your own.
Now, if you are using my design, everything is sized and ready to go for you. If you are creating some ornaments of your own design, double check the sizes and make sure everything is prepped and ready to cut. If you don’t know how to do that you can visit this post that has a full video tutorial on how to prep your design for cutting in design space.
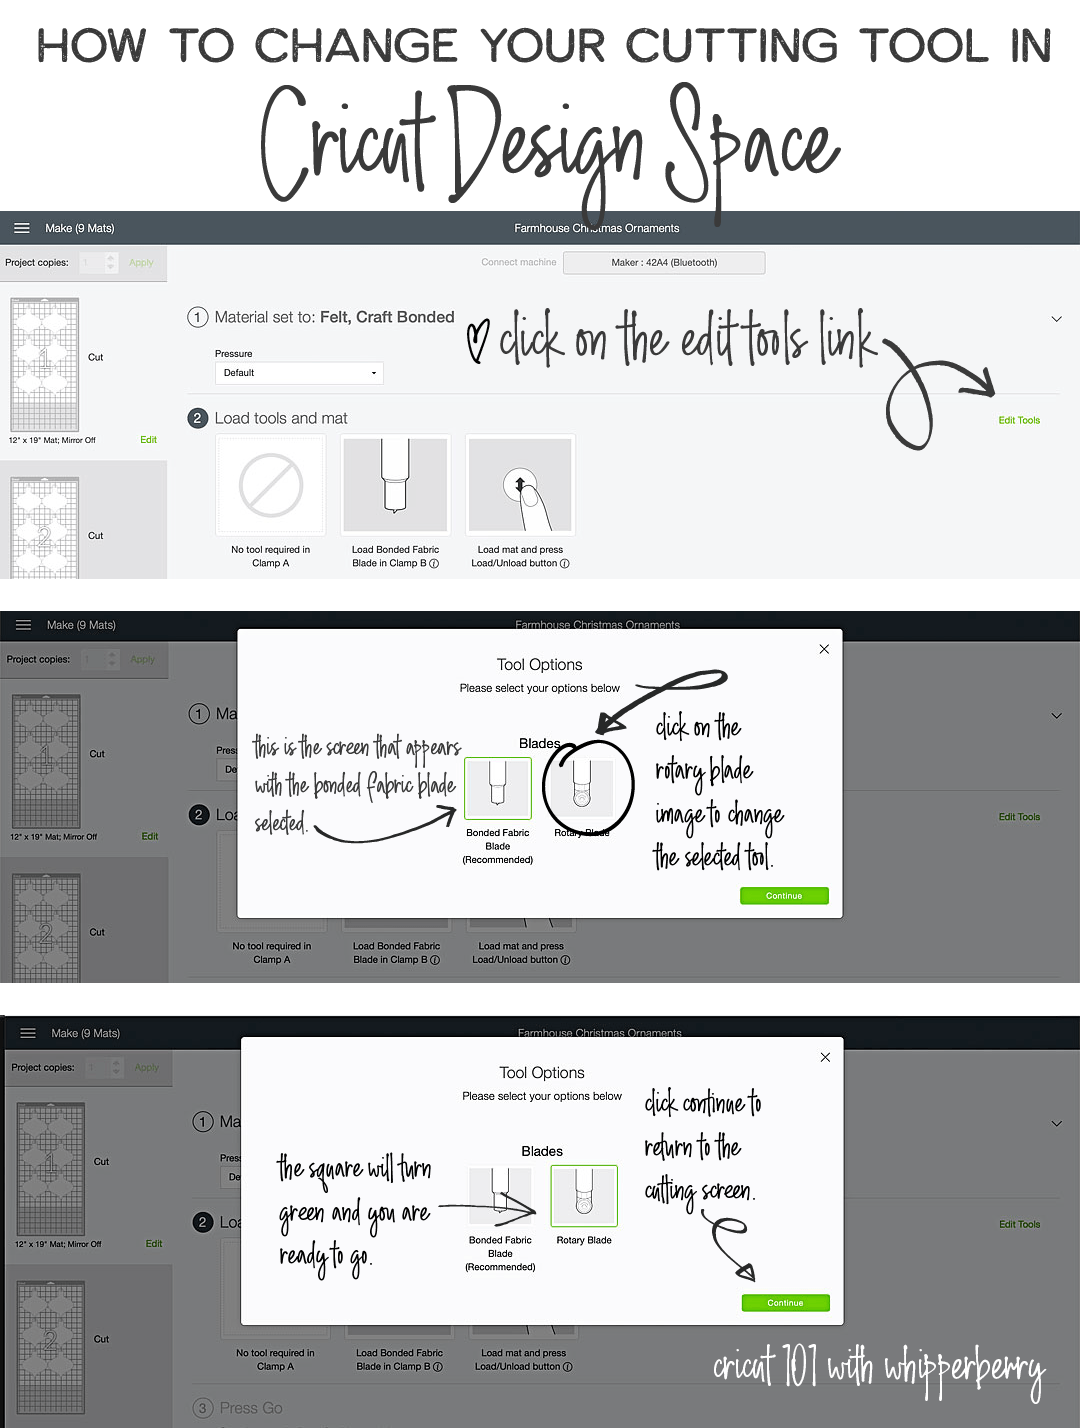
Once you are ready to cut, all you need to do is load your felt onto your Fabric cutting mat and follow the directions on the Design Space screen.
Now for cutting the felt, I have been more successful using the rotary blade than the deep cut blade so, you’ll have to manually change that when you’re ready to cut.
Here are a couple of VERY IMPORTANT RULES…
- When cutting felt on the Fabric Cutting Mat, DON’T worry about the fuzz that is left behind. I have been cutting all kinds of felt on just one cutting mat with fuzz and all and it’s not a problem. The more you play around with the cutting mat and try to scrape or wash that felt fuzz off, the more you are damaging your mat. Just keep going and ignore the fuzz. Of course, test to make sure that your felt is secure on the mat. It will after quite a few cuts become difficult to use and at that point, it’s a better idea to dispose of that mat and start using another one.
- DON’T FORGET TO MIRROR YOUR IMAGES! I’ve done it more than I would like to admit which drives me CRAZY! When you are cutting your designs when using the iron-on vinyl, make sure to mirror your images. Remember, the design is cut on the back side of the Everyday Iron-On. You will flip it over and iron on your design onto the surface of your project.
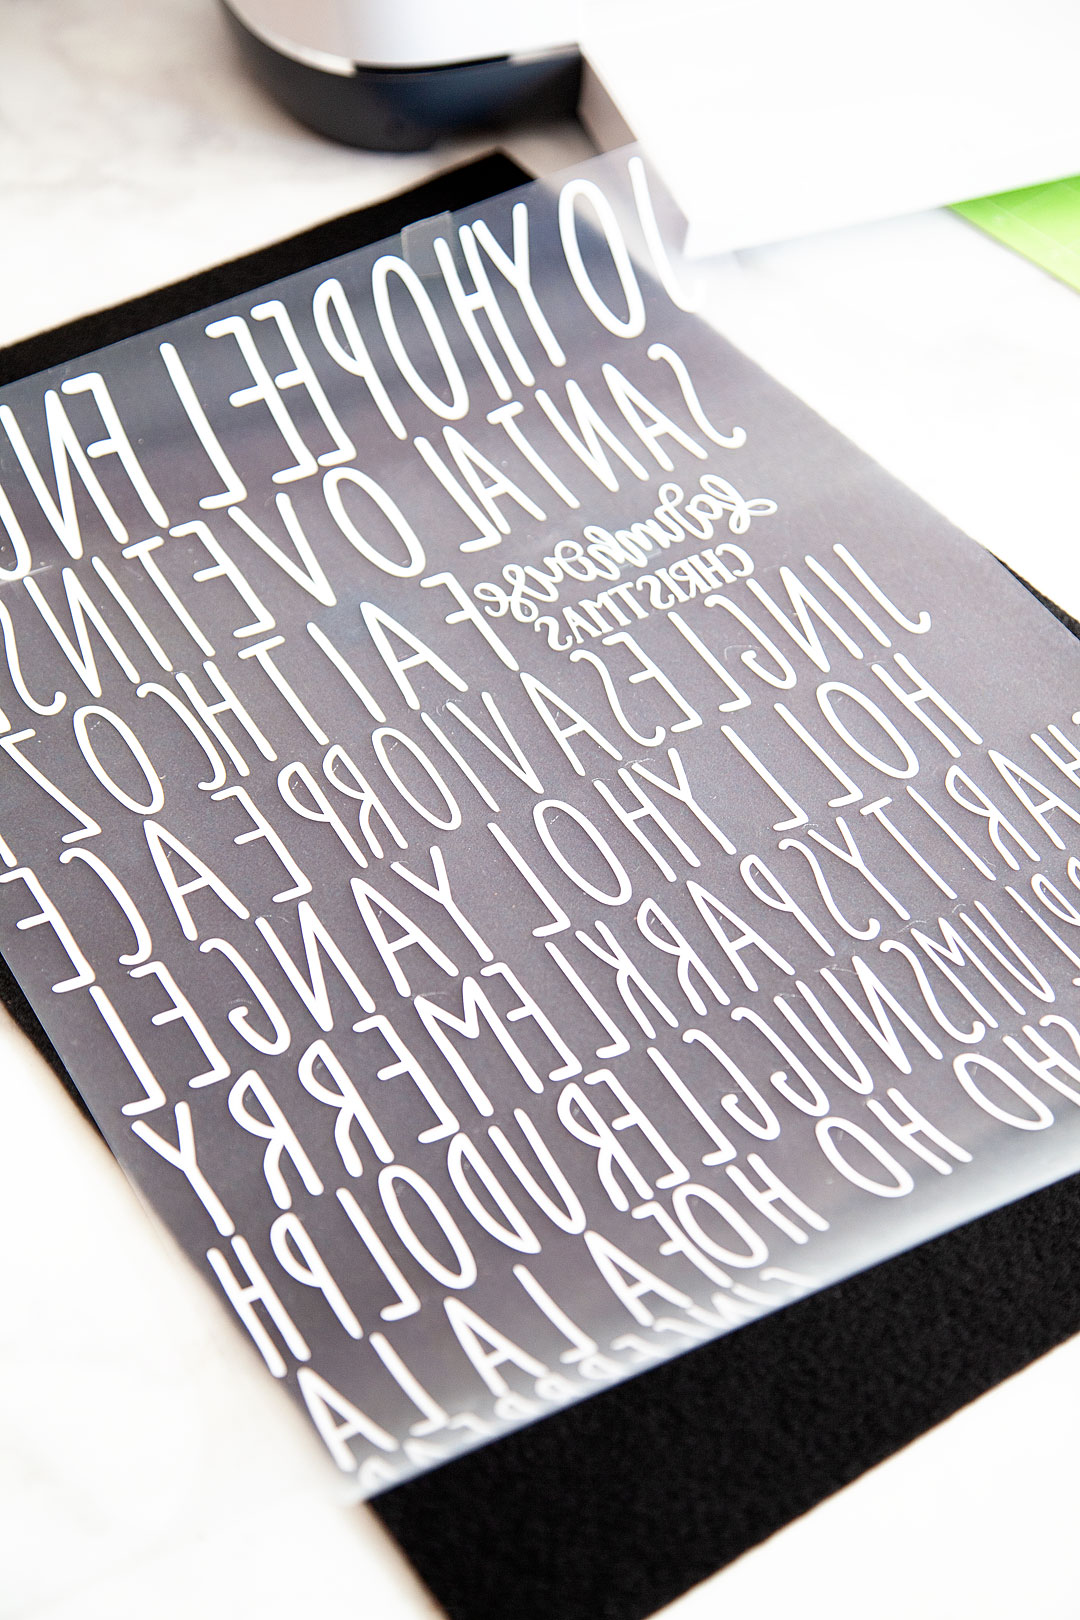
It looks like a crazy bunch of backward letters but, flip it over and cut out your words and it looks just fine.
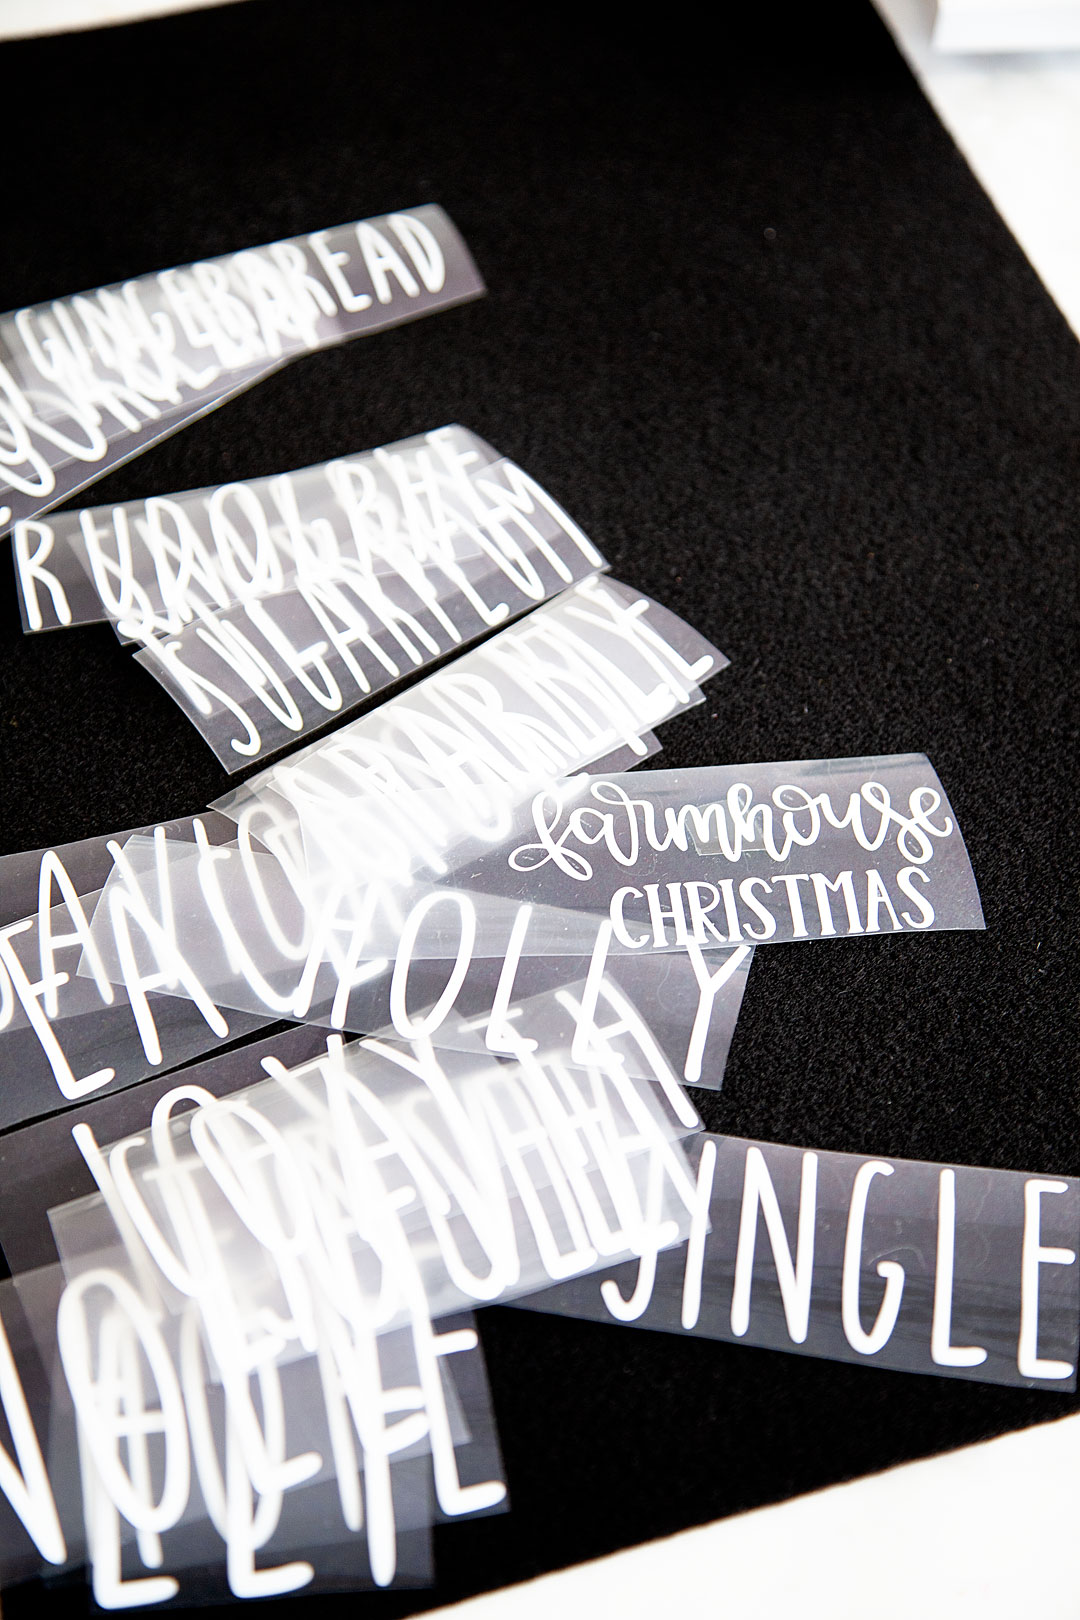
Now that your words are all cut along with your felt ornaments now, it’s time to press the EveryDay Iron-on onto the felt.
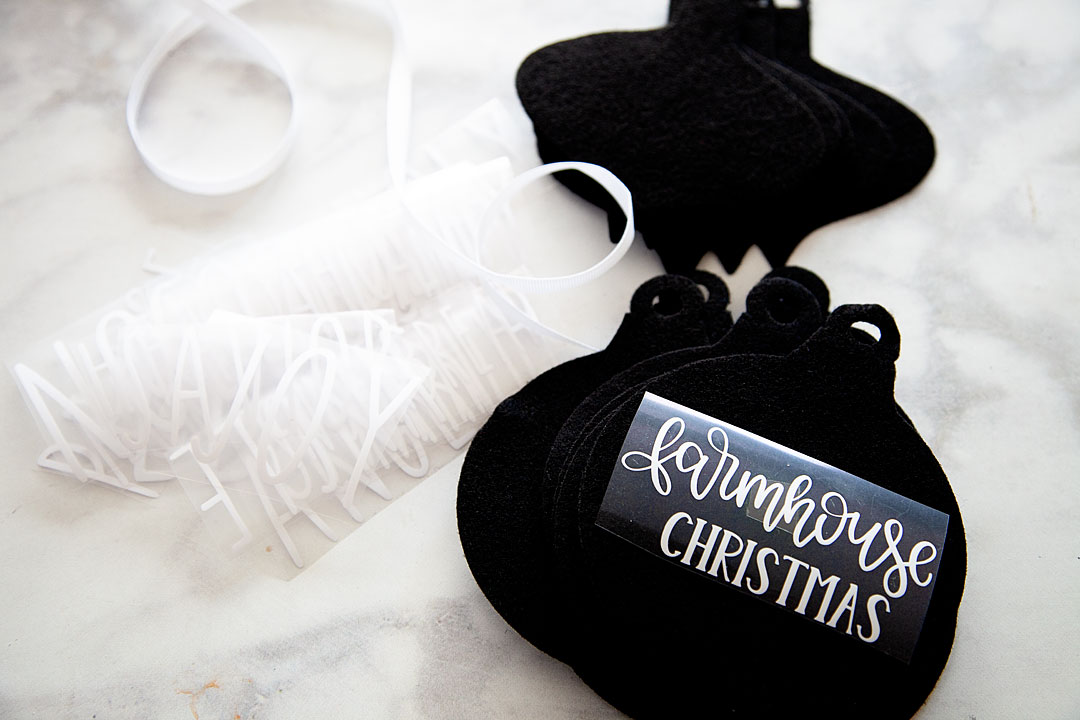
HANDS-DOWN the best tool to press any type of iron-on material is any of the Cricut EasyPress tools. I love these gems and don’t know what I would do without them in my crafting arsenal. The EasyPress and the EasyPress 2 machines are far superior to a regular iron. If you love to create anything with an iron-on element you need to invest in one or more of these great machines. The heat plate holds a consistent temperature all throughout the plate. With irons, you will have hot and cool spots. Also, the EasyPress 2 heats up super quick! I LOVE all three of the EasyPress 2 sizes. For this project, I’m using the small 6×7 size. CUTEST LITTLE EASYPRESS EVER!!
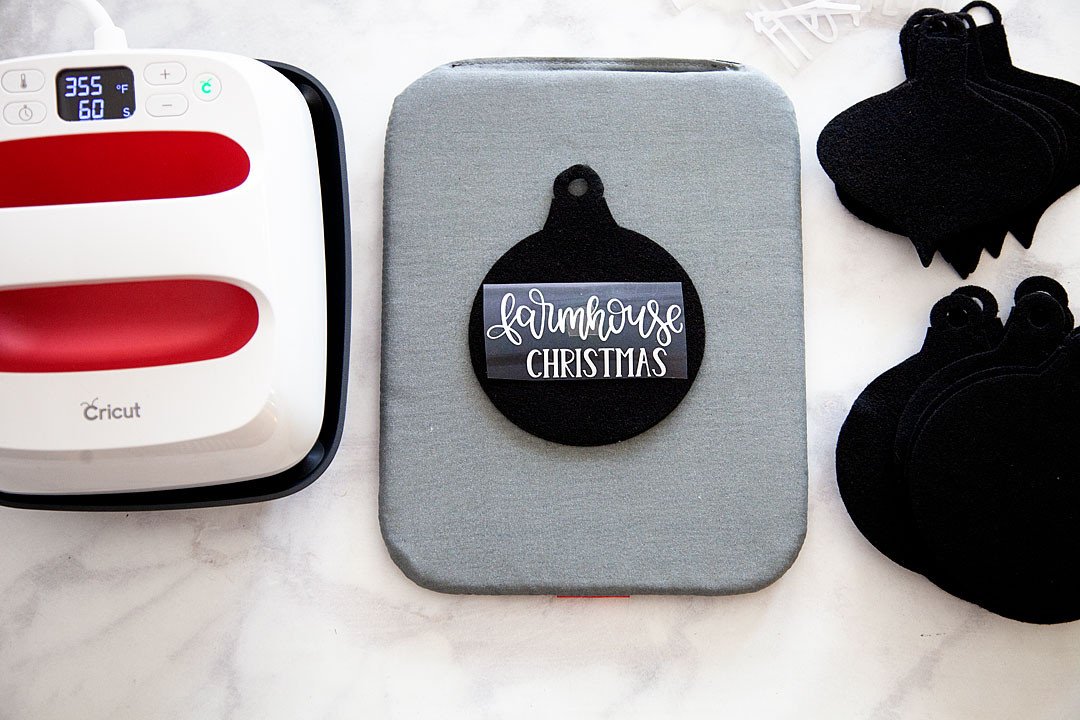
Now, all you need to do is to lay your felt down on your EasyPress Mat, place your words on the felt in the proper place, cover your ornament with the Cricut Protective Mat or a cotton tea towel and press with the small Easypress 2 set to 35o˚ for 60 seconds.
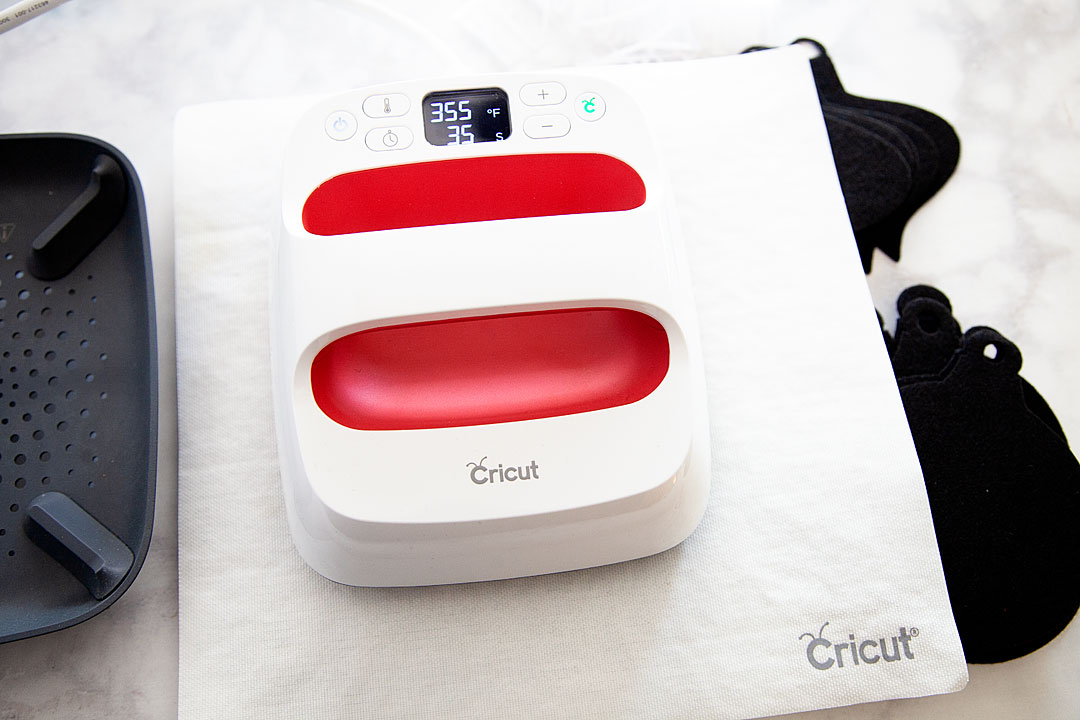
I use the remover tool to save my heat sensitive fingers from the Easy Press Mat and let it cool for about 1 minute.
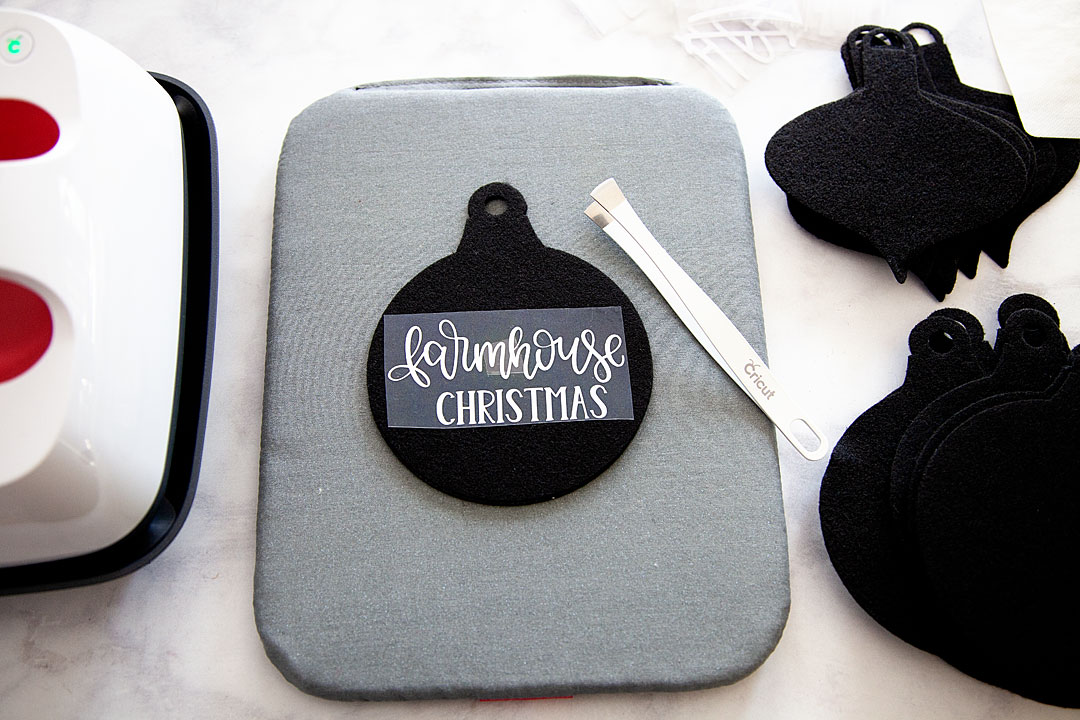
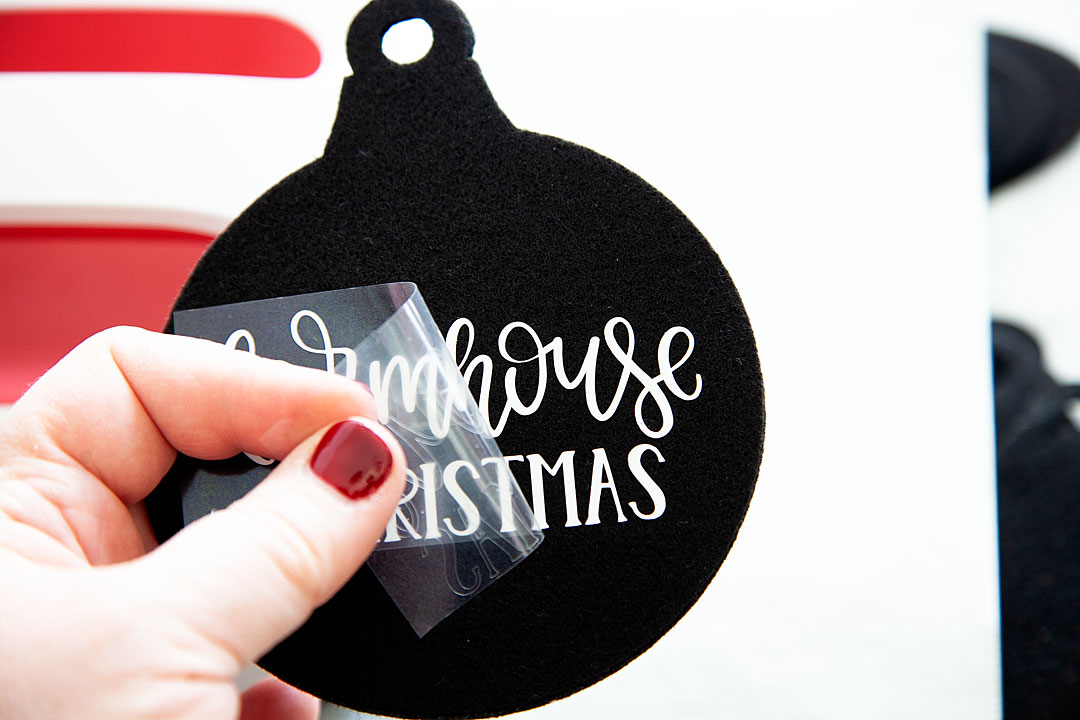
Then I carefully pull the protective sheet from the top of the Everyday Iron-on material. Always start slow and pull carefully. If you see any lifting, stop and give it another run under the EasyPress 2.
Now, all you need to do is add some ribbon bows if you’d like and some ribbon for the ornament to hang from.
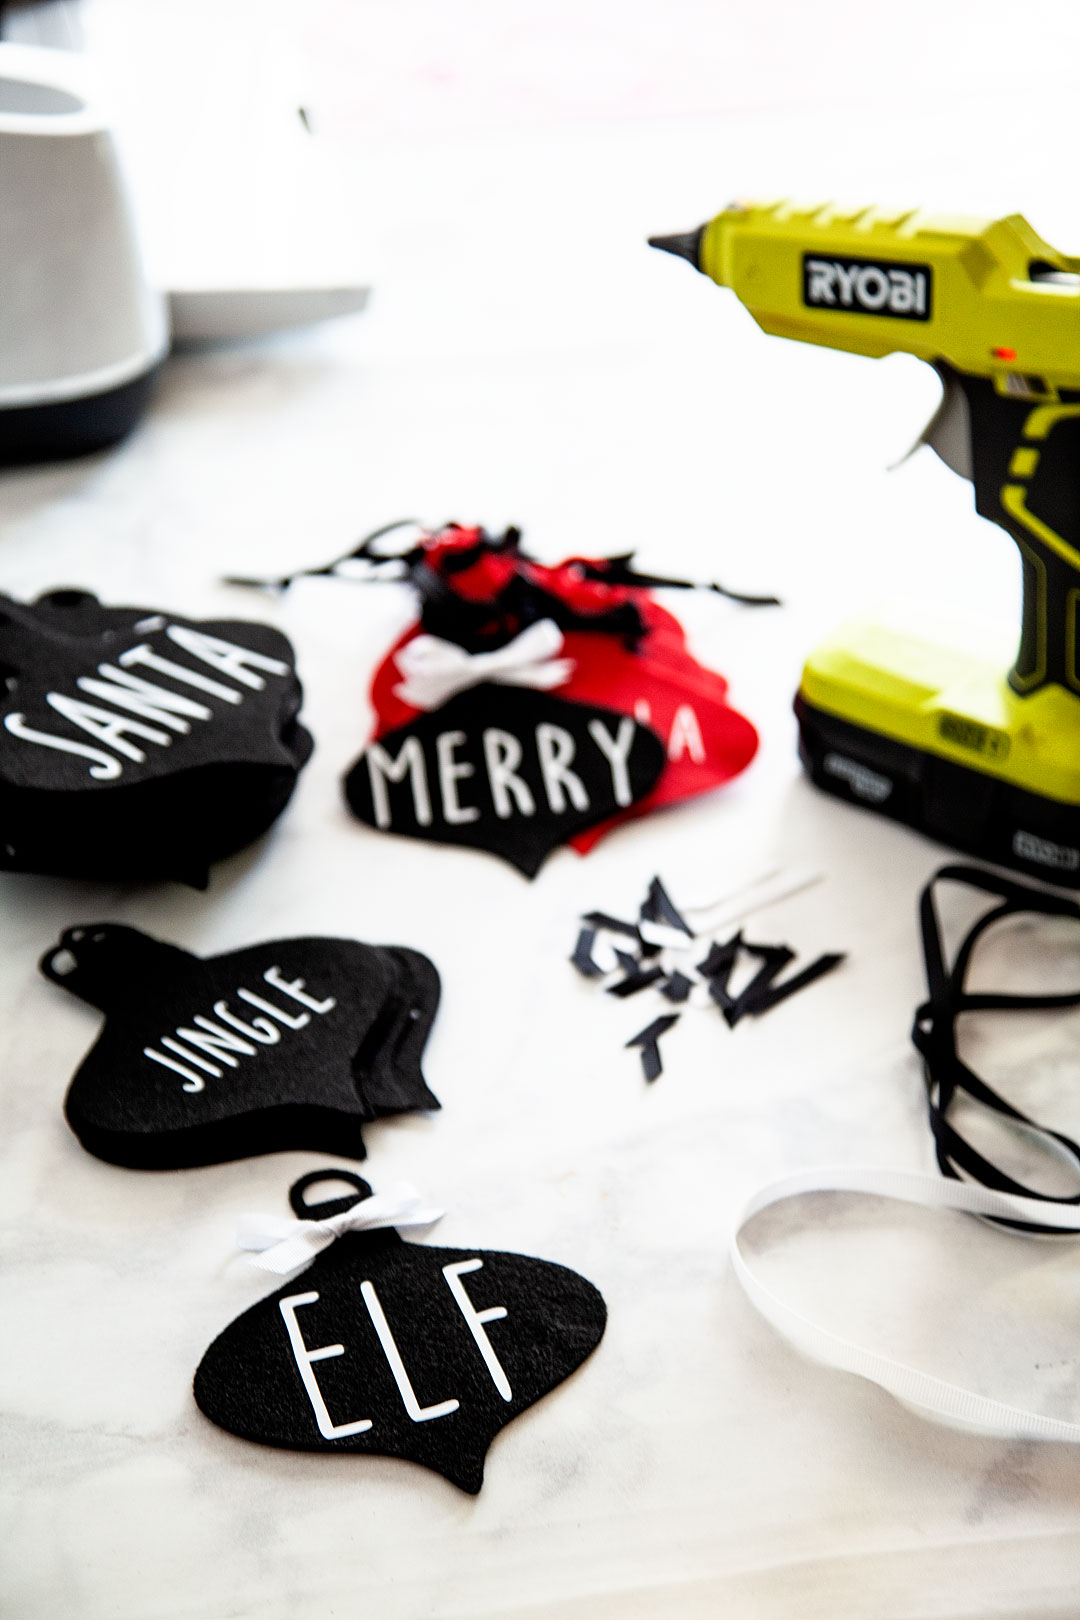
And, that’s it! You have some great non-breakable ornaments for your tree or to use as gift tags or even for a simple gift for neighbors!

This is a sponsored conversation written by me on behalf of Cricut. The opinions and text are all mine.
56
Leave a Reply